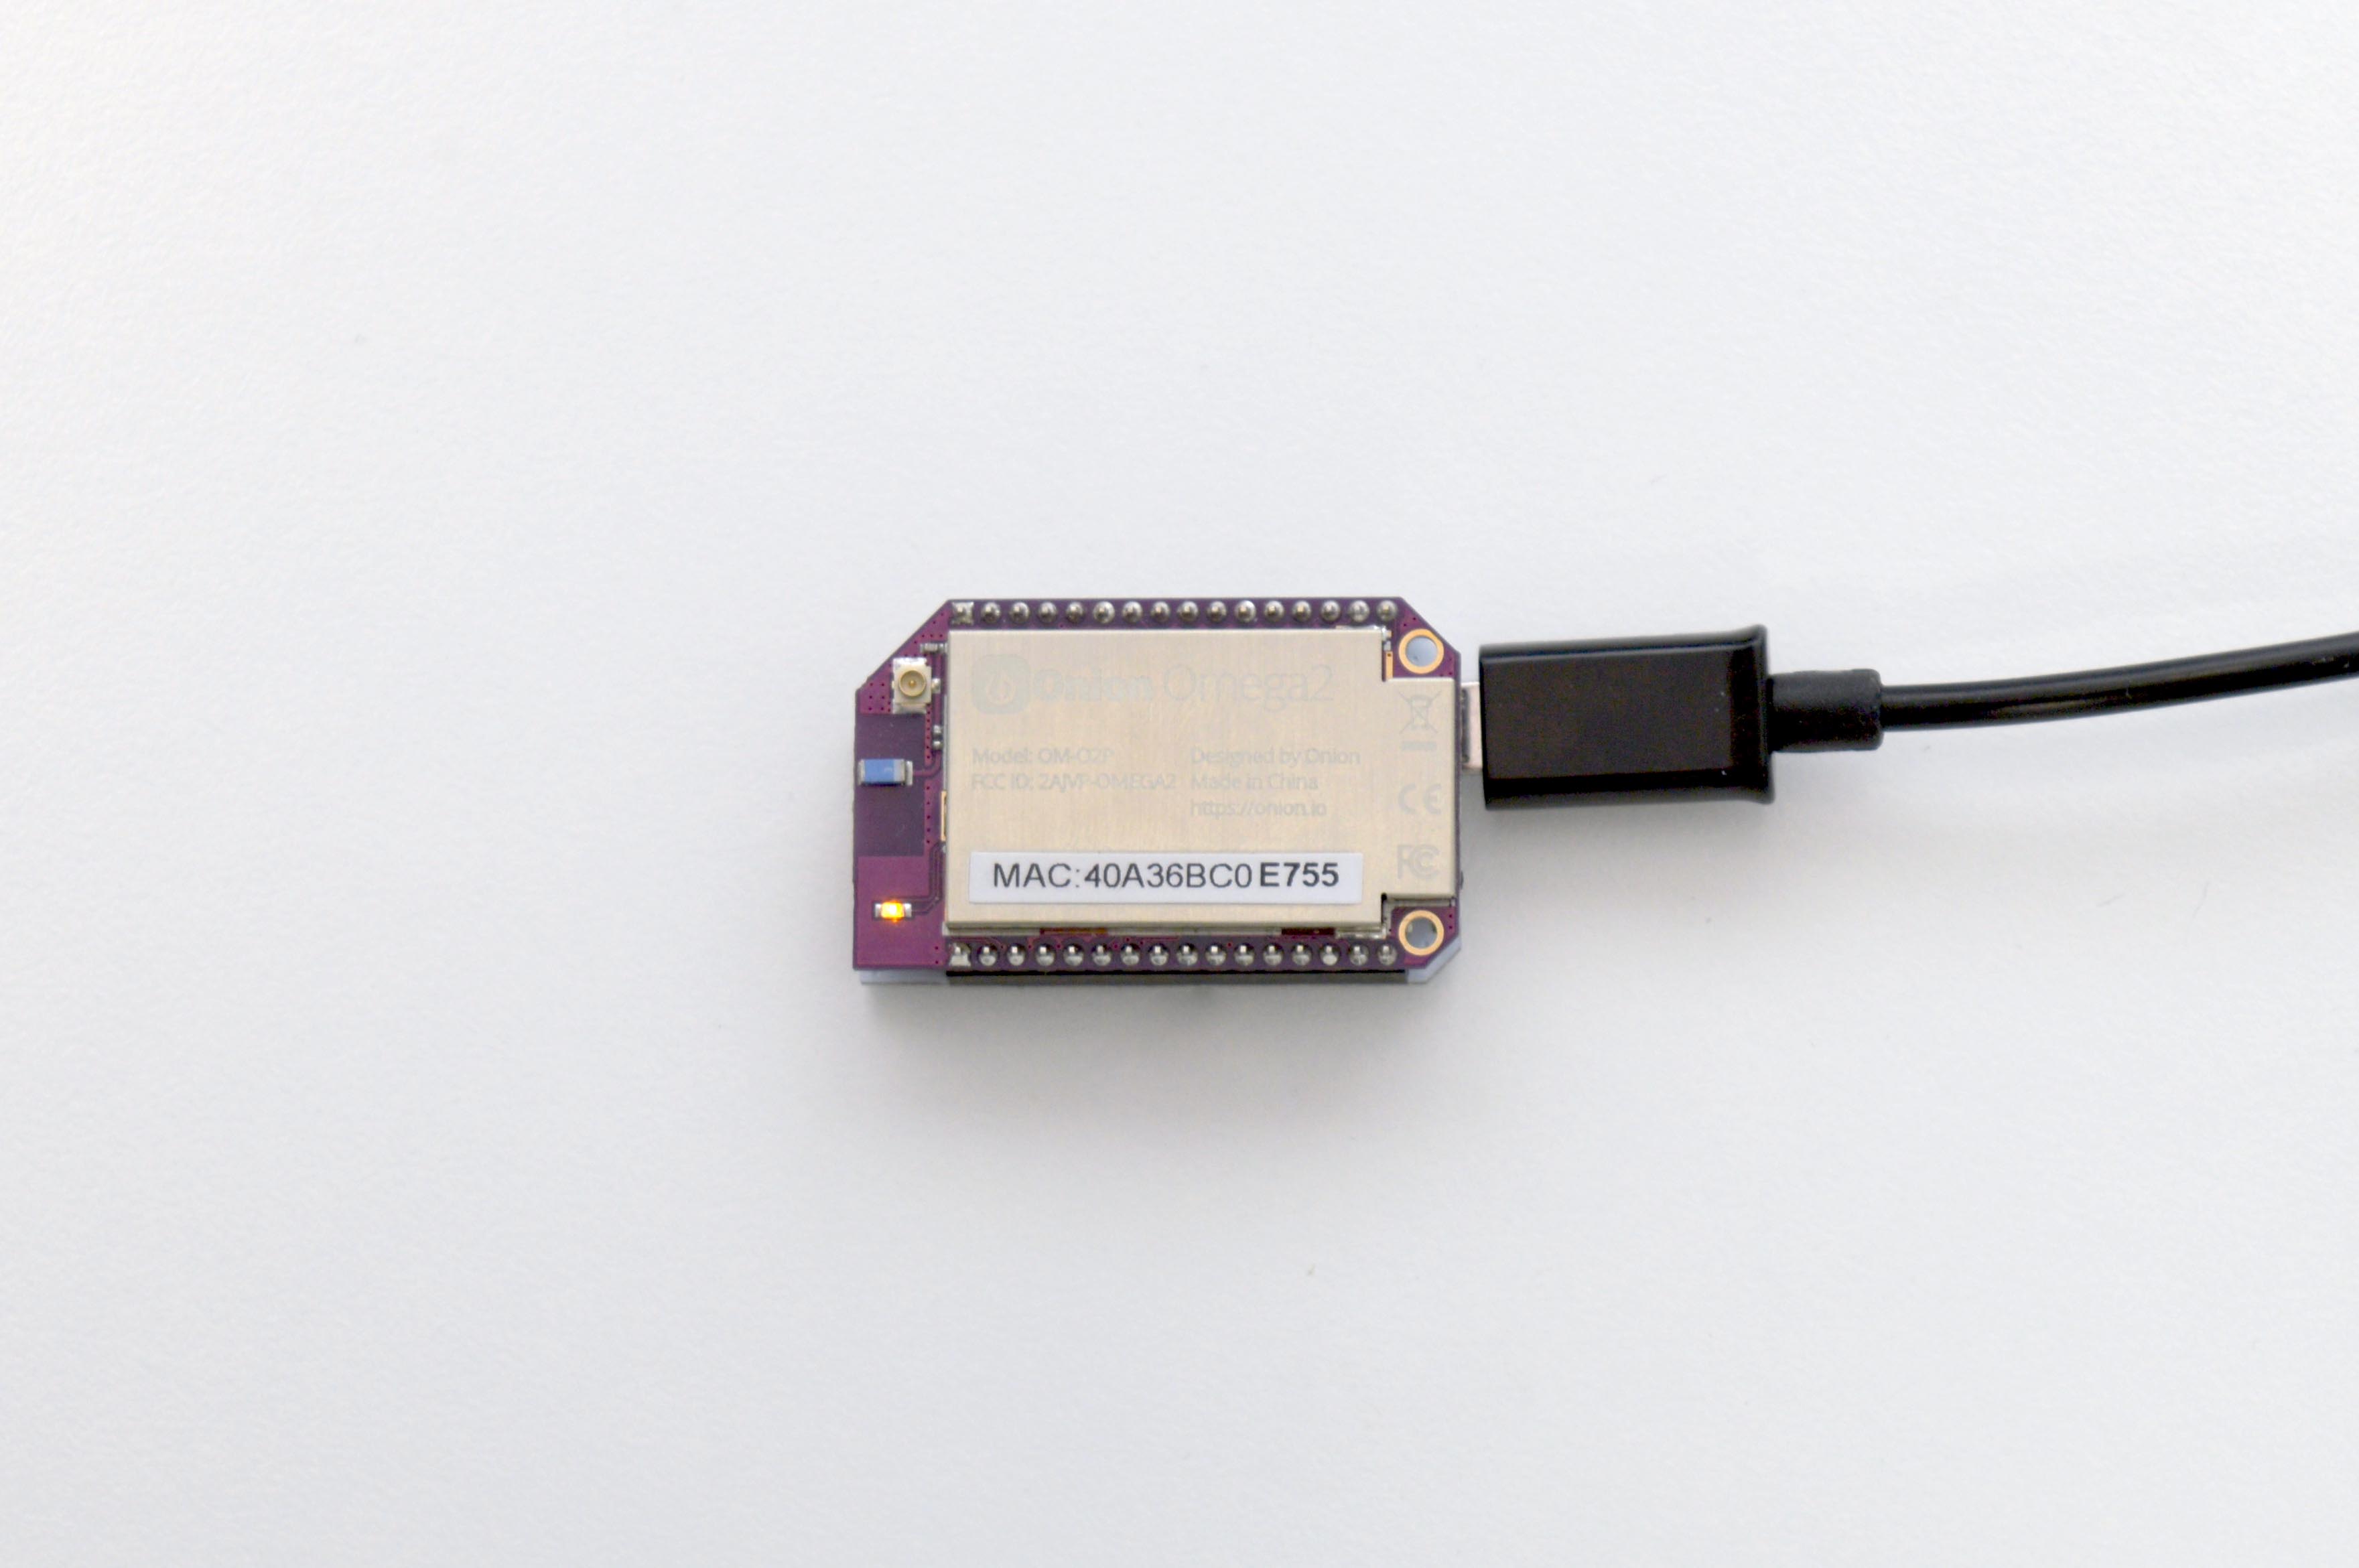
Omega WiFi Range Extender
Do you have some places in your home where your WiFi network is slow? A WiFi range extender is a device that can increase the effective range of a router by being placed closer to the end user and acting as a relay to the router.
The Omega’s powerful WiFi capabilities and incredibly small footprint allow it to be effective as a WiFi range extender.

Even though the Omega has only one physical WiFi interface, you can create two virtual interfaces and have the Omega relay the packets back and forth between the two interfaces. This allows you to set up the Omega as a WiFi range extender that relays the packets between your computer/smartphone and your router. This can be very helpful if your router has a short range and the connection has problems from beyond a certain distance.
Let’s get started!
Overview
Skill Level: Intermediate
Time Required: 10 minutes
This project will turn your Omega into a WiFi Range Extender for your WiFi network.
Sample Configuration Files
The Onion range-extender-config Github repository contains reference configuration files in case you need to troubleshoot your setup.
Default Configuration Files
If you ever want to revert your configuration to the original, we have a complete set of default configuration files from a factory-fresh Omega2 in the uci-default-configs repo on GitHub.
Ingredients
- Onion Omega2 or Omega2+
- Any Onion Dock
- We really like the Mini Dock for this project because of its small footprint

Step-by-Step
Here’s how to get your Omega set up to forward packets to and from your router!
1. Prepare
First let’s get the Omega ready to go. if you haven’t already, complete the First Time Setup Guide to setup your Omega and update to the latest firmware.
2. Connect the Omega to the router
Now, you will need to connect the Omega to your router. To do this, connect to the command line](https://docs.onion.io/omega2-docs/connecting-to-the-omega-terminal.html), and use the wifisetup command:
root@Omega-0104:/# wifisetup
Onion Omega Wifi Setup

Select from the following:
1) Scan for Wifi networks
2) Type network info
q) Exit

Selection:
Follow the instructions to scan for WiFi and connect to your router’s network.
3. Firewall Settings
Next, you will need to configure the Omega to route packets between it’s own WiFi AP and your routers network. In other words, you’re enabling the Omega to route packets from your device to the Omega to the Router, and back.
To do this, you will be editing the /etc/config/firewall file:
Enter the following command to edit the file:
vi /etc/config/firewallFind the block that looks something like the following:
config zone
        option name 'wan'
        option output 'ACCEPT'
        option forward 'REJECT'
        option masq '1'
        option mtu_fix '1'
        option network 'wwan'
        option input 'ACCEPT'
and make sure that the input, output, and forwarding settings are set to ACCEPT
    option input        ACCEPT
    option output       ACCEPT
    option forward      ACCEPT
Once you have saved and closed the file, run the following command to restart the firewall with the updated configuration:
/etc/init.d/firewall restartWhat we’ve told the firewall to do with the above configuration is to allow traffic passing between the
wwannetwork interfaces, that is, the WiFi network AP the Omega is hosting and the WiFi network to which the Omega is connected.
Use Your Omega WiFi Range Extender
At this point, your Omega is connected to router as well as serving its own access point, and the Omega is setup to relay information back and forth between these two WiFi interfaces. This means that you can connect your computer/smartphone to the AP of your Omega, and be able to access the data coming from the router.
To use the Omega as the WiFi range extender, you would typically place the Omega somewhere between your router and your computer/smartphone. Packets will travel from your router to the Omega, and from the Omega to your computer/smartphone instead of directly from the router to your device. Effectively, extending your WiFi network’s range!
Happy Surfing!