Omega WiFi Router
A router is a device that connects multiple devices on a wired or wireless network. They are very widely used with modems to allow multiple devices to connect to the Internet through the single connection provided by the modem.
We’re going to use the Omega as a wireless router that:
- Received Internet connectivity through a wired Ethernet connection
- Broadcasts a WiFi network Access Point (AP)
- Shares network access from the Ethernet network to the WiFi AP network
The Ethernet Expansion is required to give your Omega access to an Ethernet port. By using the Ethernet Expansion, we can turn our Omega into a low-cost yet effective router.
Overview
Skill Level: Intermediate
Time Required: 10 minutes
What we are going to do is to first enable the Omega’s Ethernet connection, stop the Omega from connecting to other, existing WiFi networks, then enable routing network traffic from the Omega’s AP to the Internet through the Ethernet connection.
Sample Configuration files
The Onion omega-as-router Github repository contains reference configuration files in case you need to troubleshoot your setup.
Please note that there are some placeholders such as RouterPassword and somewifissid. Make sure to copy only the relevant parts!
Default Configuration Files
If you ever want to revert your configuration to the original, we have a complete set of default configuration files from a factory-fresh Omega2 in the uci-default-configs repo on GitHub.
Ingredients
- Onion Omega2 or Omega2+
- Any Onion Dock that supports Expansions: Expansion Dock, Power Dock, Arduino Dock 2
- We prefer the Expansion Dock for this project since it enables access to the command line through serial even when there’s no network connectivity
- Onion Ethernet Expansion
Step-by-Step
Here’s how to turn your Omega into a wireless router!
1. Prepare
First let’s get the Omega ready to go. if you haven’t already, complete the First Time Setup Guide to connect your Omega to WiFi and update to the latest firmware.
2. Setup the Hardware
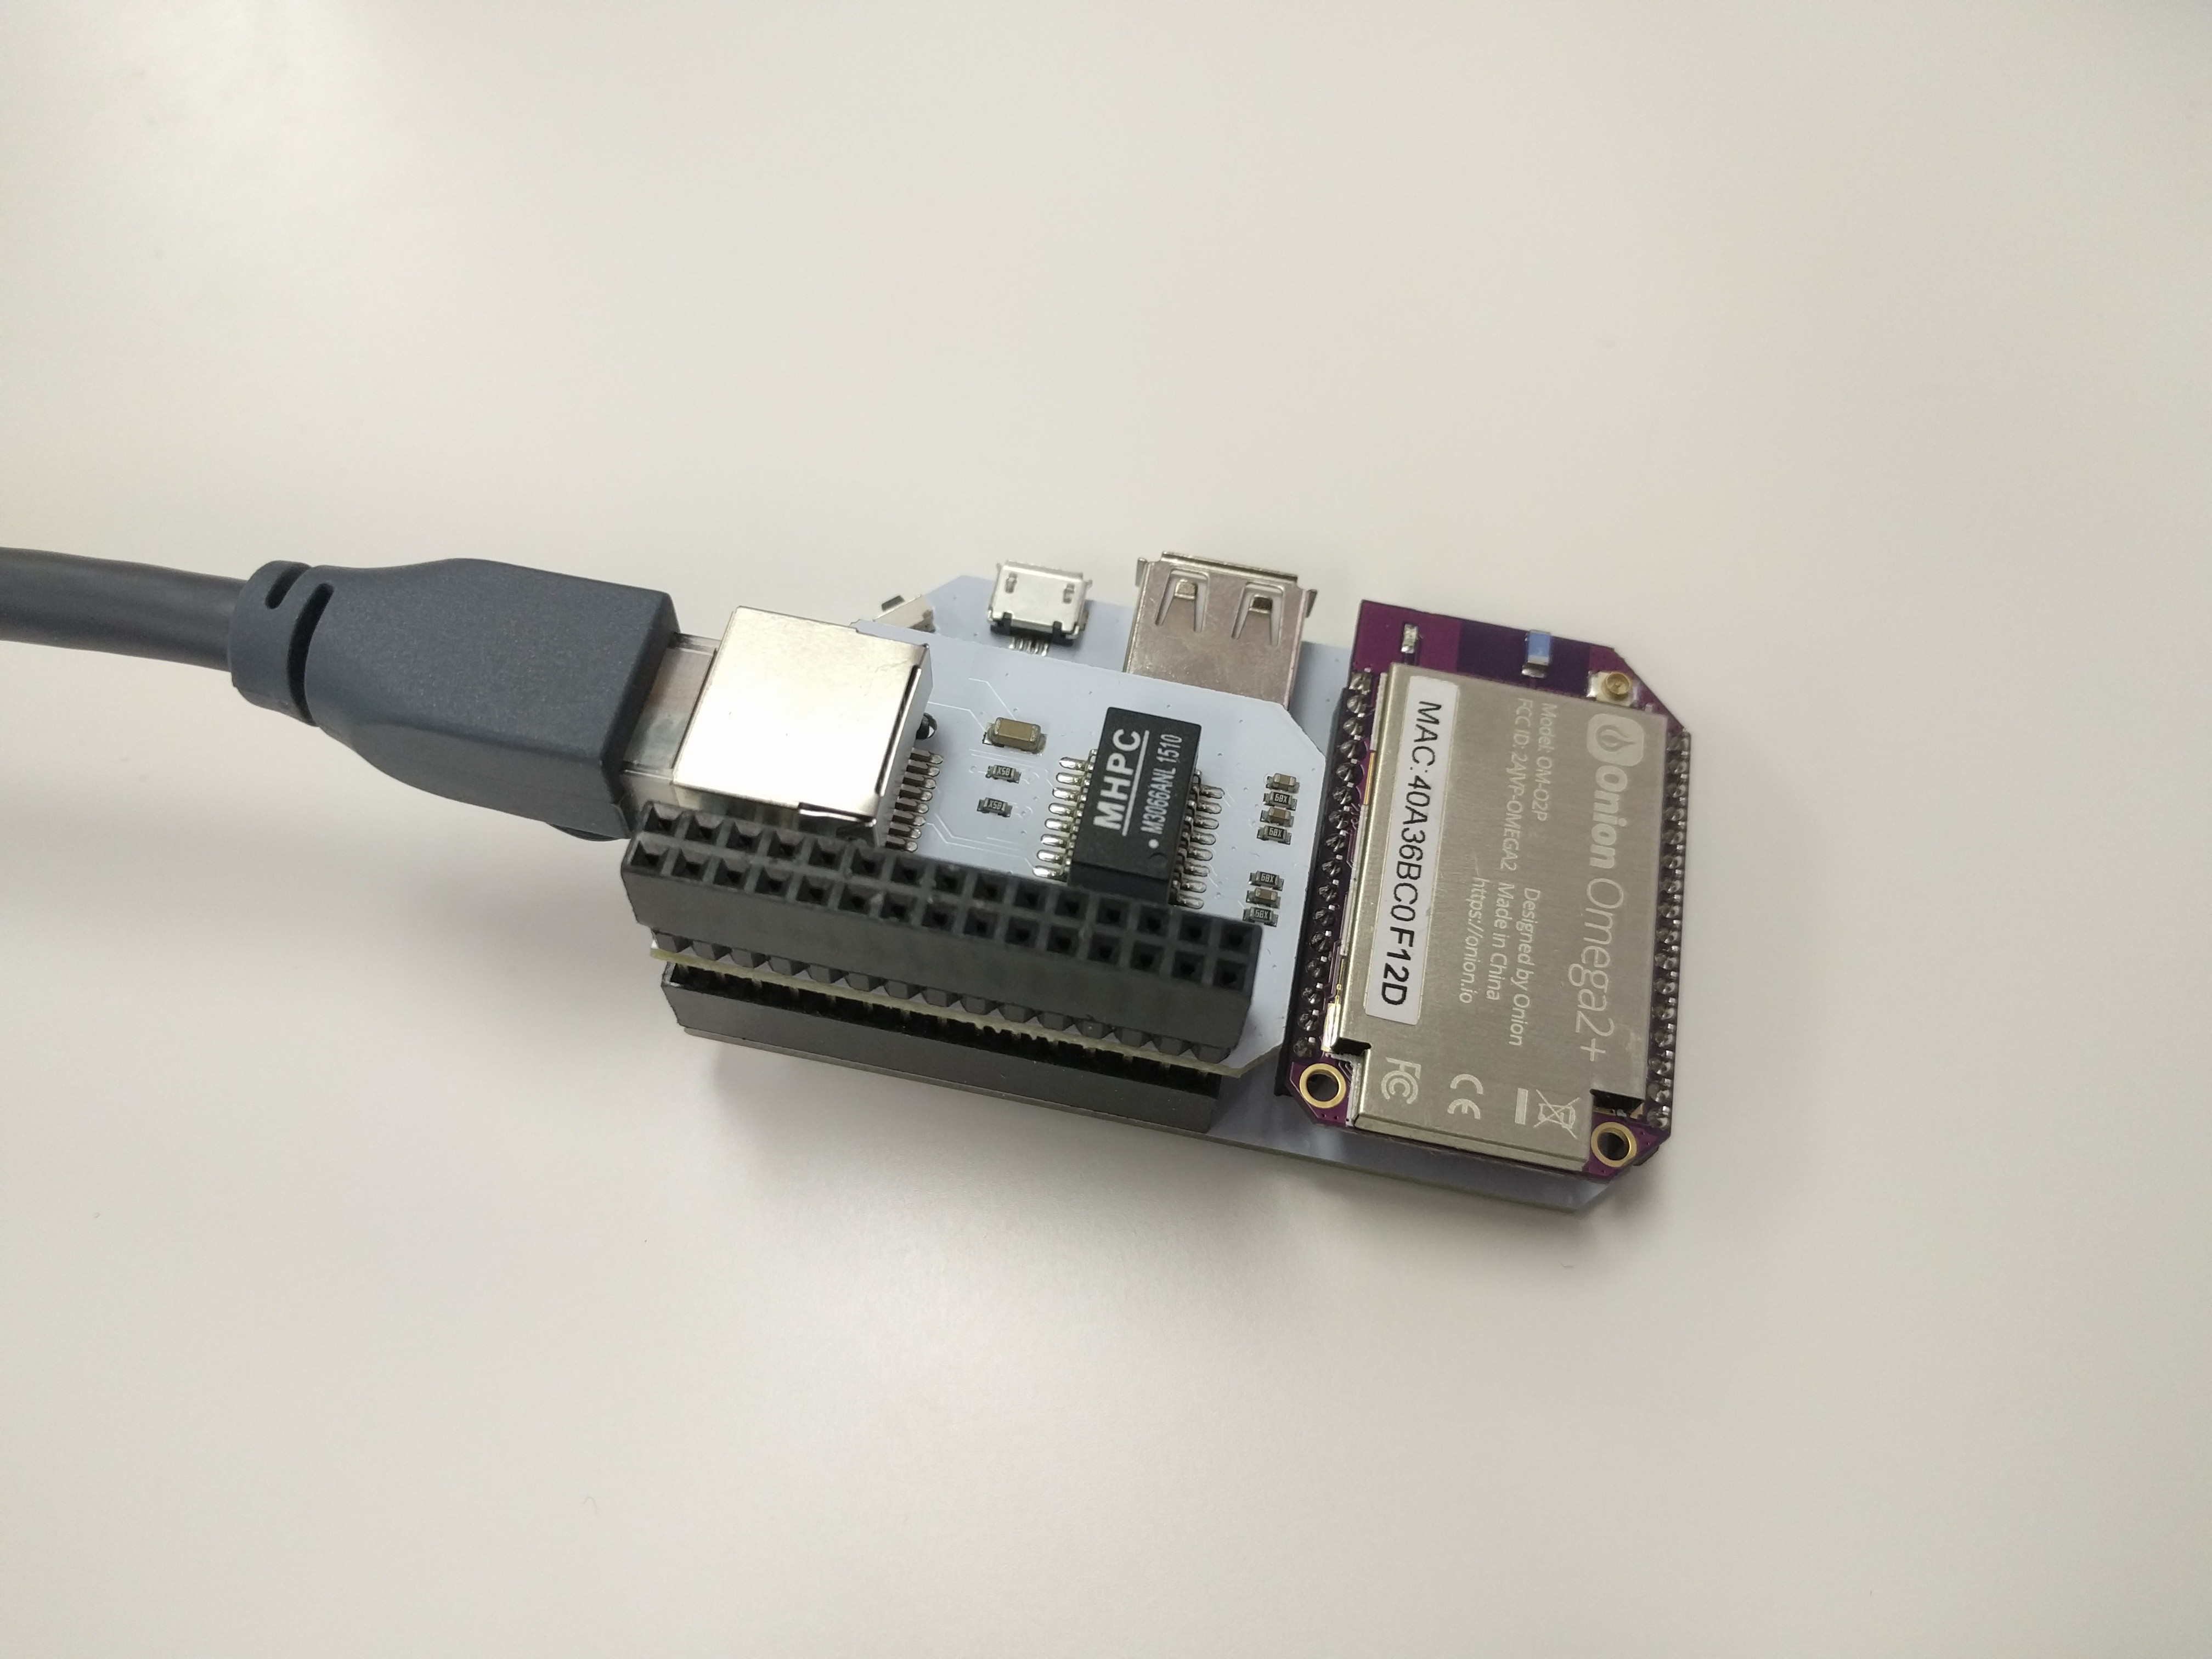
Connect your Ethernet Expansion to the Expansion dock, and plug in the Ethernet cable, as shown below:
Connect the other end of the cable to your modem, or other device that is providing internet connectivity.
3. Setup the Omega
The next step is to stop the Omega from connecting to other, existing WiFi networks, as it will be using the Ethernet Expansion to access the Internet instead.
We’re going to be restarting the WiFi on the Omega a few times, breaking any SSH connections in the process. To avoid this, you can try using a serial connection with your Omega. For more information, please refer to this guide on connecting to your Omega.
On the Omega’s command line, enter the following commands:
uci set wireless.@wifi-iface[0].ApCliEnable=0
uci commit wireless
Restart the WiFi network to apply your saved changes:
wifi4. Changing the WiFi AP Configuration
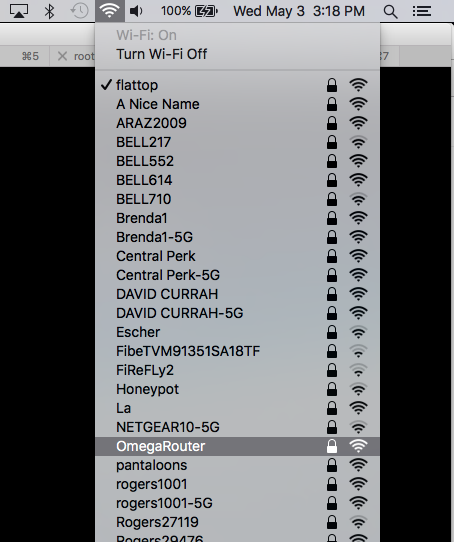
Set the SSID and password of the router’s WiFi network with the following commands, substituting OmegaRouter and RouterPassword with values of your choice:
uci set wireless.@wifi-iface[0].ssid=OmegaRouter
uci set wireless.@wifi-iface[0].key=RouterPassword
uci commit
Changing the Encryption Type
If you wish to keep the default encryption type, WPA2 (psk2), which we strongly recommend, you can skip this step.
However, if you do wish to change the encryption type, find the type you want in the UCI wireless encryption list, then substitute it into YourEncryptionType and run:
uci set wireless.@wifi-iface[0].encryption=YourEncryptionType
uci commit
Please keep in mind that 1st generation WPA is not secure and that WEP keys have be be a certain length in order to work properly.
Restarting the WiFi
Run the following command to restart the WiFi network and apply your settings:
wifi5. Enable Ethernet Connectivity
Enable the Ethernet interface, eth0, by running:
uci set network.wan.ifname='eth0'
uci set network.wan.hostname='OnionOmega'
uci commit
Then restart the network service:
/etc/init.d/network restartThis will allow the Omega to connect to the Internet via the Ethernet port.
6. Enabling Packet Routing in the Firewall
Now we need to enable sharing of network access between the ethernet network and the WiFi AP. Open the /etc/config/firewall file using vi and find the block that looks like the following:
config zone
        option name 'wan'
        option output 'ACCEPT'
        option forward 'REJECT'
        option masq '1'
        option mtu_fix '1'
        option network 'wwan'
        option input 'ACCEPT'
and do the following:
- Change
option forward 'REJECT'tooption forward 'ACCEPT' - Change
option network 'wwan'tolist network 'wwan' - Add
list network 'wan'after thelist network 'wwan'line
The block should now look like this:
config zone
        option name 'wan'
        option output 'ACCEPT'
        option forward 'ACCEPT'
        option masq '1'
        option mtu_fix '1'
        list network 'wwan'
        list network 'wan'
        option input 'ACCEPT'
Now restart the firewall by running:
/etc/init.d/firewall restartWhat we’ve told the firewall to do with the above configuration is to allow traffic passing between the
wwaninterface (the WiFi network) and thewaninterface (the wired ethernet network).
7. Using the Omega Router
And we’re ready! To use the Omega Router, you simply need to connect your computer or your smartphone/tablet to the WiFi network that you configured in Step 4, and your devices should be able to access the Internet via the Omega.