Smart Plant - Twitter Alerts
Give your plant a voice of its own with Twitter! In part three, we’ll build on what we’ve created in part one and two to get our plant to Tweet at us based on the moisture data collected.
Overview
Skill Level: Intermediate
Time Required: 25 minutes
To accomplish this, we’ll create a Losant workflow to read and check the moisture data from the Omega, then send a Tweet using Losant’s Twitter integration. To get there, we’ll create an App on Twitter to allow Losant to send Tweets.
Ingredients
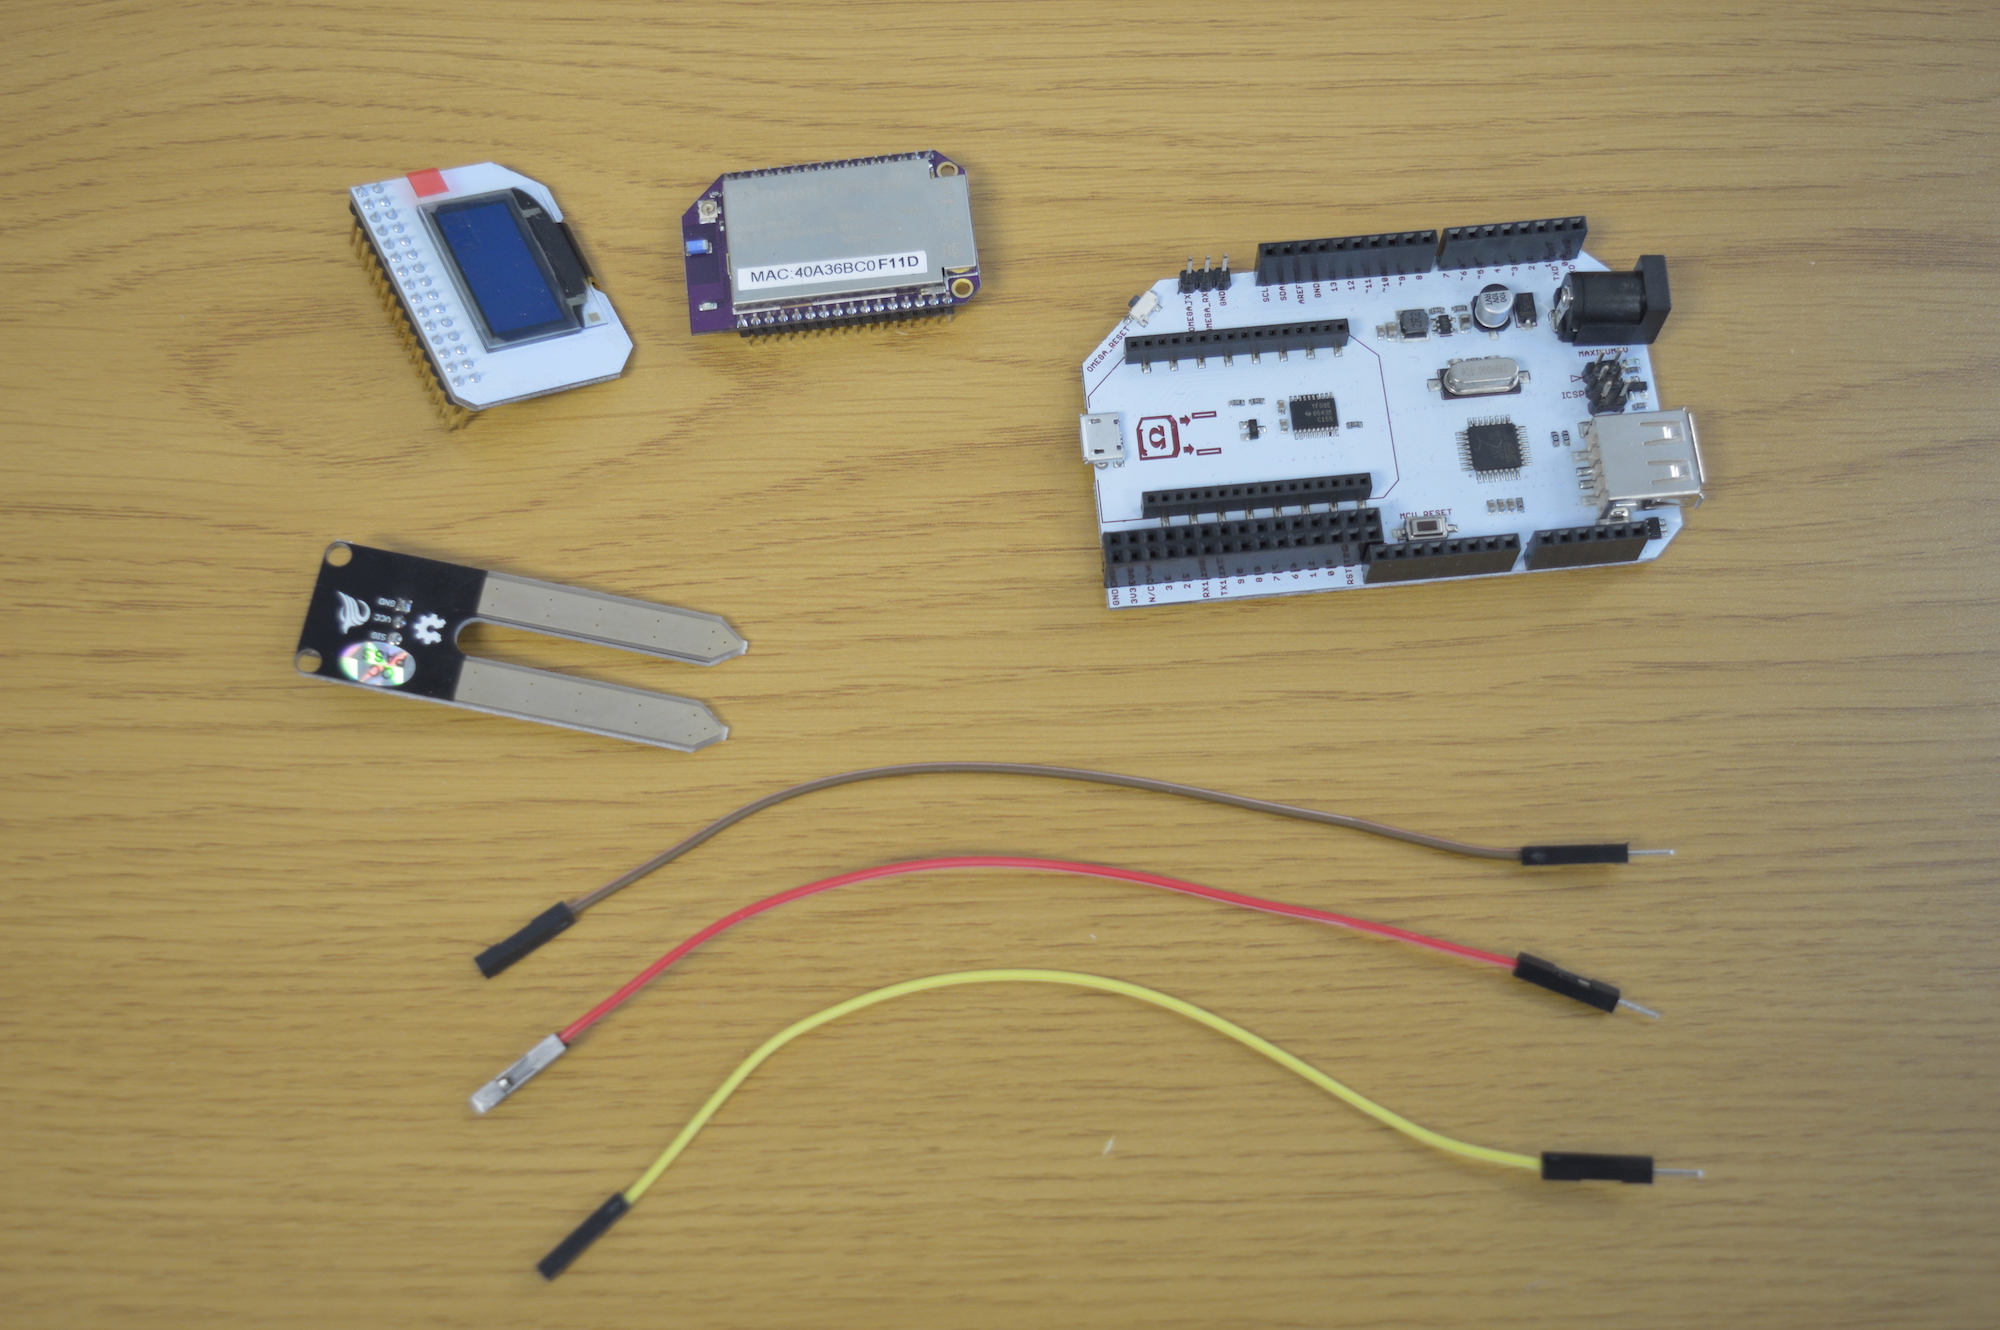
The same as the first part of the project:
- Onion Omega2 or Omega2+
- Onion Arduino Dock 2
- Onion OLED Expansion (optional but recommended)
- Soil Moisture Sensor
- 3x Male-to-Female Jumper Wires
Step-by-Step
Follow these instructions to set this project up on your very own Omega!
1. Prepare
You’ll have to have an Omega2 ready to go, complete the First Time Setup Guide to connect your Omega to WiFi and update to the latest firmware.
2. Complete the Previous Parts of the Project
This project builds on the first and second parts of the Smart Plant project. If you haven’t already completed the first part and second parts, go back and do them now!
3. Login to Losant
Head over to Losant.com and log in.
4. Losant Workflow: First Things
We’ll need to create a new workflow to let our plant Tweet at us.
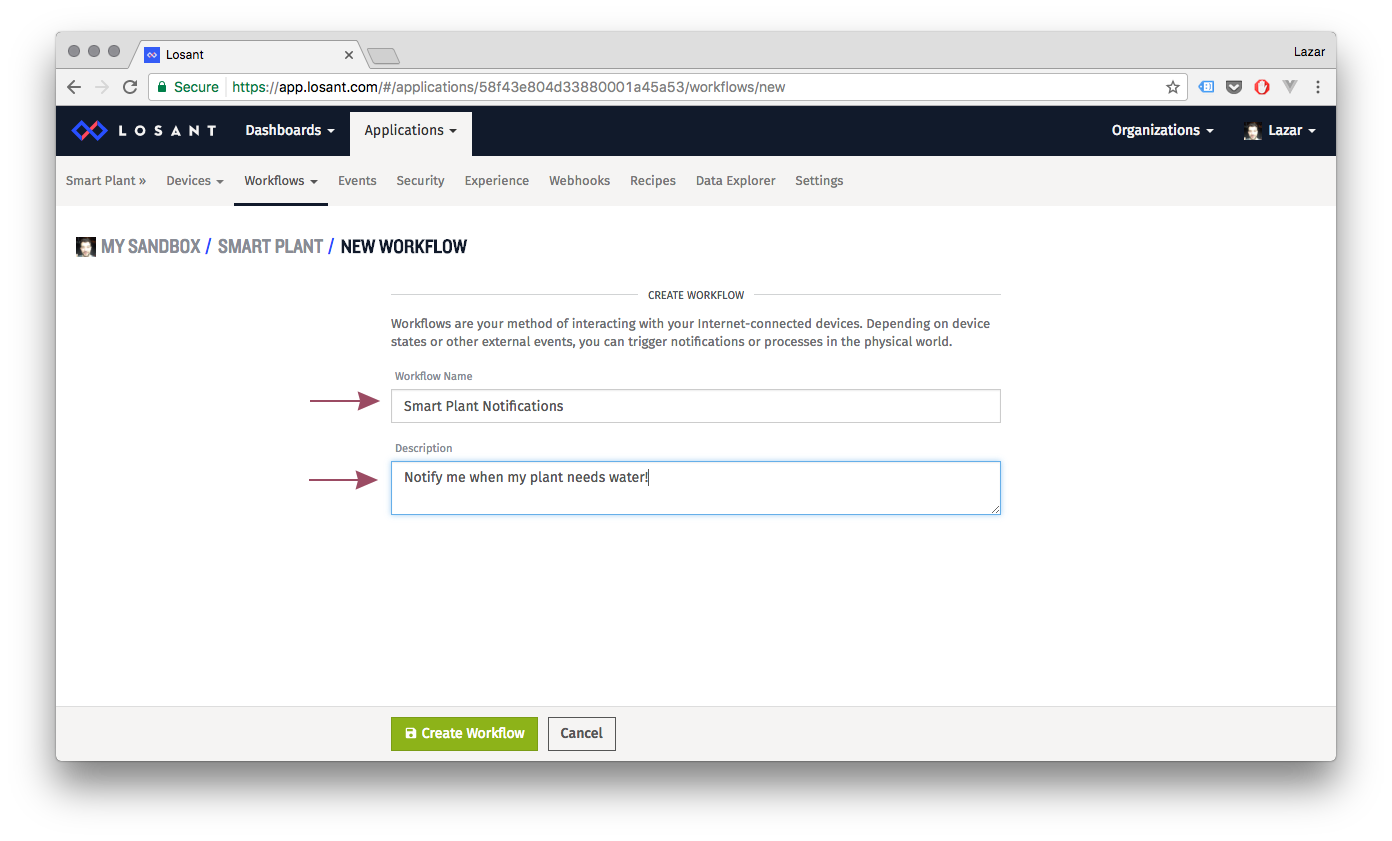
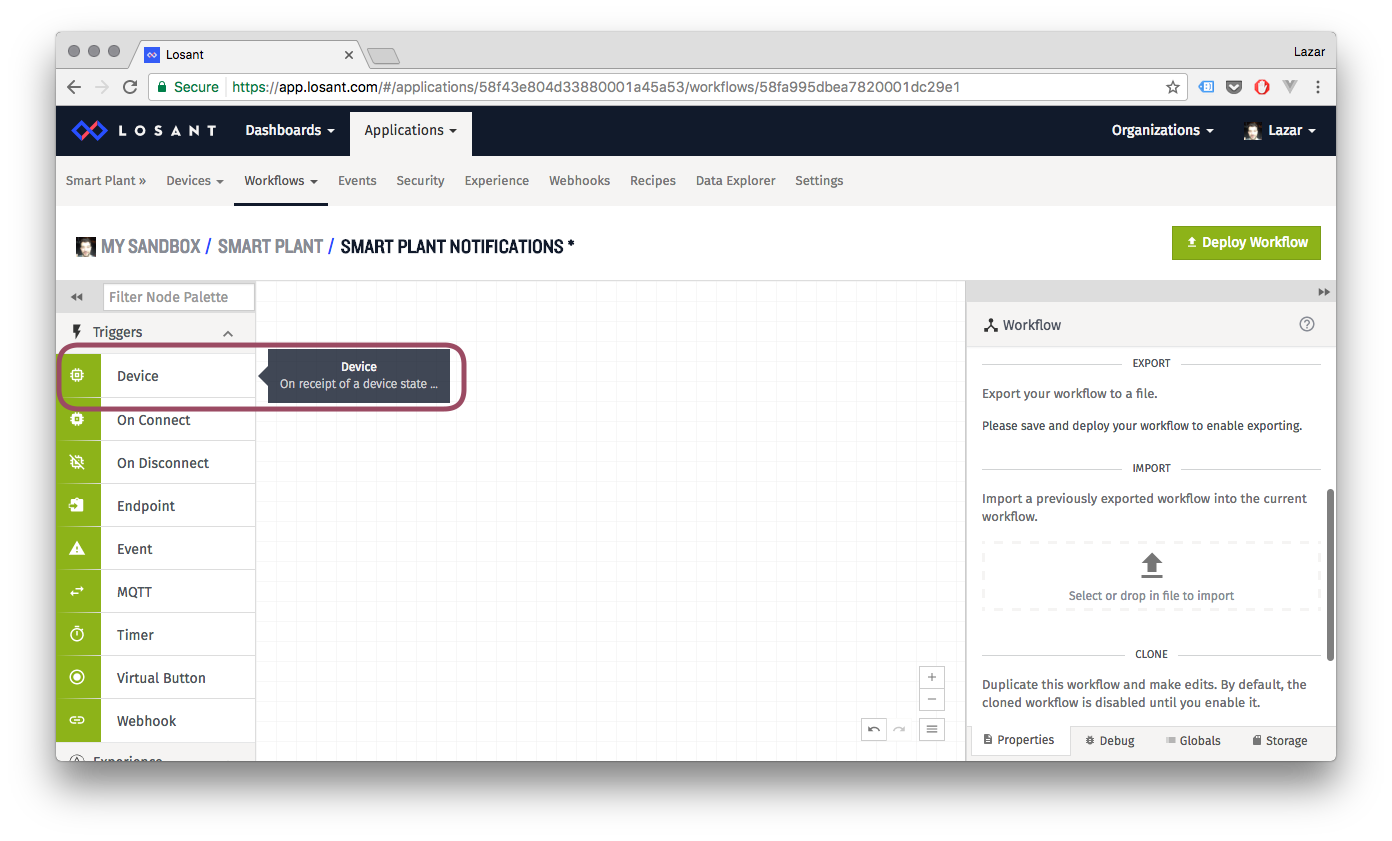
Click on the Workflows menu and then Create Workflow. Give your workflow a name and a description:
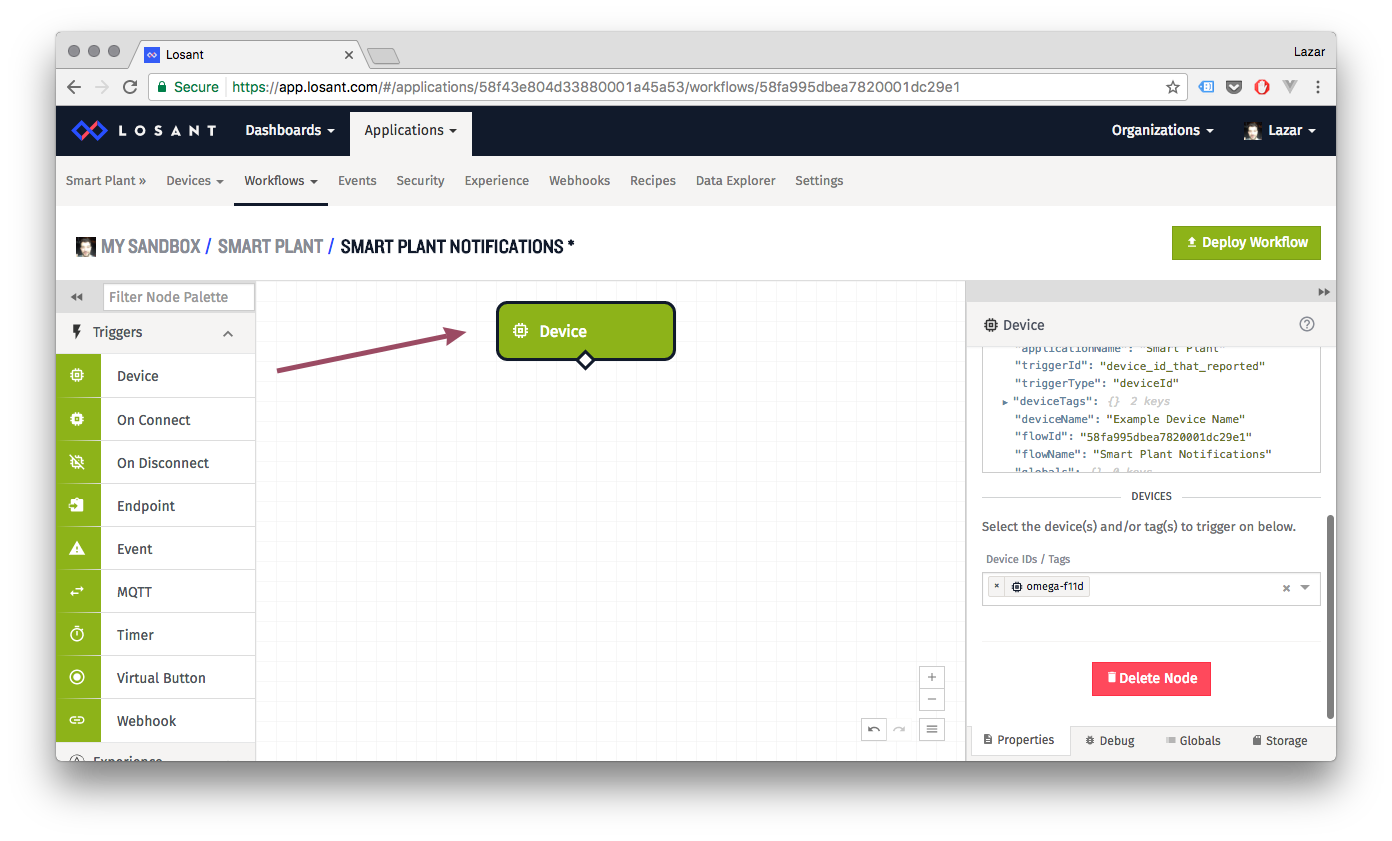
Add a Device block just like before:
Make sure the device is pointing to the Omega connected to our plant.
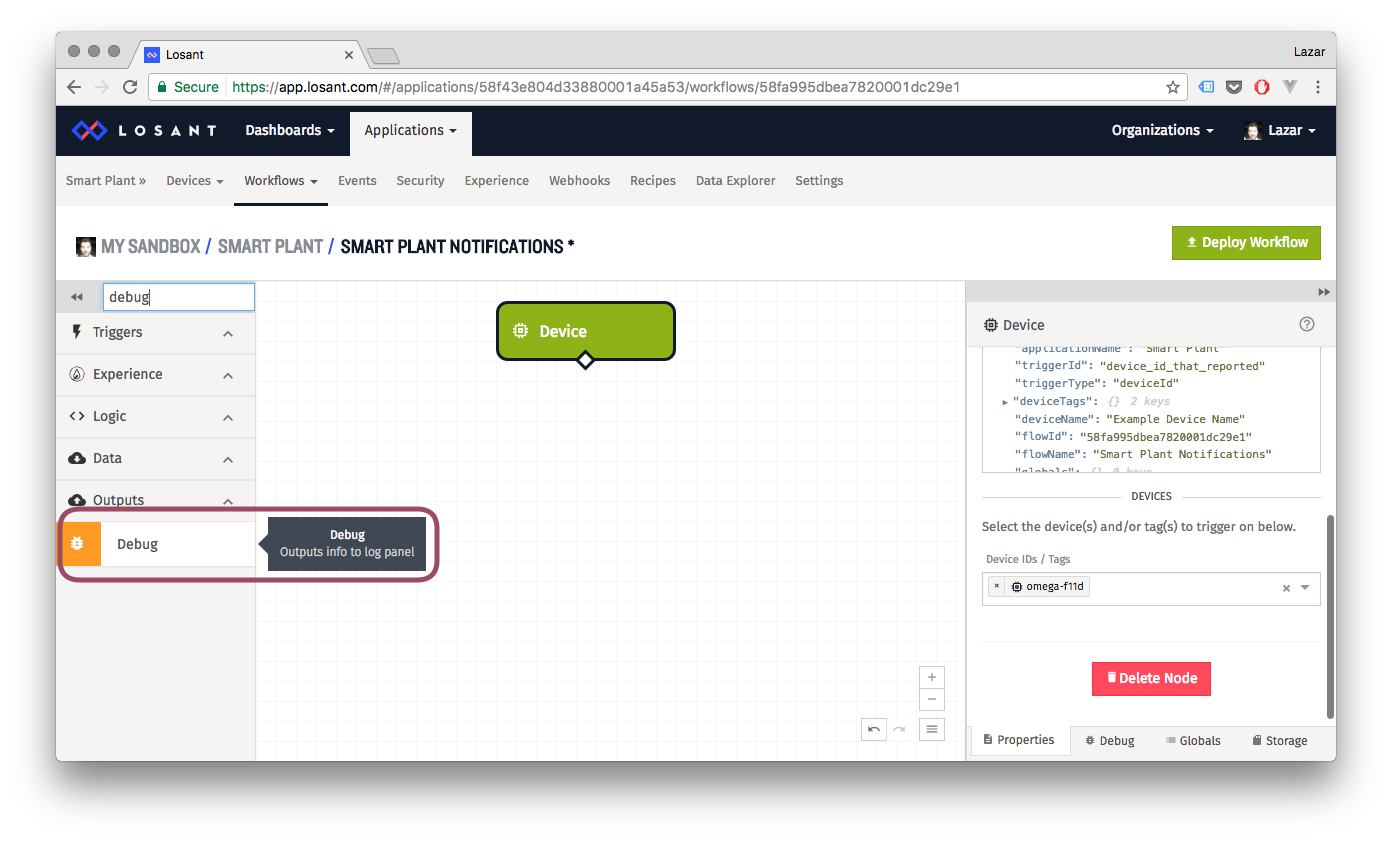
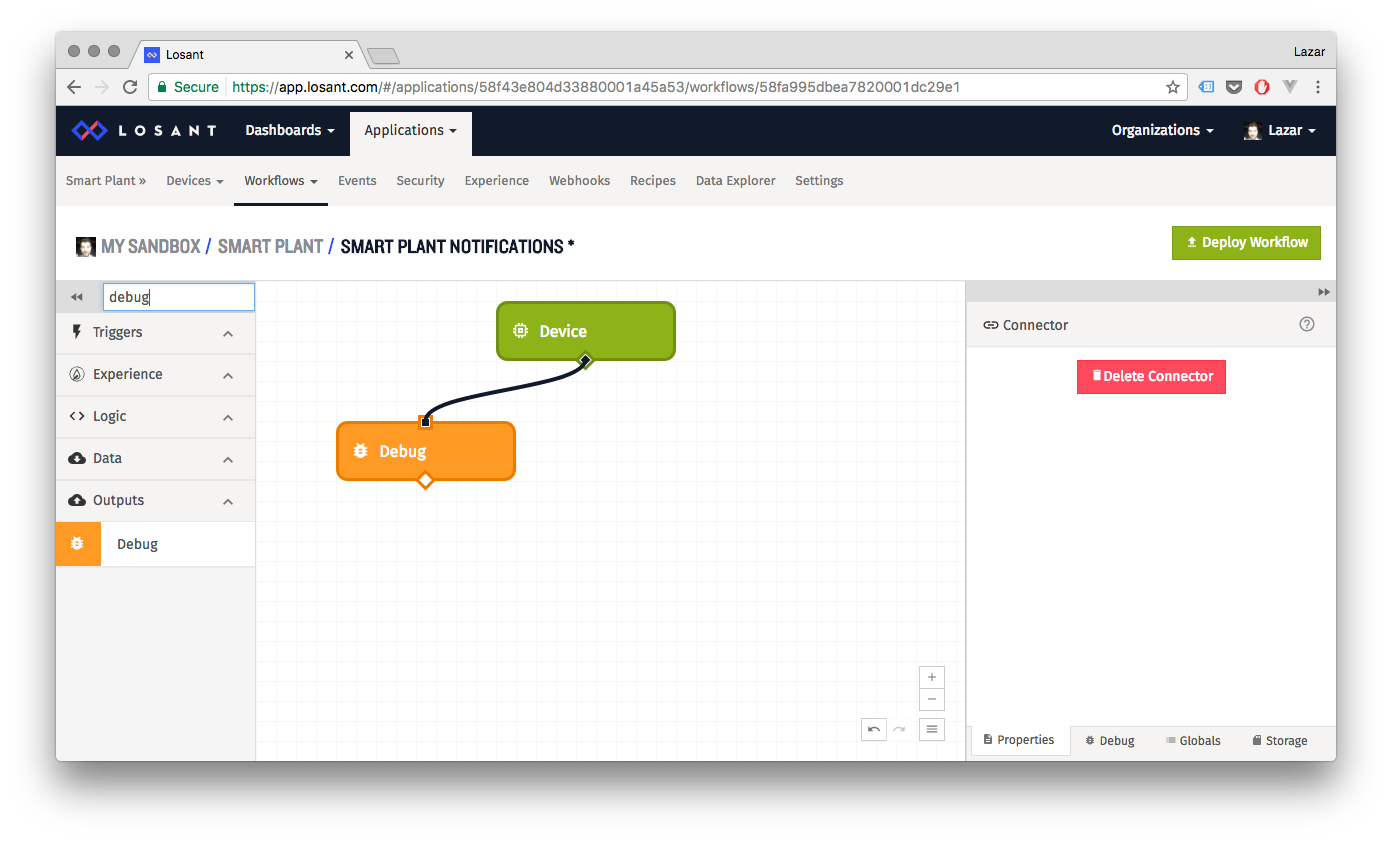
5. Losant Workflow: Debugging Node
Let’s drop in a Debug block to check our moisture data is being properly received:
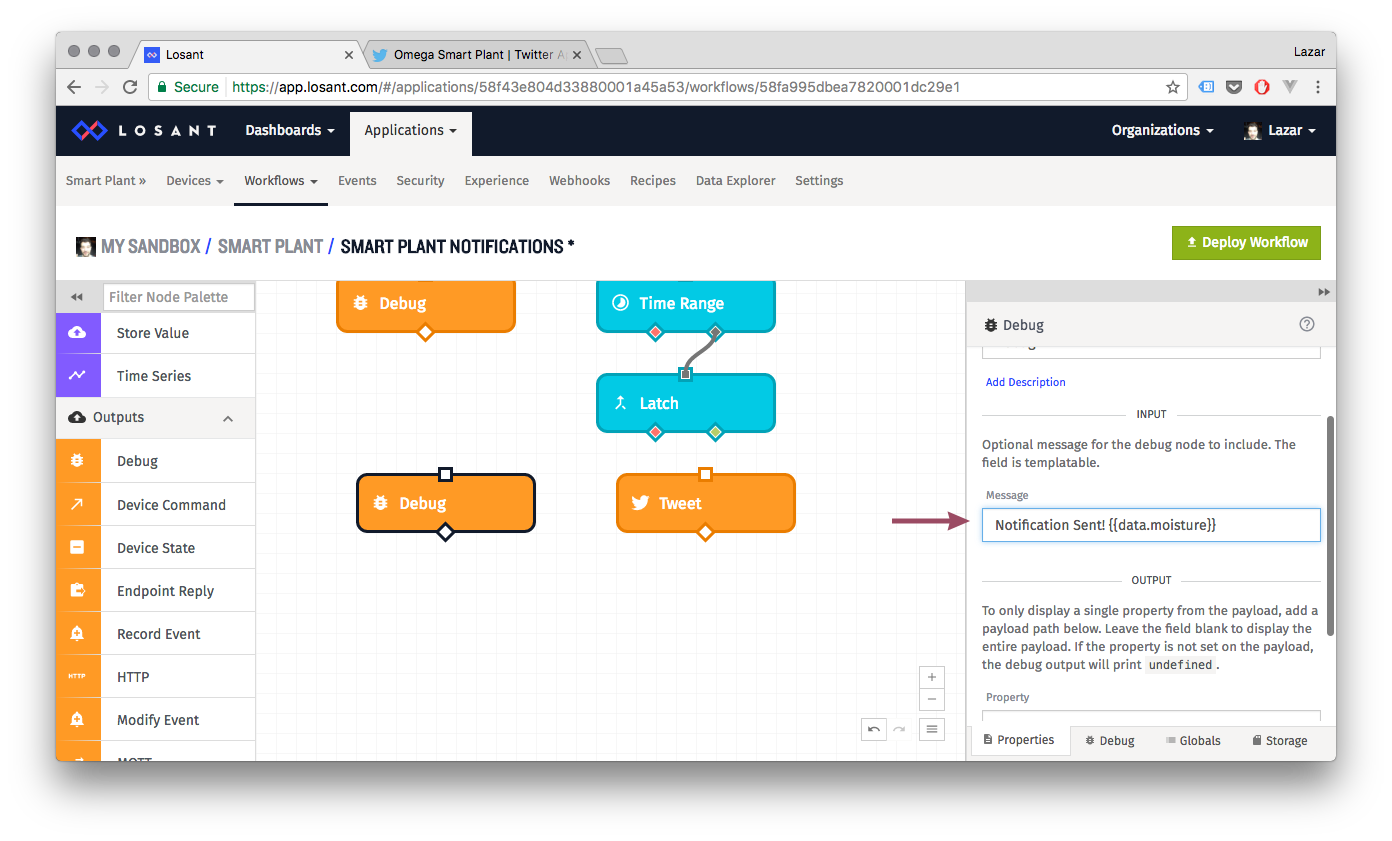
We’ll add in a message to print out the moisture level:
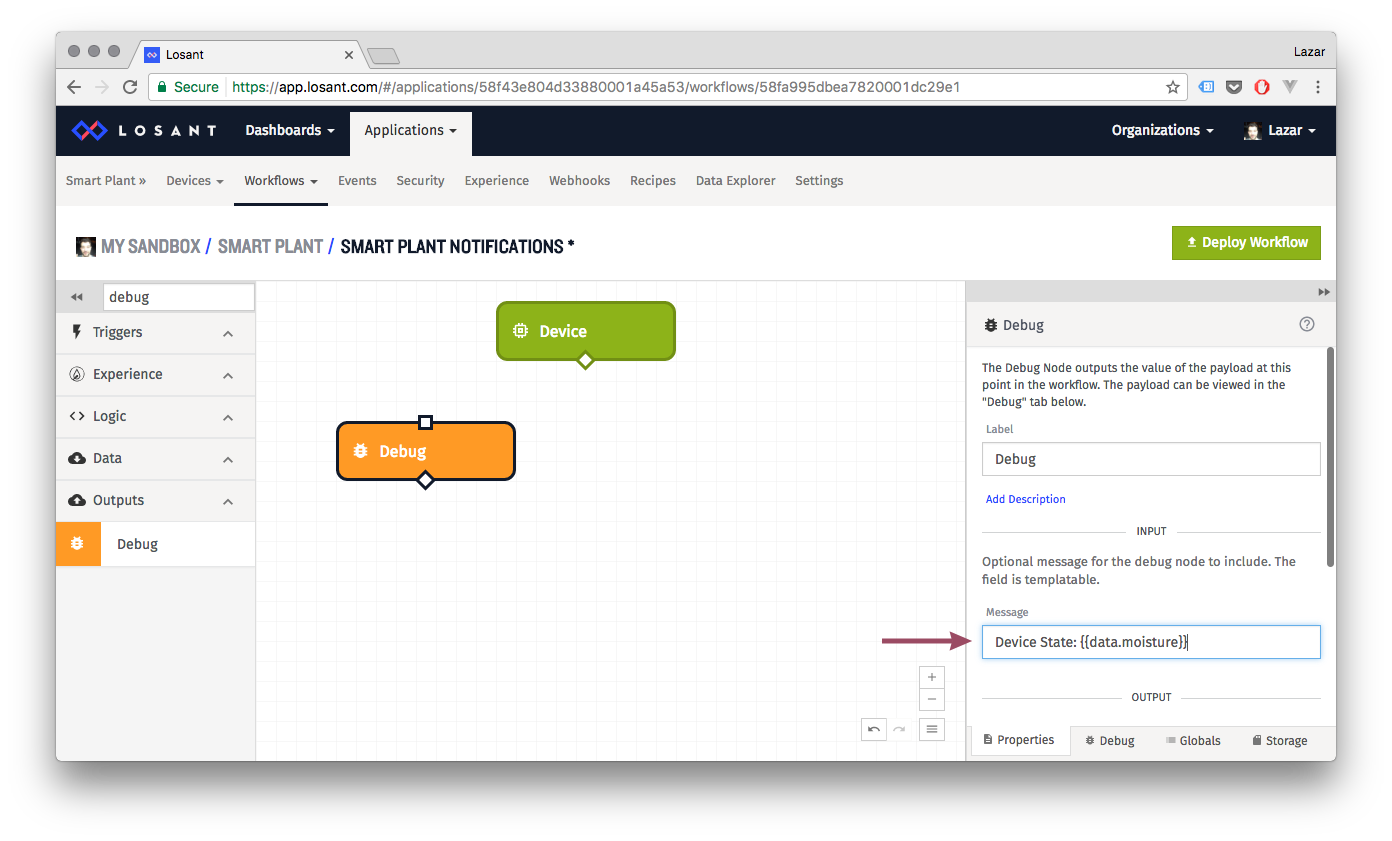
And make the connection:
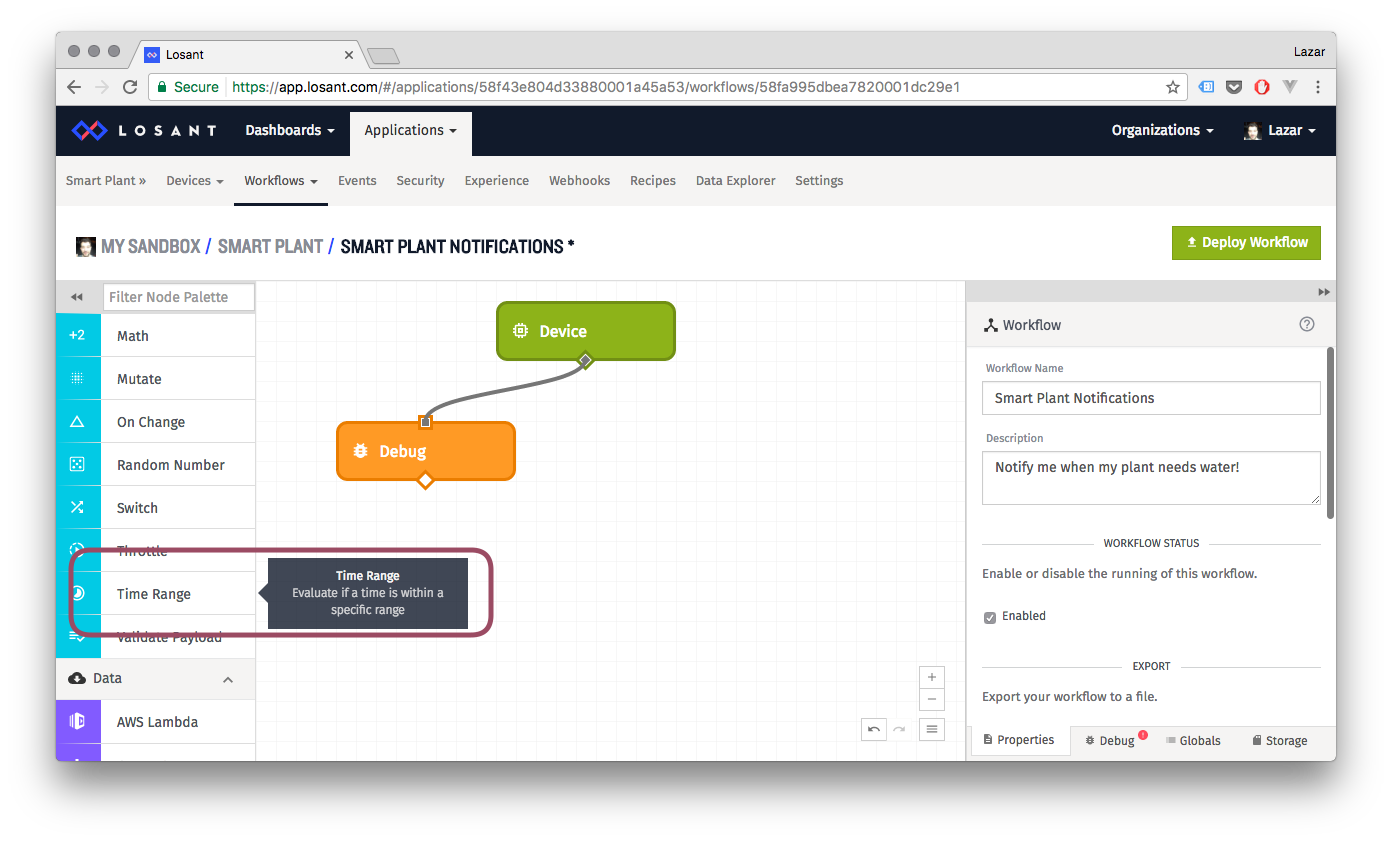
6. Losant Workflow: Time Window
It would defeat the purpose and be be pretty annoying if our plant sent us a notification asking to be watered in the middle of the night. We’ll use the Time Range node to make sure our notifications go out only during the day. Check out Losant’s Time Range node documentation for more info.
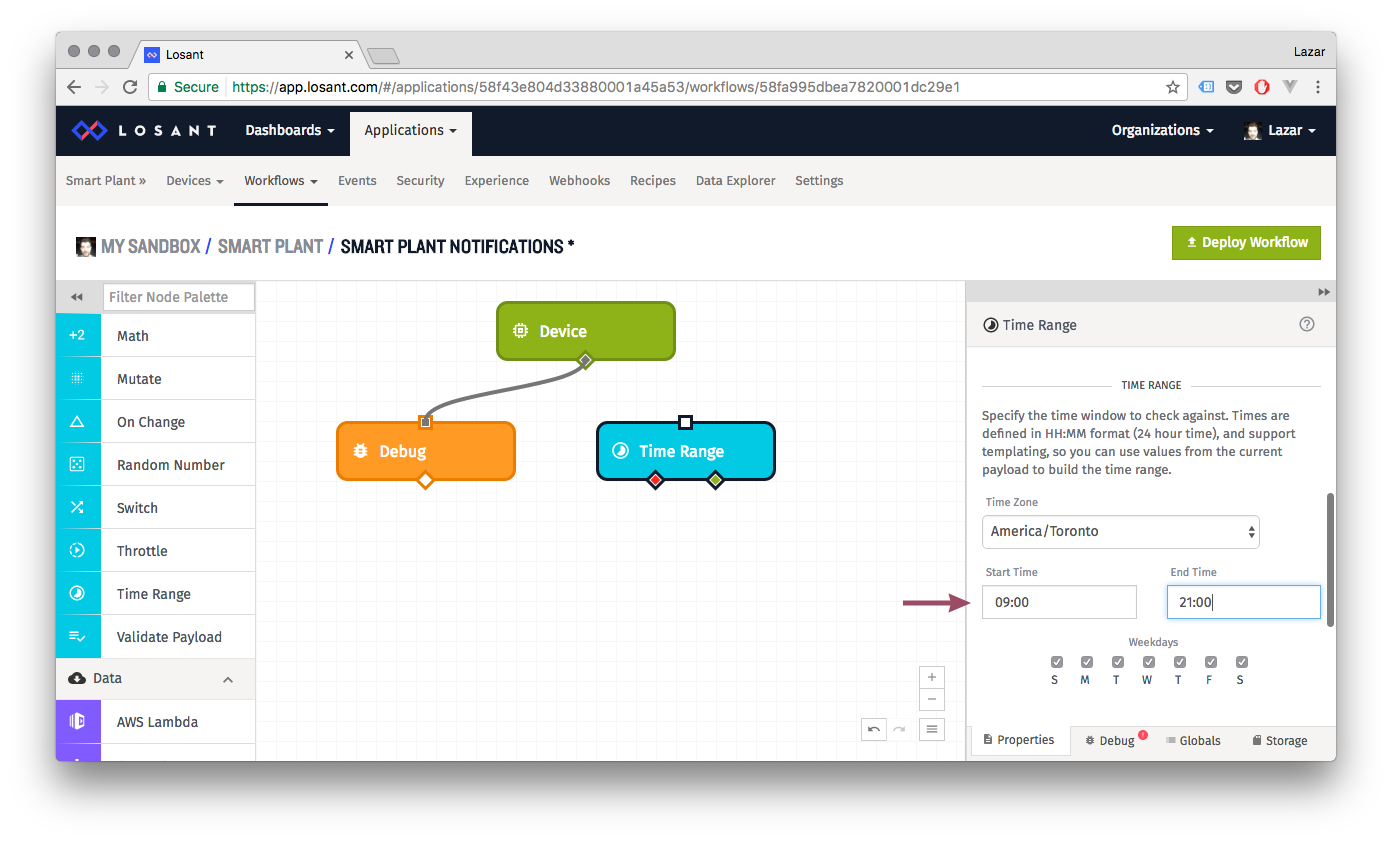
Pull out a Time Range node from the sidebar to get started:
As always, the options provided by the node can be found in the right panel. We’ve set the node to allow the flow to continue if the time is between 9:00 to 21:00 (9am and 9pm) every day, feel free to decide what times work for your plant. Don’t forget to set your Time Zone!
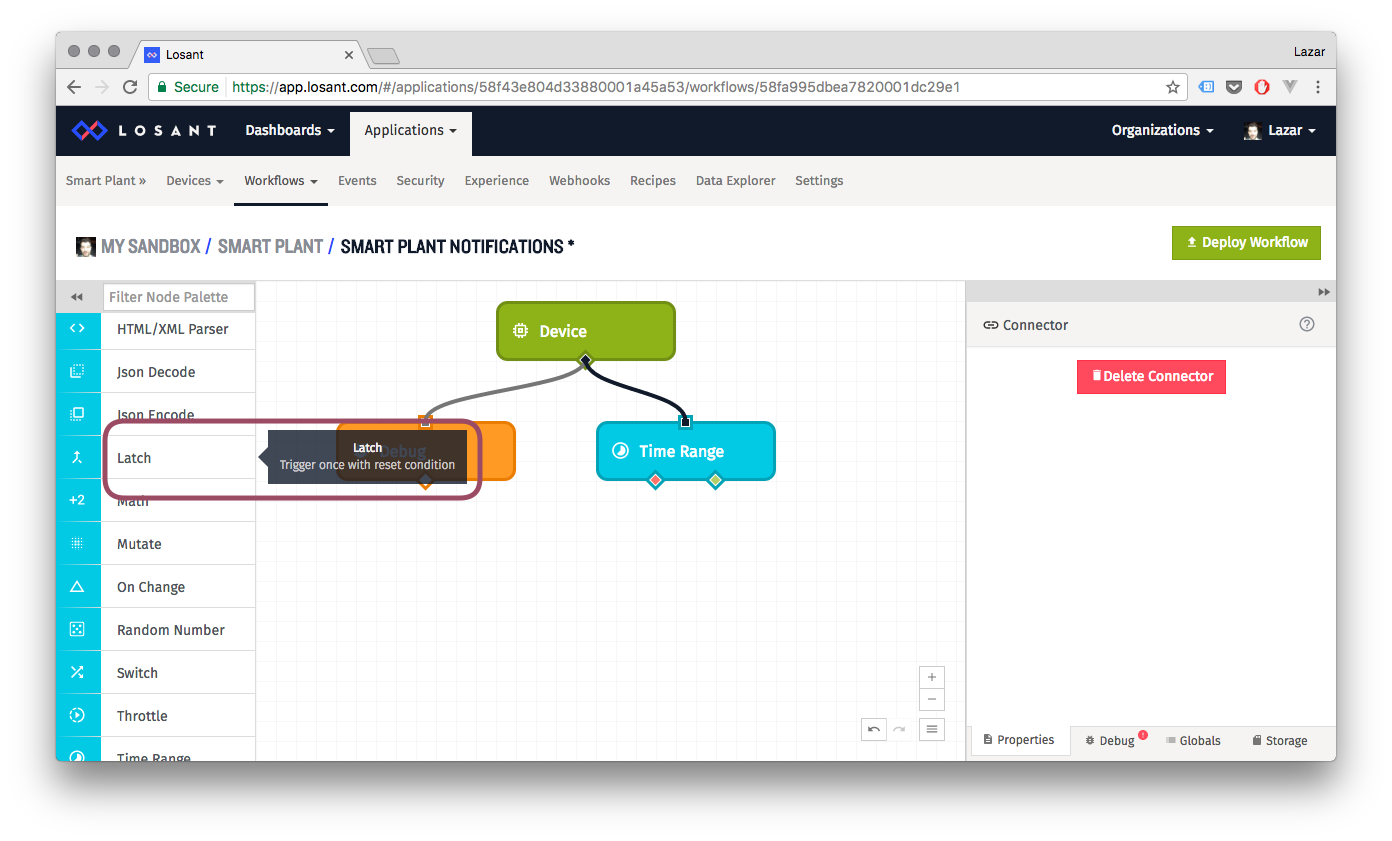
7. Losant Workflow: Check Moisture
Once we have our time window set up, we’ll have to check for moisture!
The Latch node is used to perform a task a single time when a condition has been fulfilled. The node will not perform the task again until another condition has been achieved, kind of like a reset switch. It can be used for things such as one-time notifications. Check out Losant’s Latch node documentation for more details.
For example, you can use it to send a single alert when a moisture sensor has dropped below 20%, and not send any more alerts until the level has risen back above 40%.
Each Latch node has two required conditions:
- The ‘Latched’ condition - when evaluates to
true, triggers a following node once and only once until it has been reset. - The ‘Reset’ condition - when evaluates to
true, resets the ‘Latched’ condition so that it may trigger a node again.
![]()
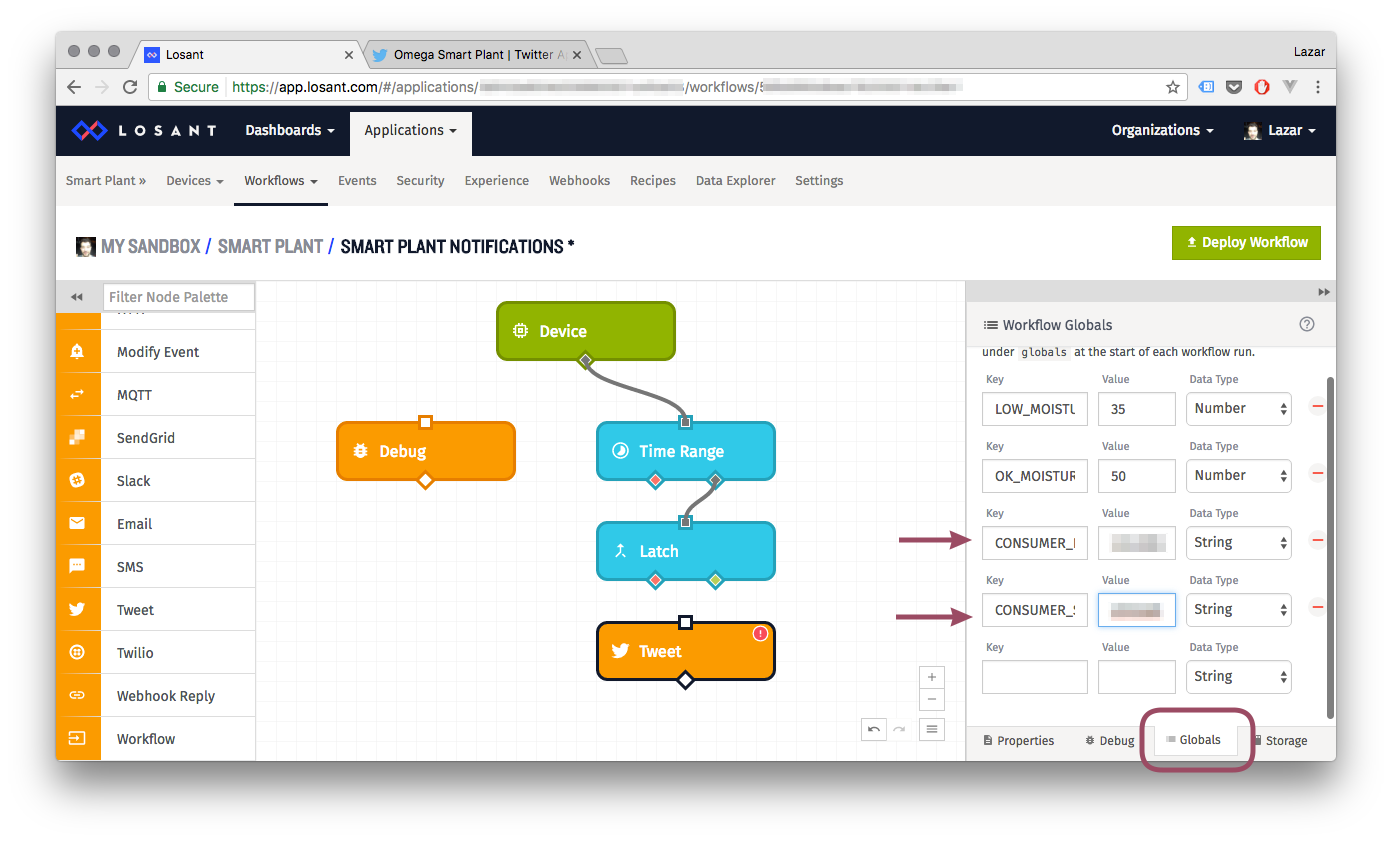
Let’s create some global variables to dictate the moisture levels we’ll use to trigger the latch and to reset it. By using global variables, it’s easy for us to later experiment with different moisture levels and then ensure that the values get updated throughout the entire workflow. Create a LOW_MOISTURE variable to trigger the latch and a OK_MOISTURE variable to reset the latch:
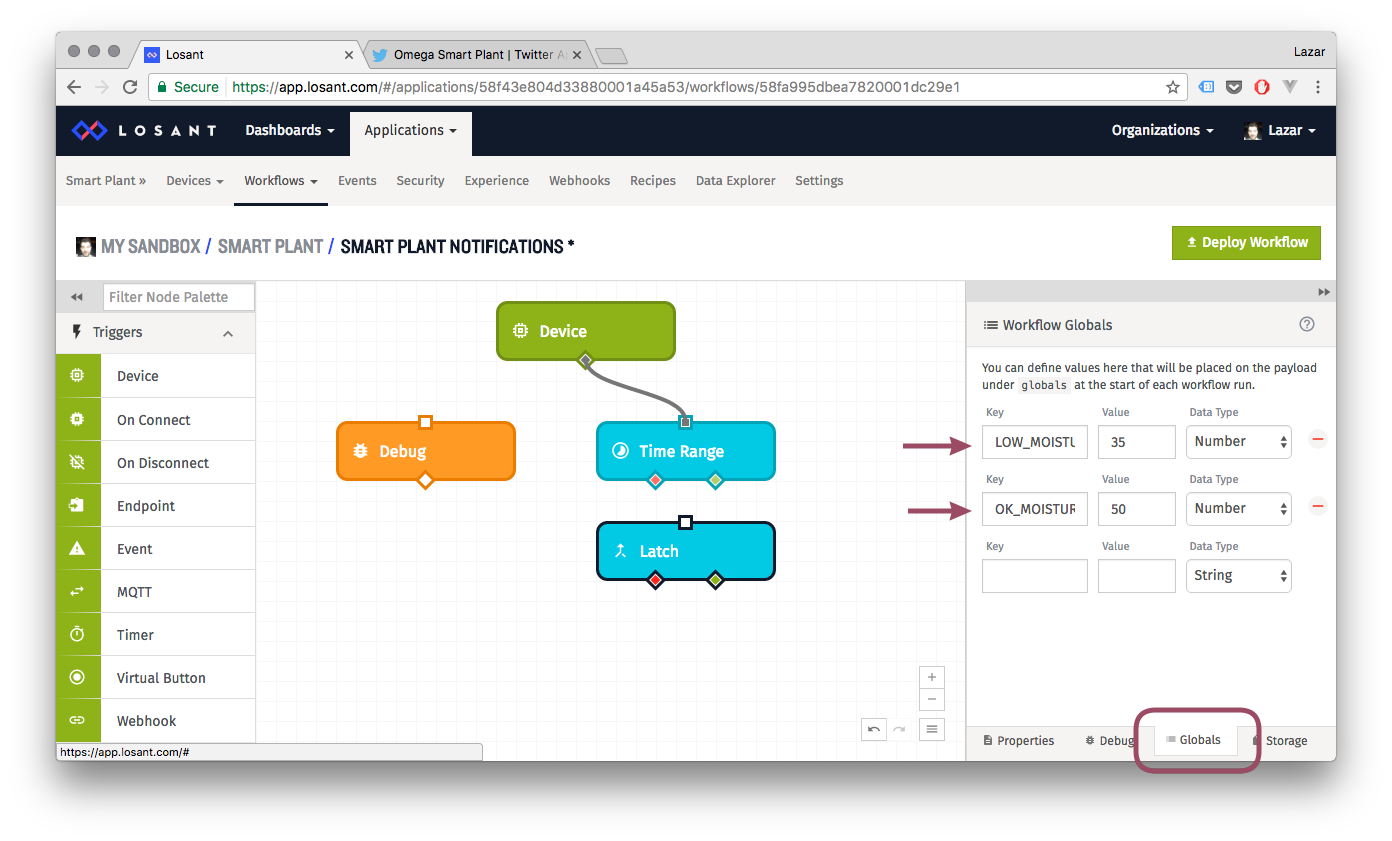
Once the global variables are setup, they can be used in the Latch node:
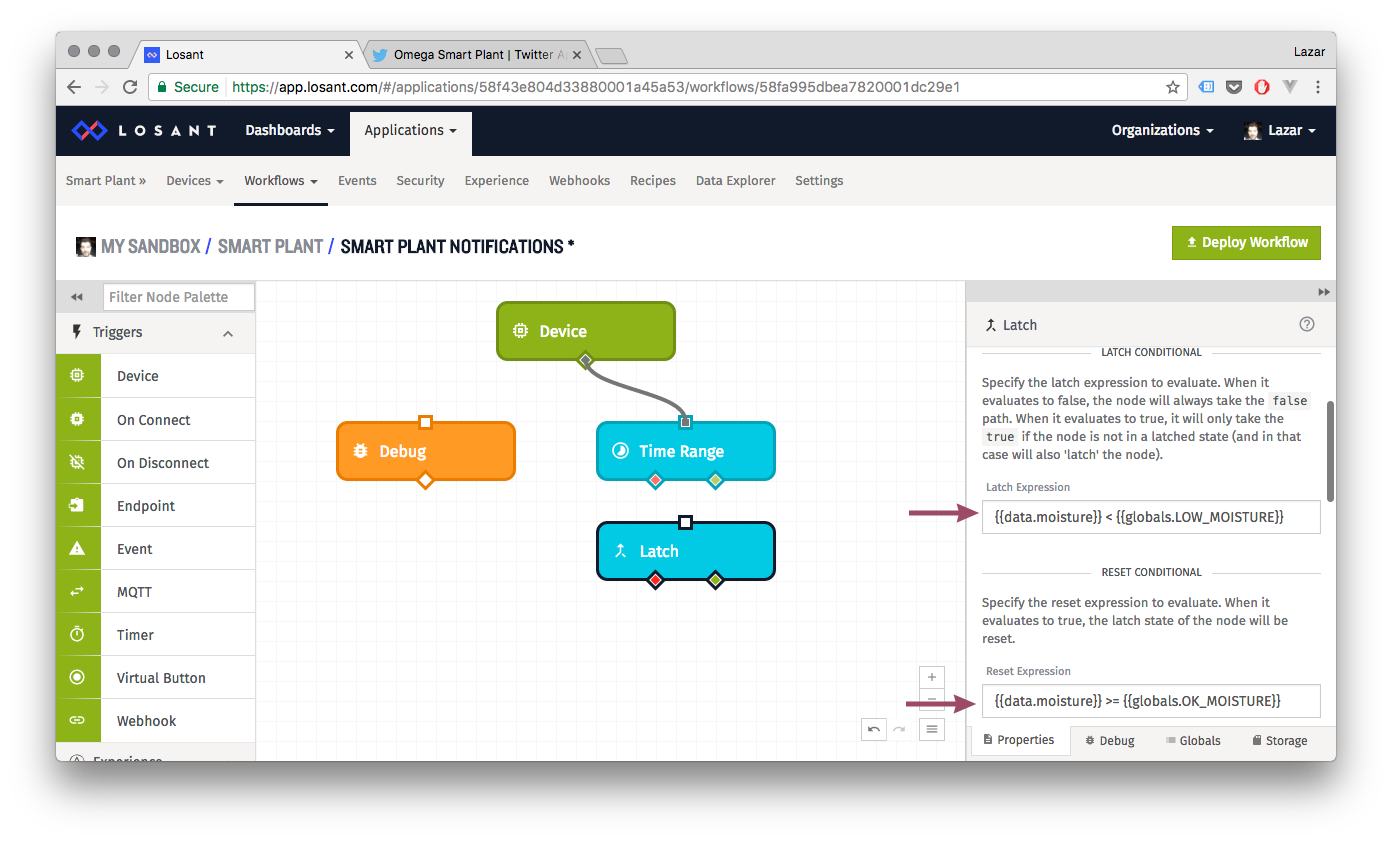
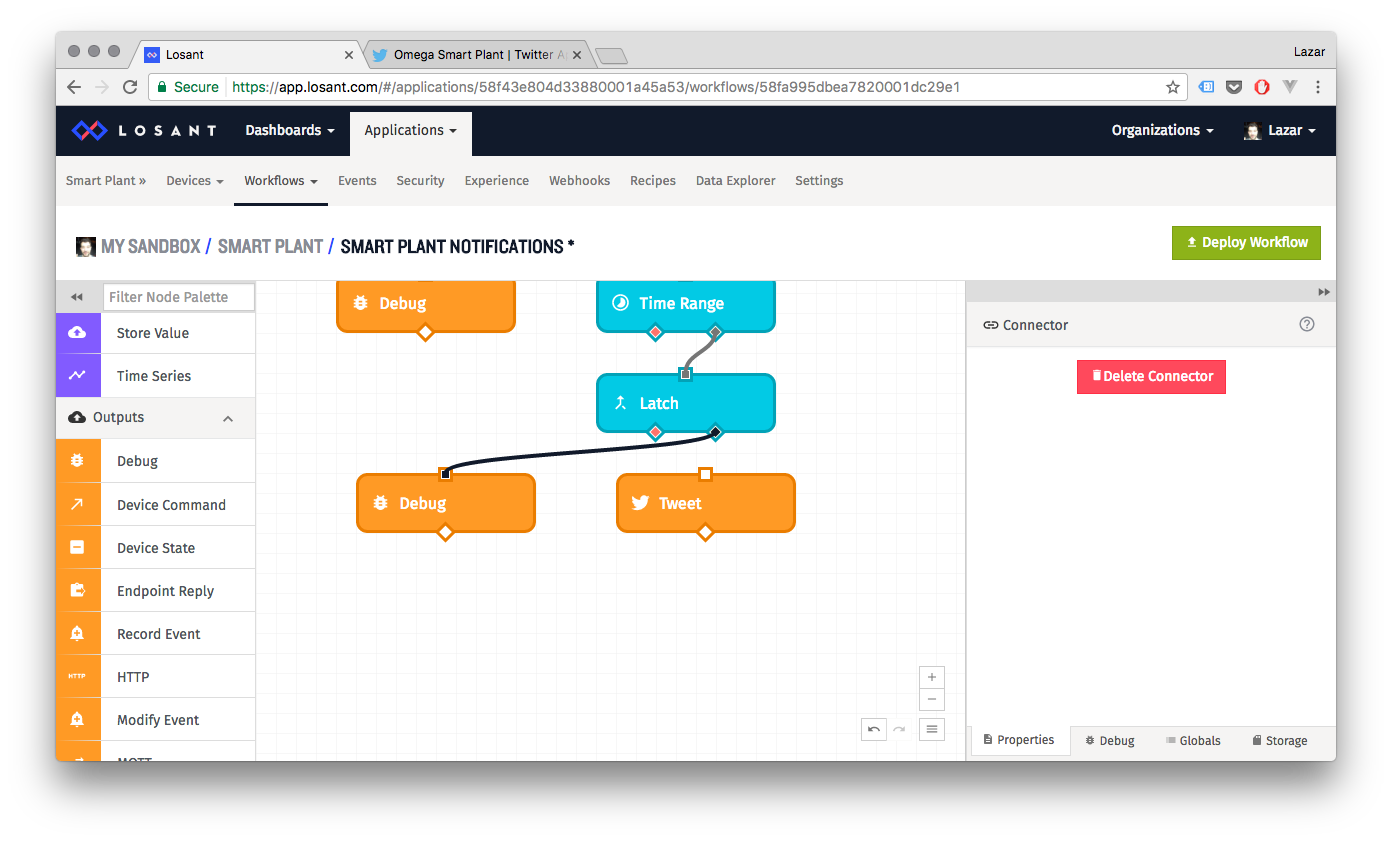
Now that it’s set up, we’ll connect the Latch to the Time Range node. Make sure to connect to the Time Range node’s true path. This is the path that will be active if the current time is within our previously defined time range:
7. Losant Workflow: Twitter Event
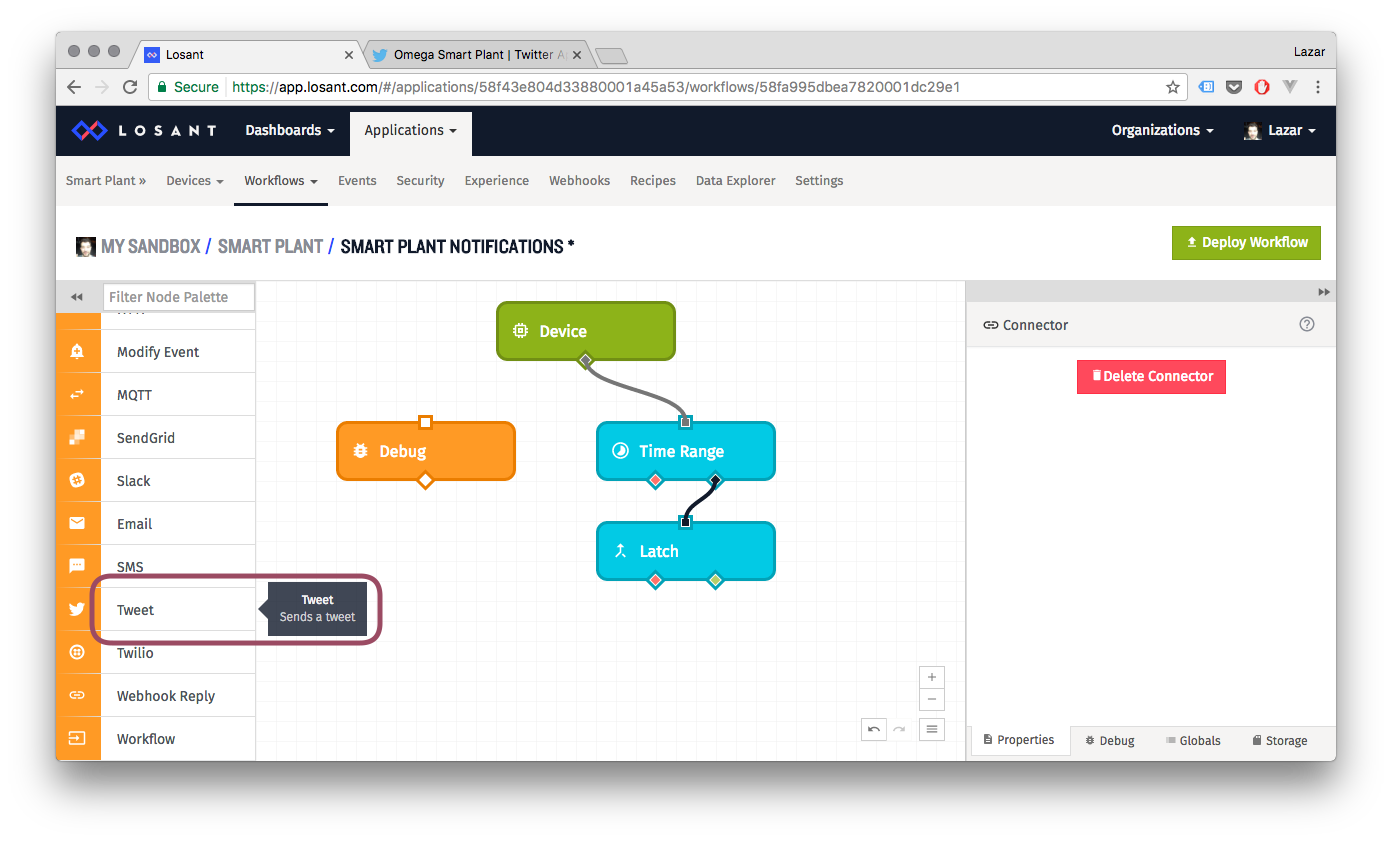
The goal of this project is to get our plant to Tweet us. So when the Latch triggers, we definitely want it to send off a Twitter event.
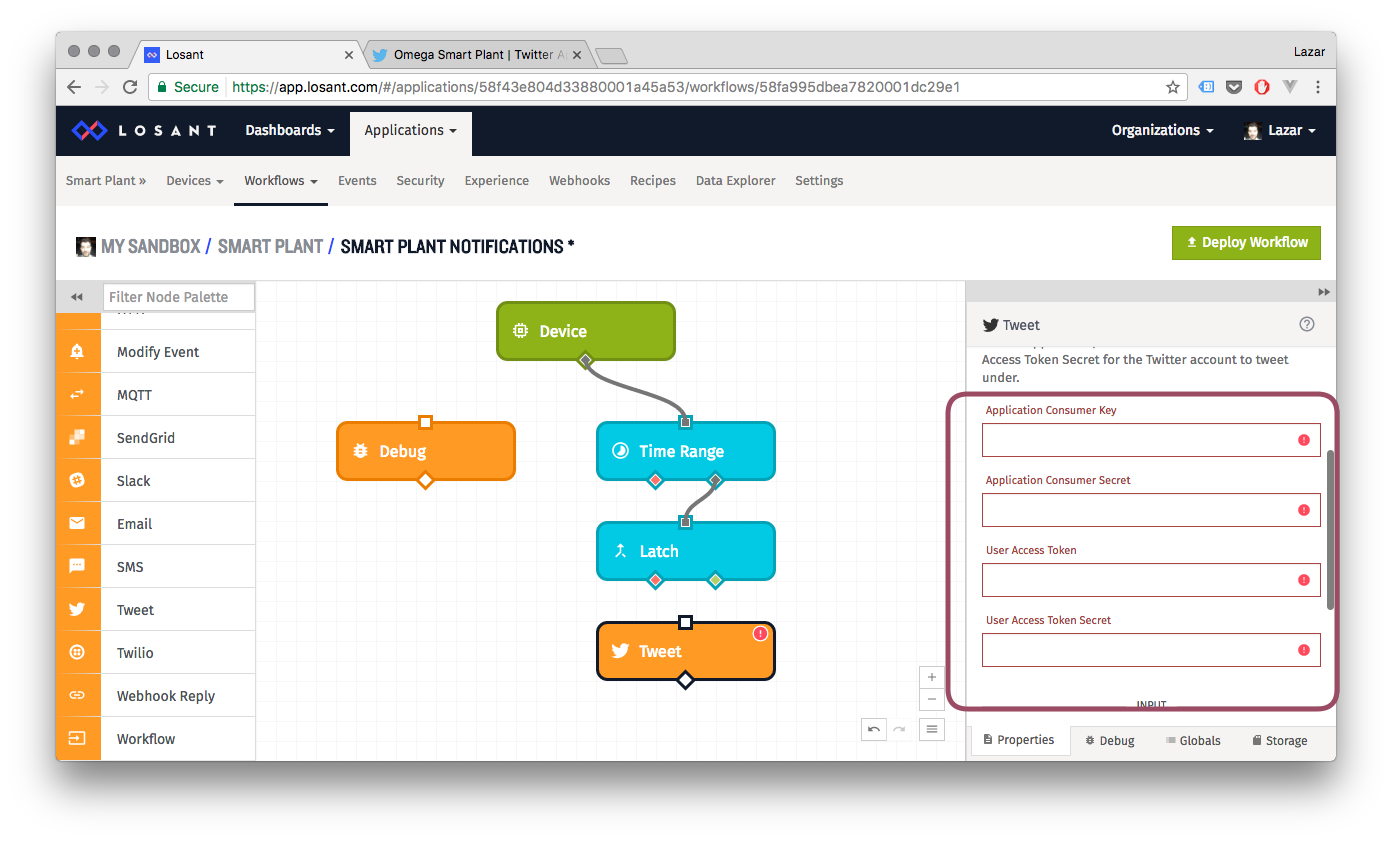
Luckily for us, Losant provides a Tweet node! Check out Losant’s Tweet node documentation for more info.
Taking a look at the properties, it looks like we’ll need to register an App with Twitter so we can obtain an API key and User Access Token to send Tweets:
8. Create a Twitter Application
It’s time to pay Twitter a visit!
Login to Twitter with the account of your choice. Feel free to create a new one - your plant is special, after all!
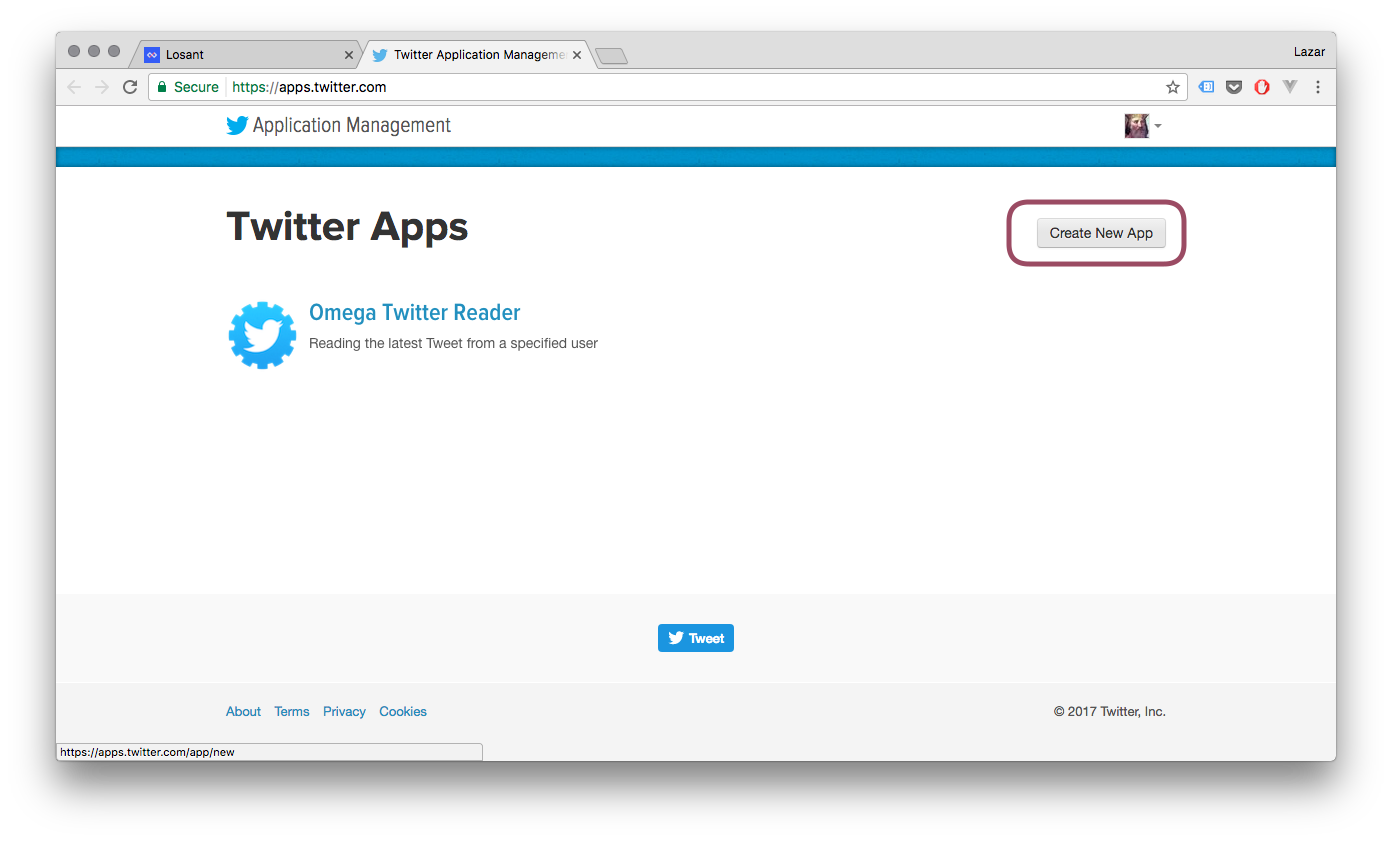
When you’re in, visit https://apps.twitter.com where we’ll be able to create a new App to access Twitter’s APIs:
Give it a name, a description, and a website. The website can really be anything you wish - it will be used by Twitter to give credit and send users for more information.
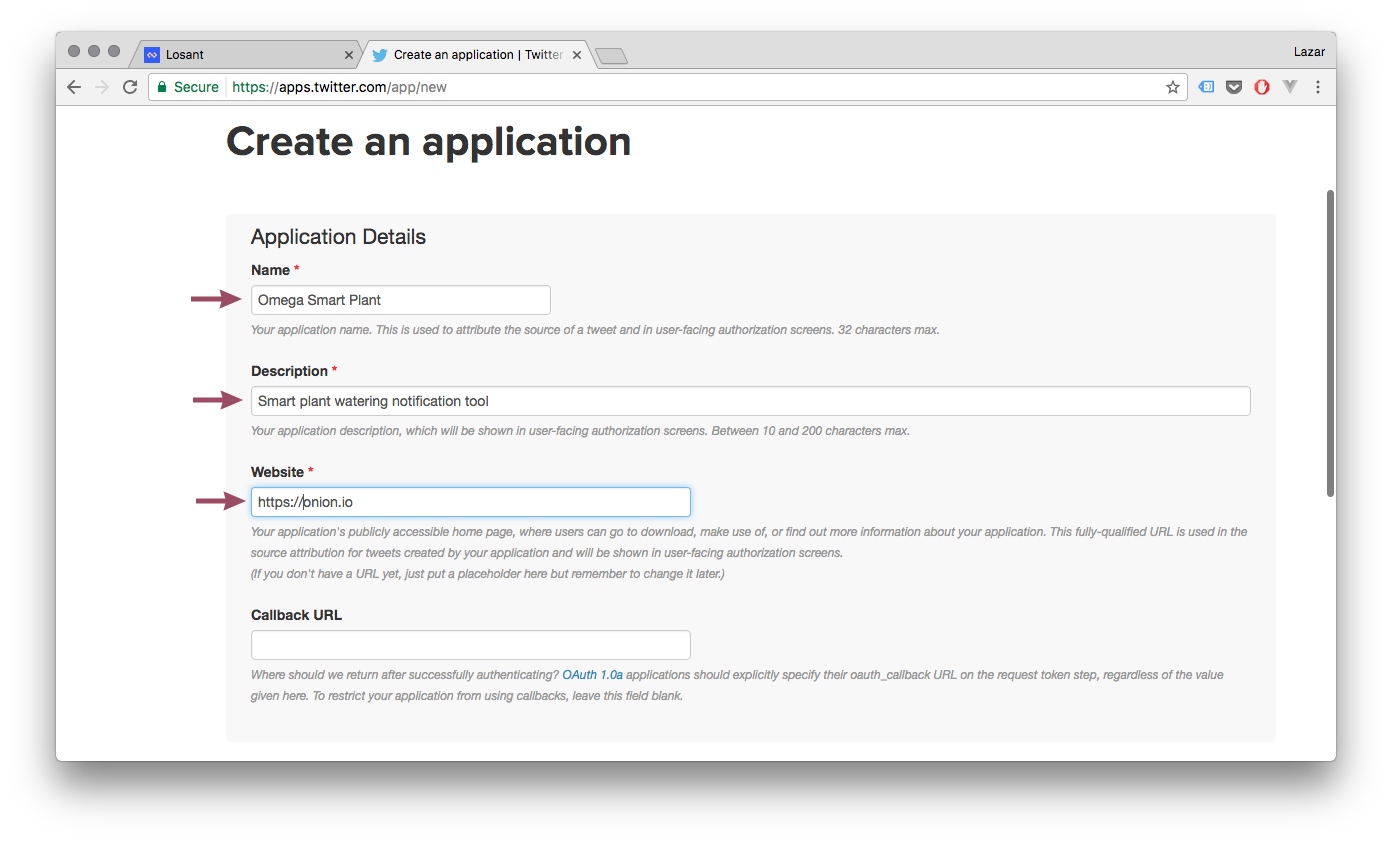
Feel free to link it to this project!
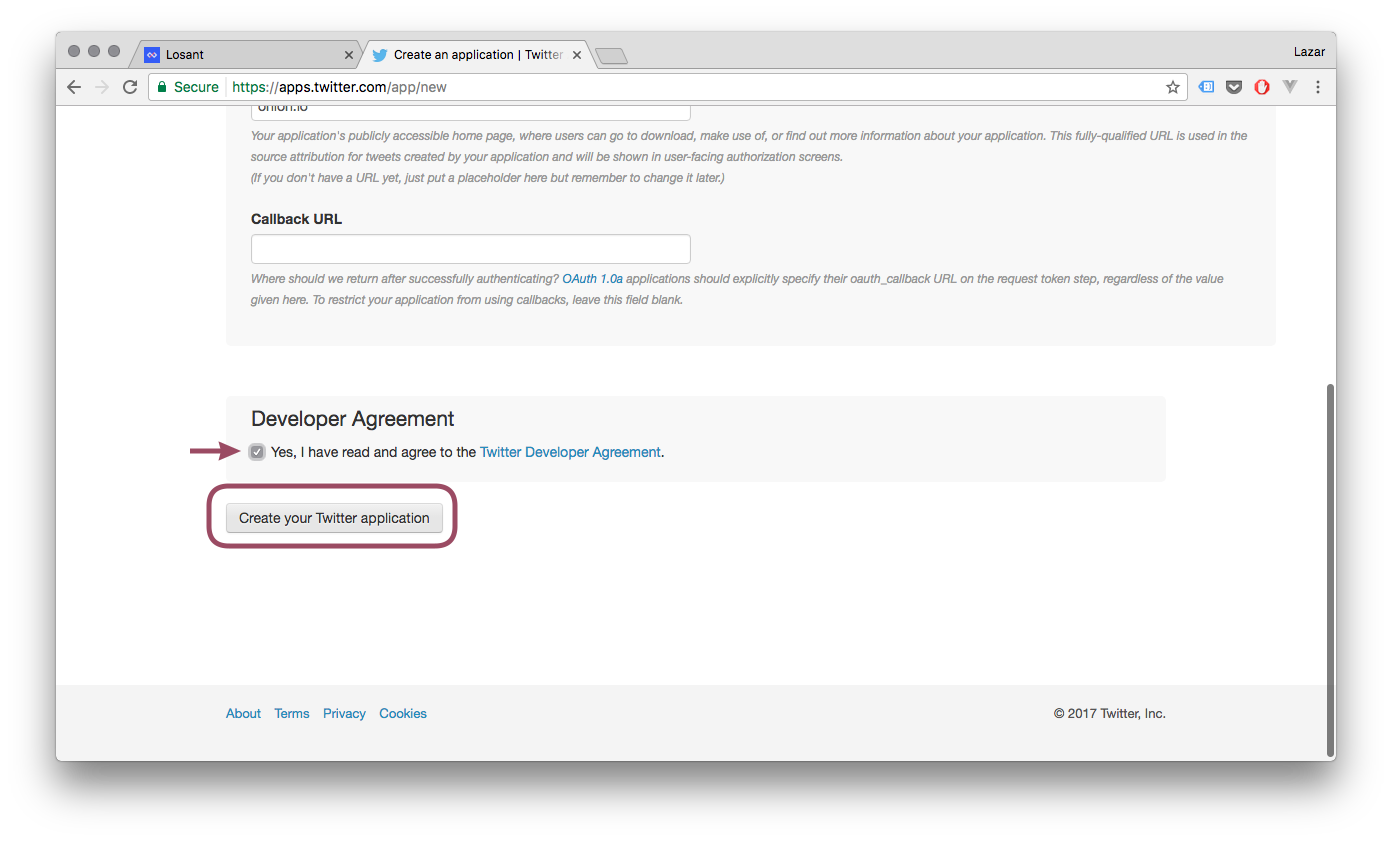
Agree to the Twitter Developer Agreement - read it over if you can - and hit the Button to create your App!
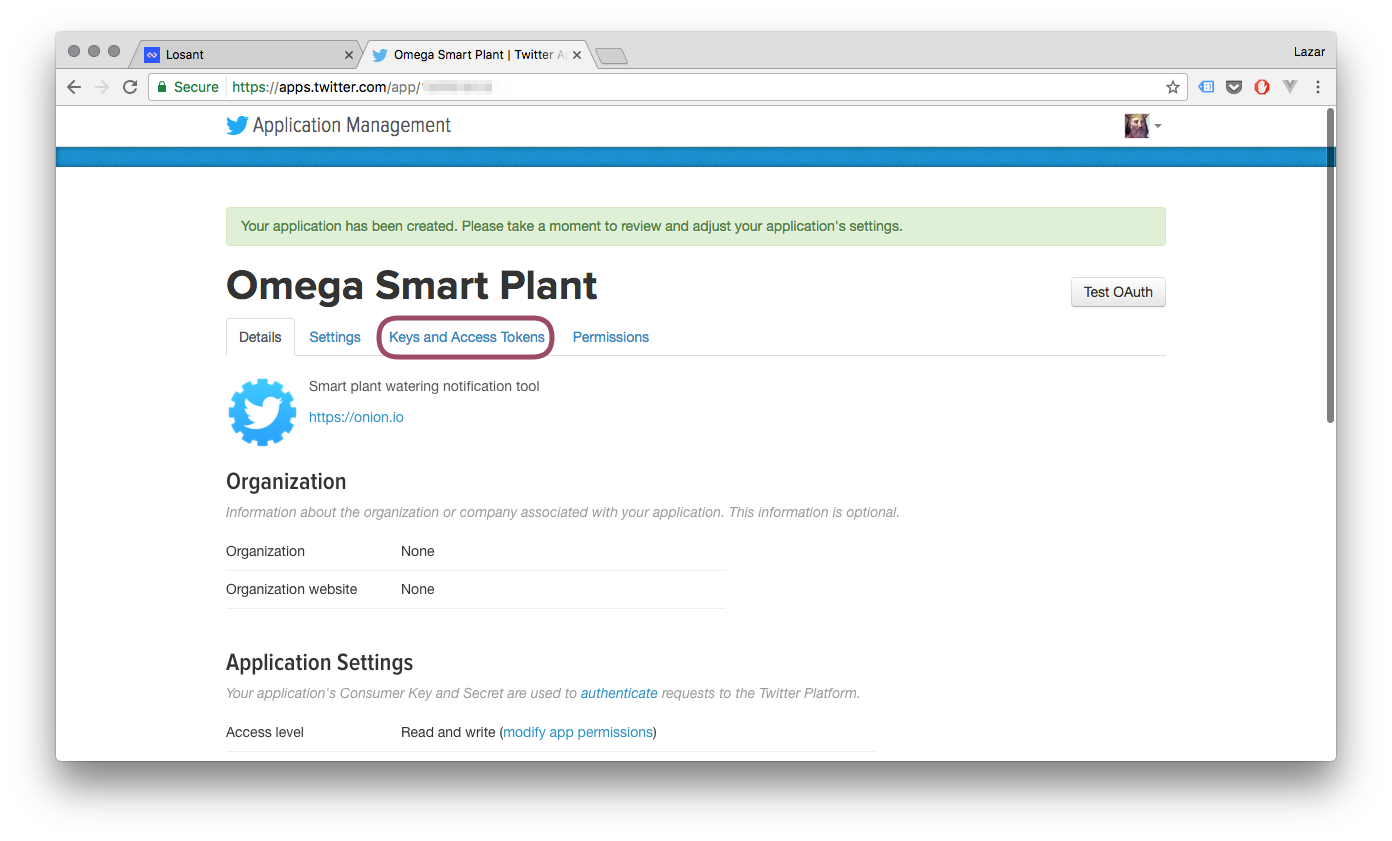
Welcome to your Twitter App!
Now let’s go and get what we came for: the API keys. Navigate to the ‘Keys and Access Tokens’ tab:
And you’ll be greeted with your Consumer Key and Consumer Secret:
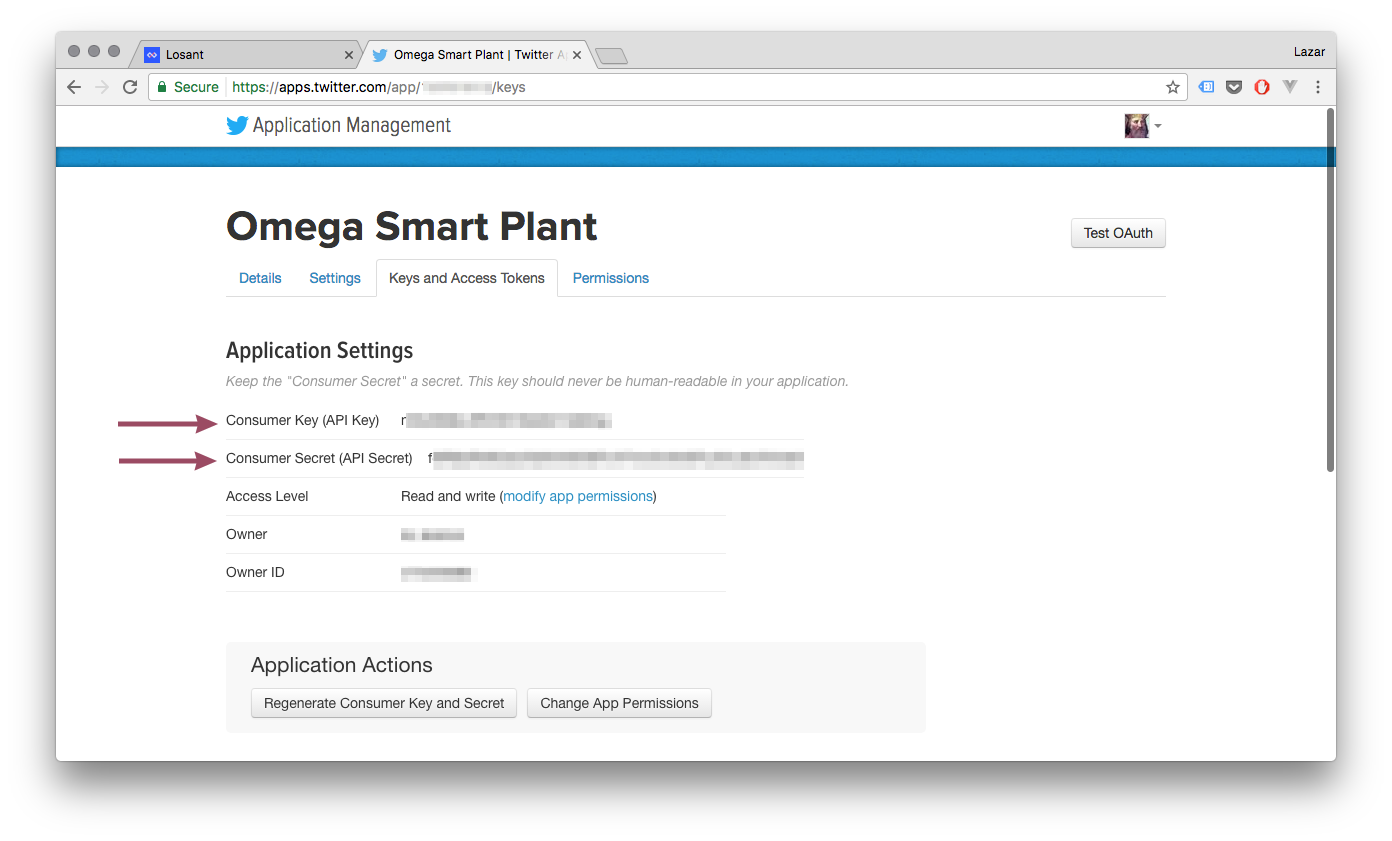
If you think your keys have fallen into the hands of evil, you can always regenerate a new pair here. The old ones will no longer be useable at all when you do this, so take care with the regenerate button.
Copy the keys and head back to your workflow. Create CONSUMER_KEY and CONSUMER_SECRET global variables to hold the values:
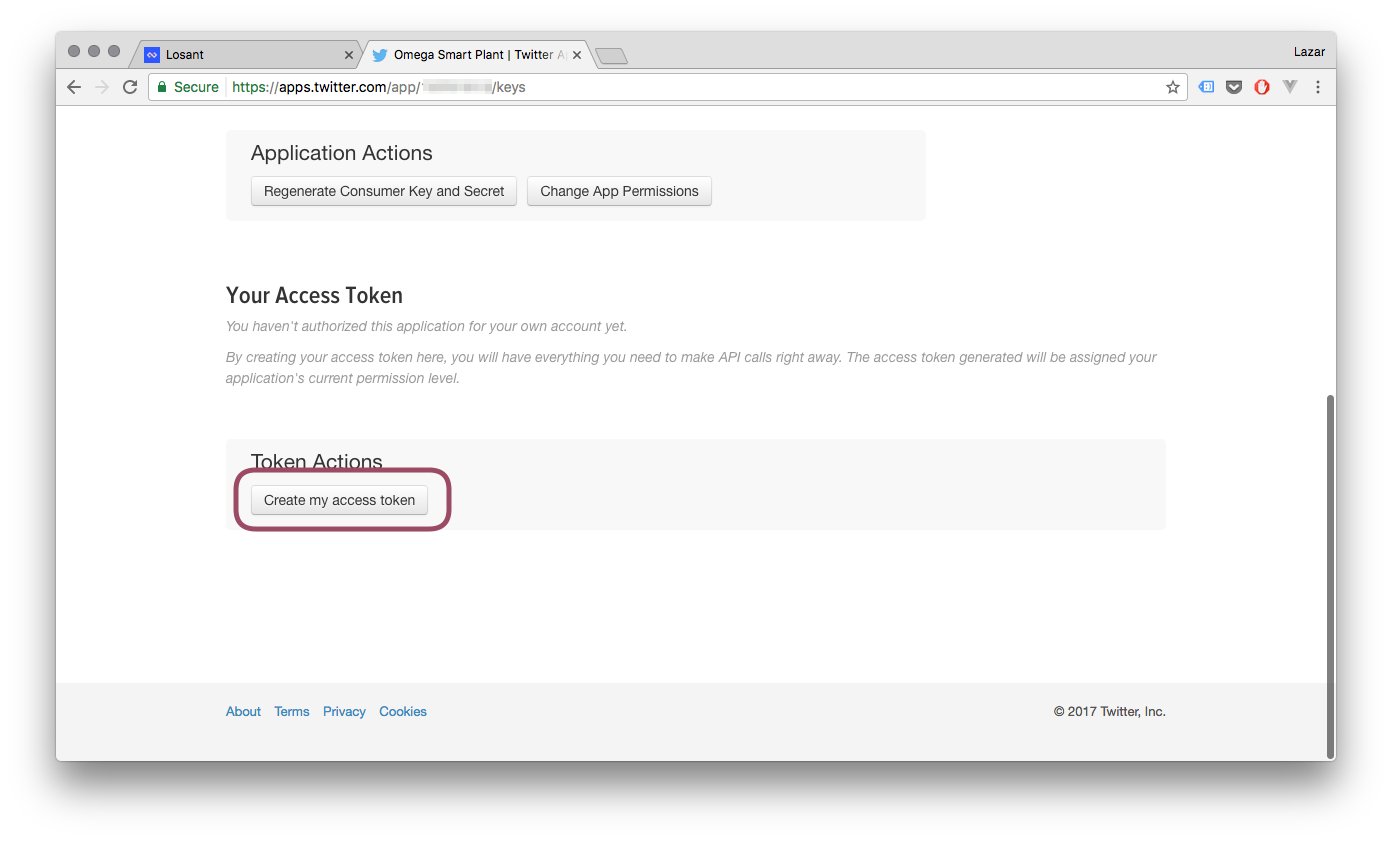
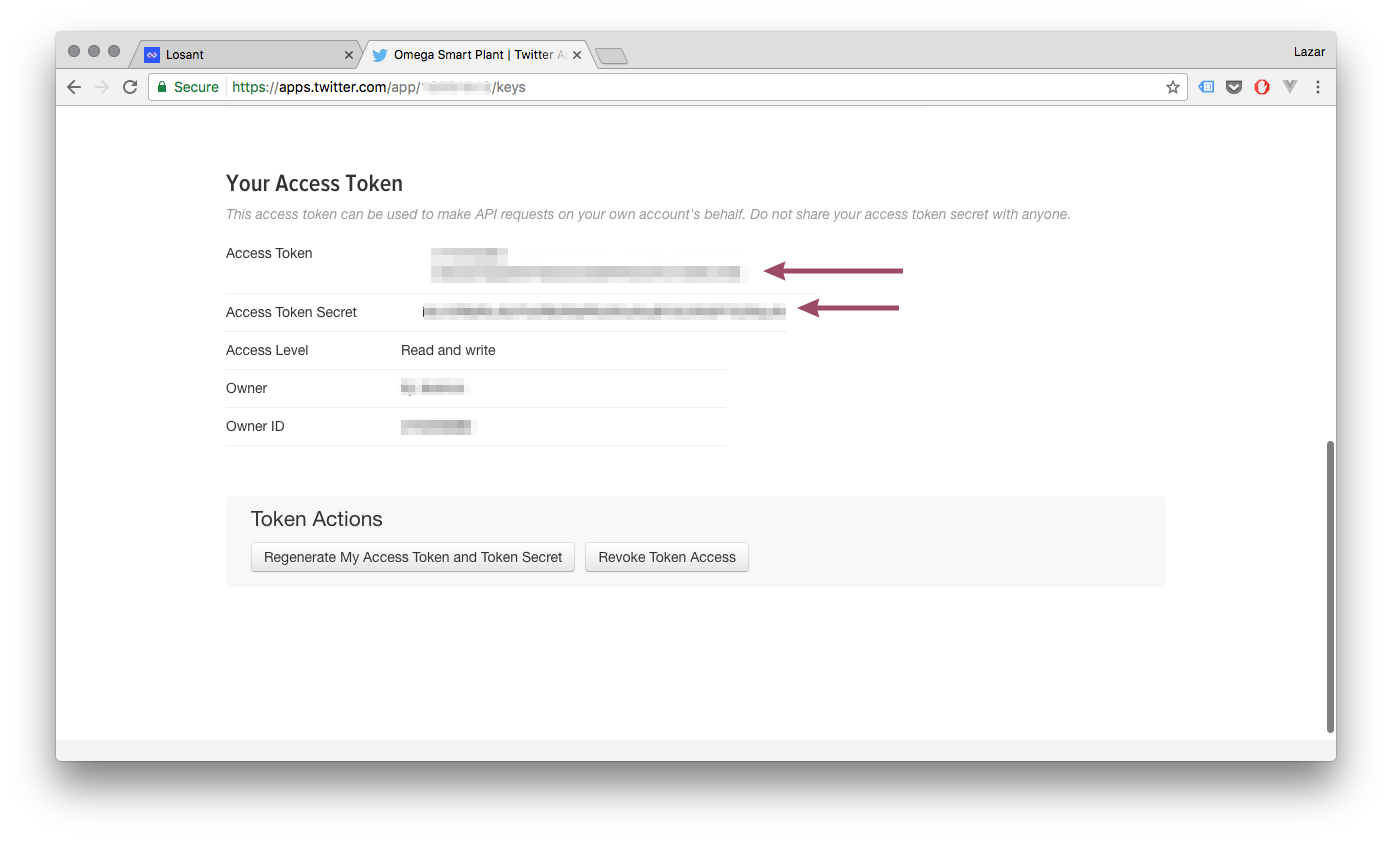
Once the keys are in, it’s time to generate Access Tokens. Head back to Twitter and create a new access token:
Note the token values:
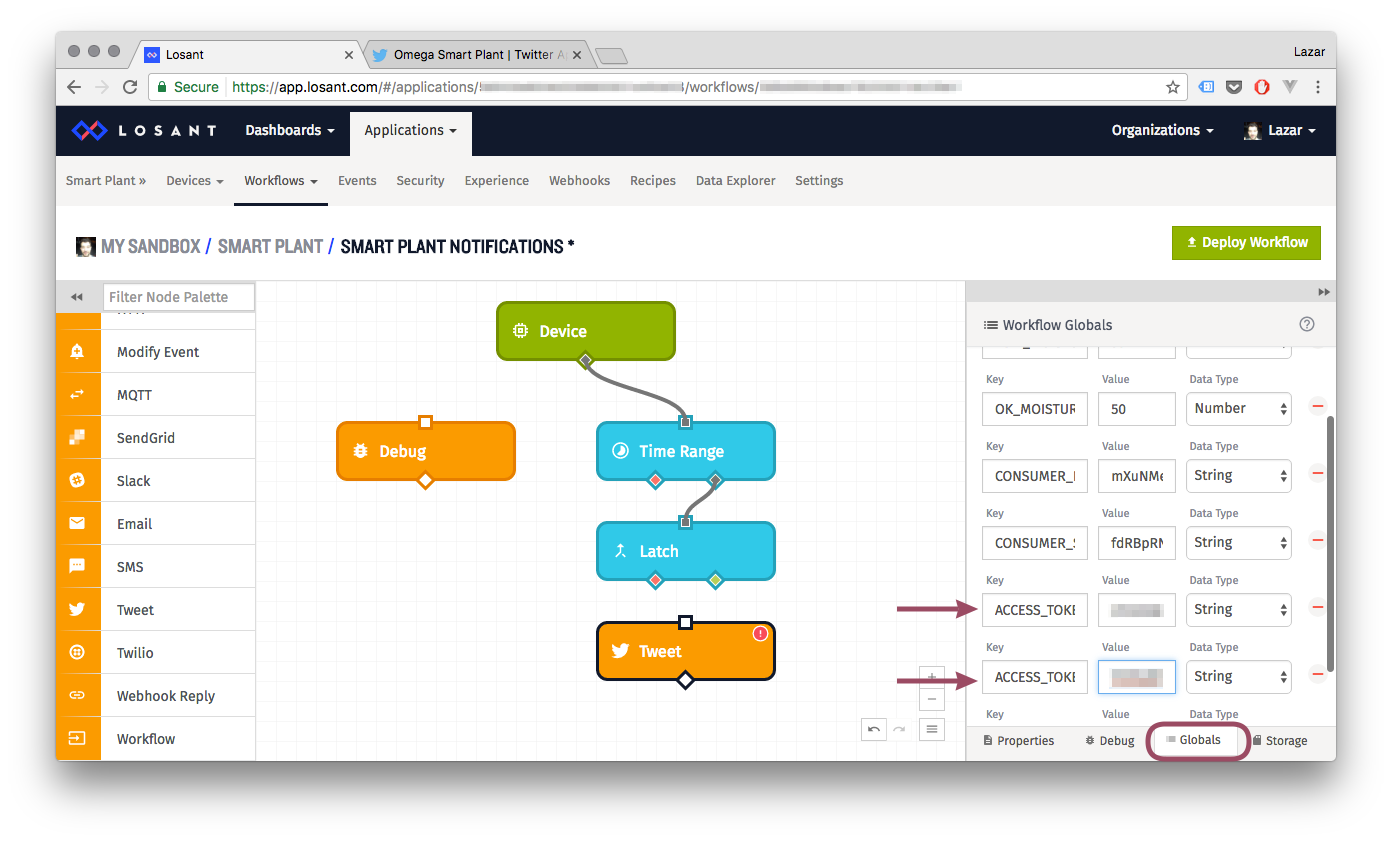
Just like with the consumer key and secret, create ACCESS_TOKEN and ACCESS_TOKEN_SECRET global variables in the Losant Workflow to hold the Access Token values:
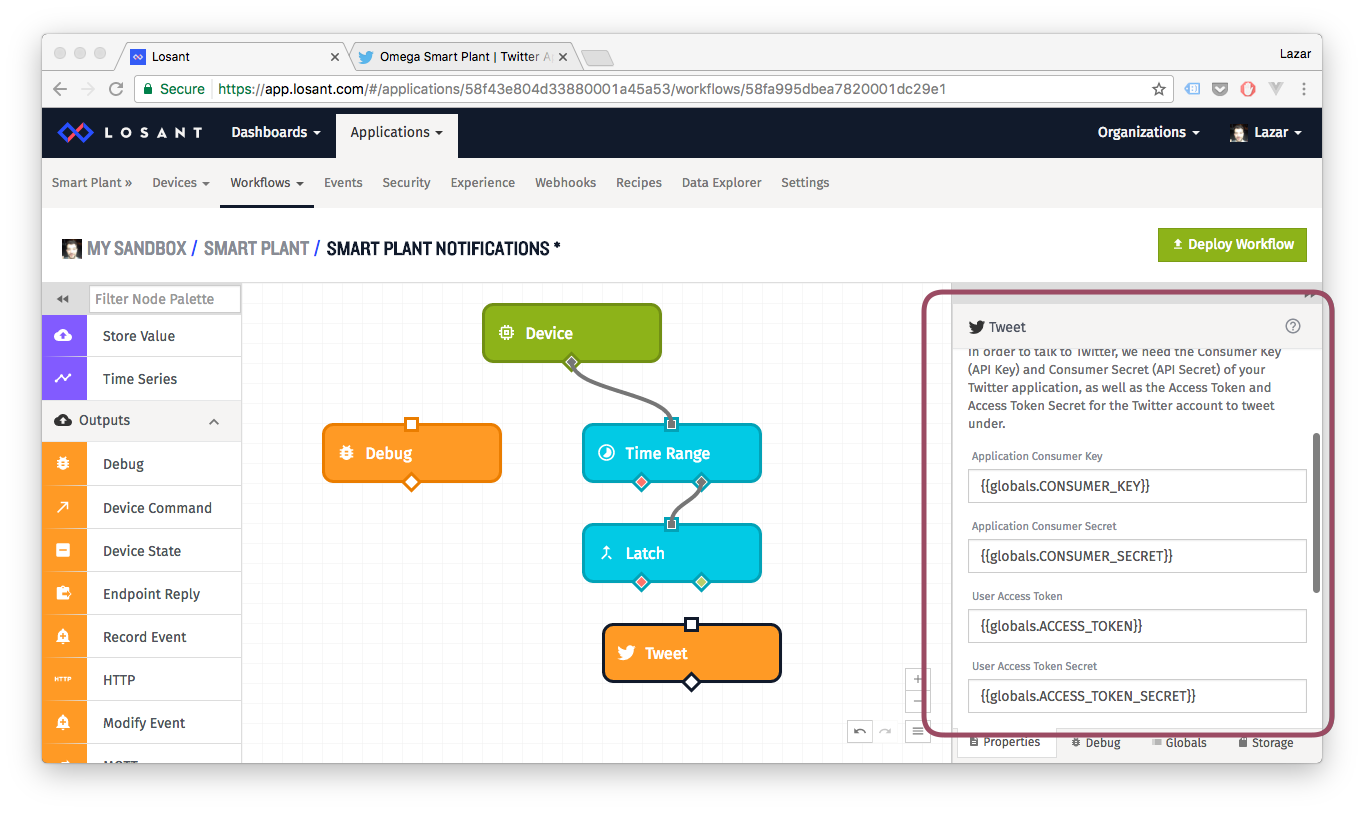
Now we can put the keys into the Twitter node by referencing the global variables:
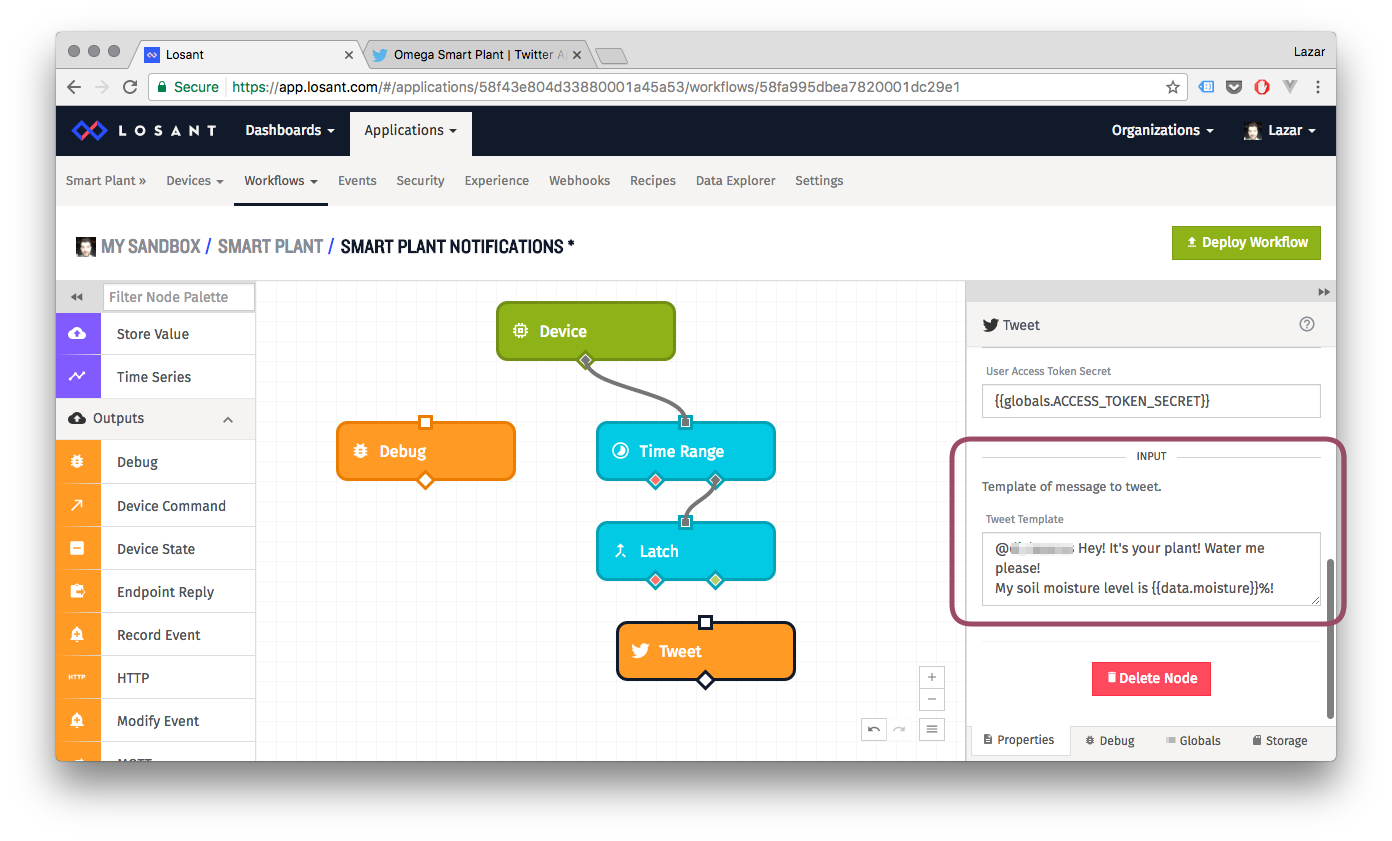
Come up with something you think your plant would say:
And the Twitter Node is ready for action!
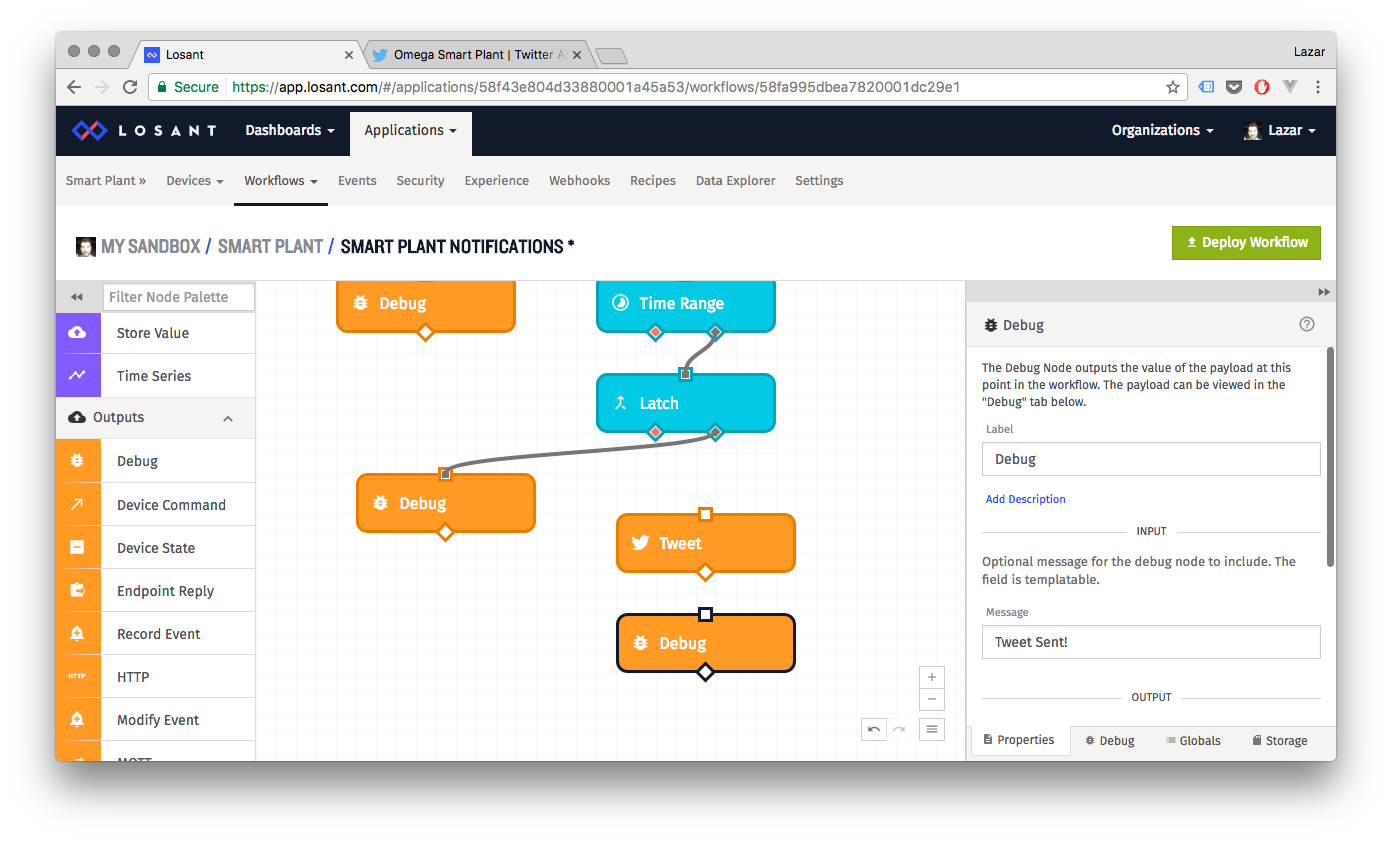
As good practice, let’s put in a debug message so we can easily see in the Debug Log when a Tweet should have been sent out:
And connect it to the same trigger that will fire the Tweet - the moisture level Latch:
8. Test Tweeting
It’s a good idea to test out smaller pieces first. So let’s make sure that our Tweet node works as intended.
First, set up a debug message to follow up on the Tweet event:
Connect it to the Tweet node, this will let us know that a Tweet was attempted by Losant - successfully or not.
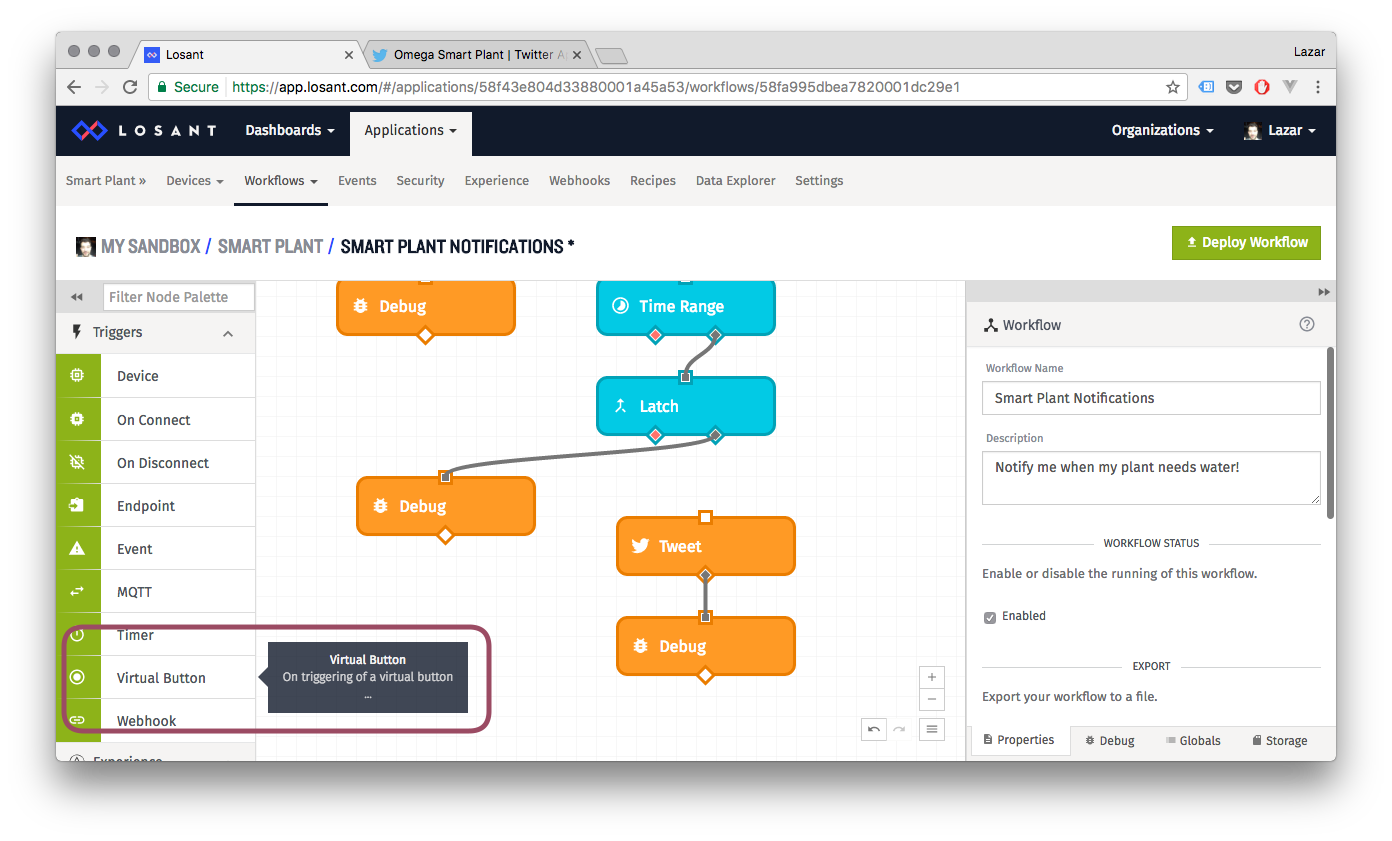
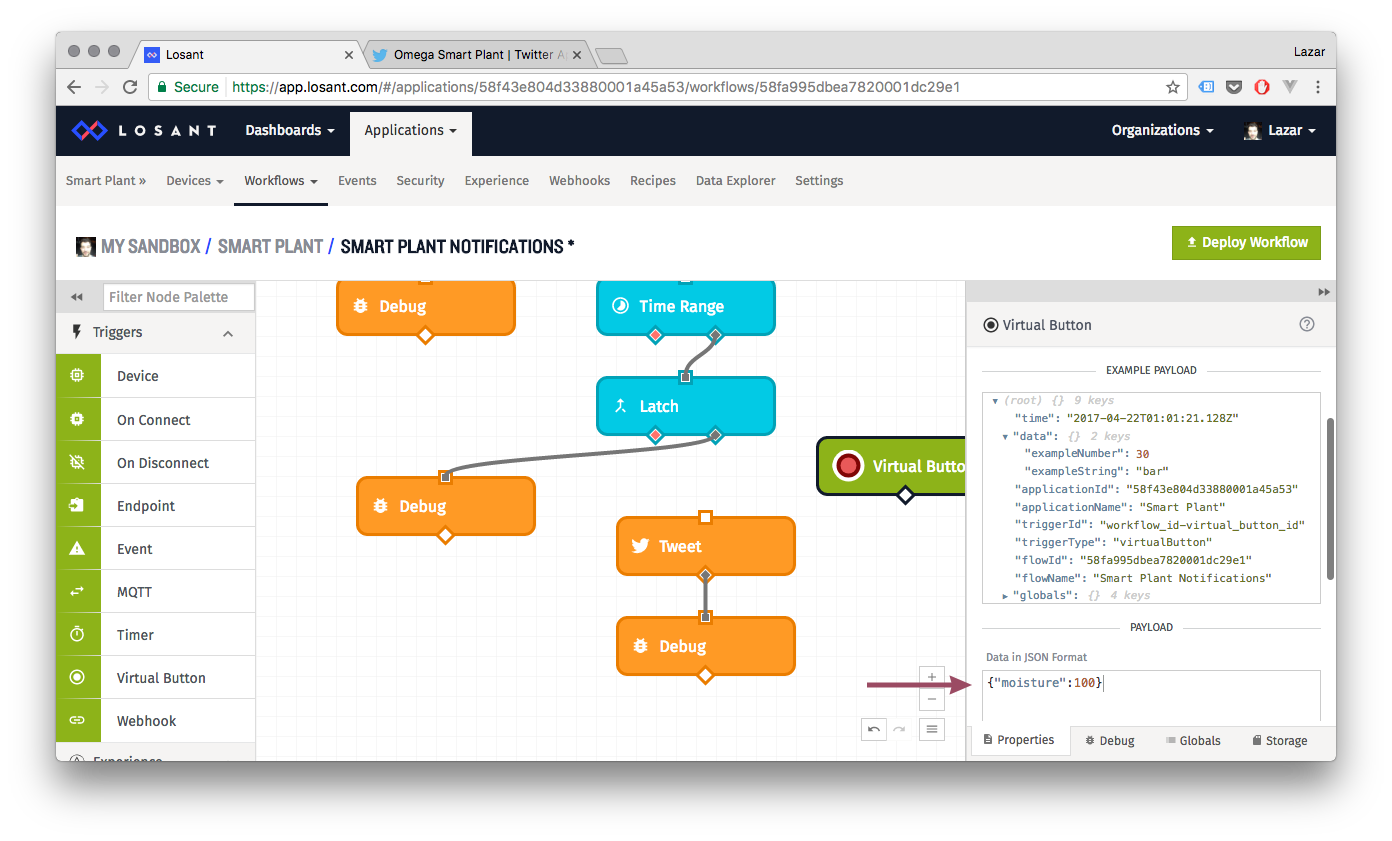
Now let’s add a Button node so we can trigger the Tweet event on demand for testing:
The button needs a payload to send to the node it triggers.
The payload we used is this json string:
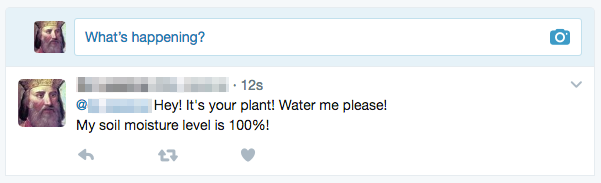
{"moisture":100}Looking something like this:
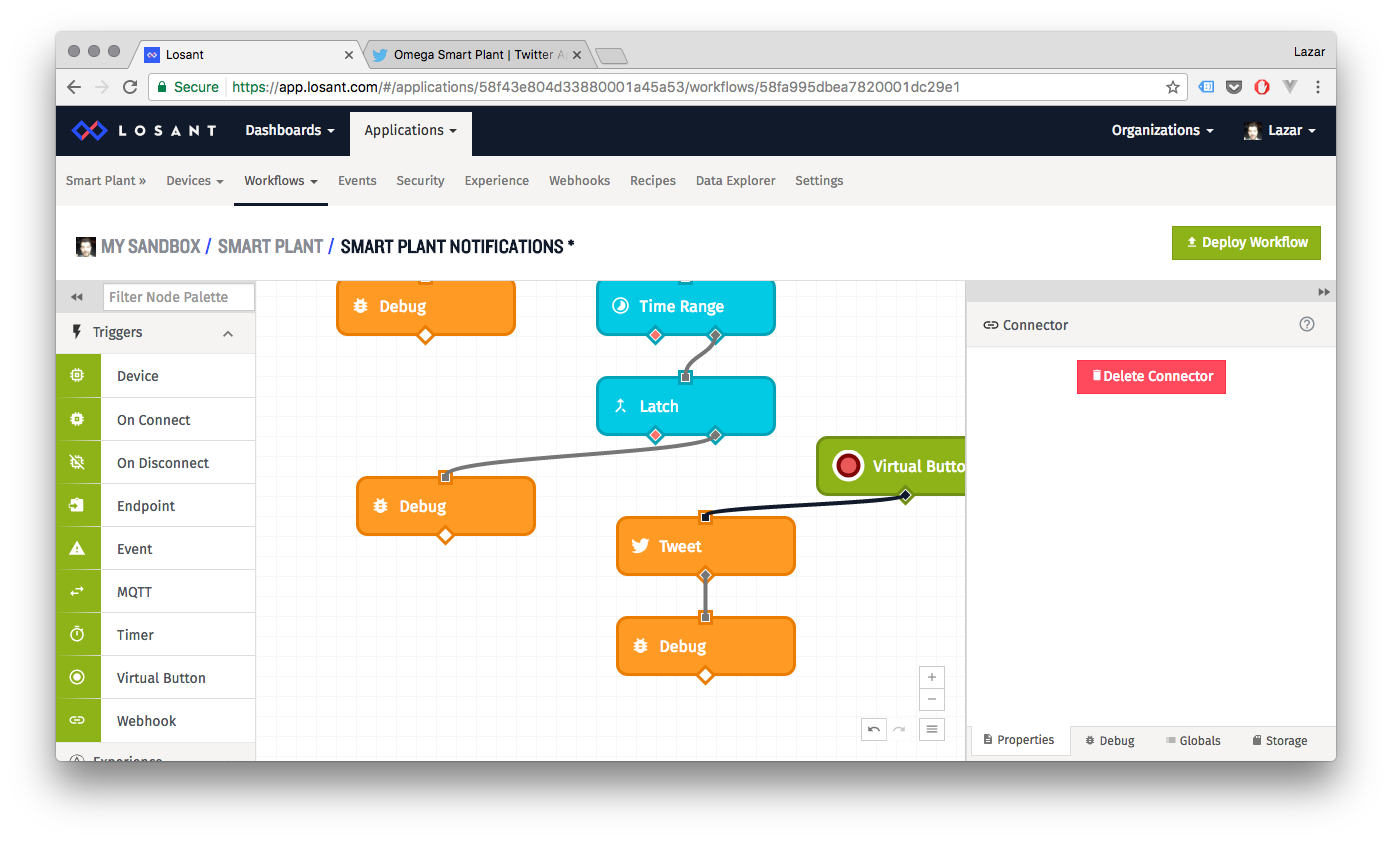
Connect the button to the Tweet node and Deploy the Worflow:
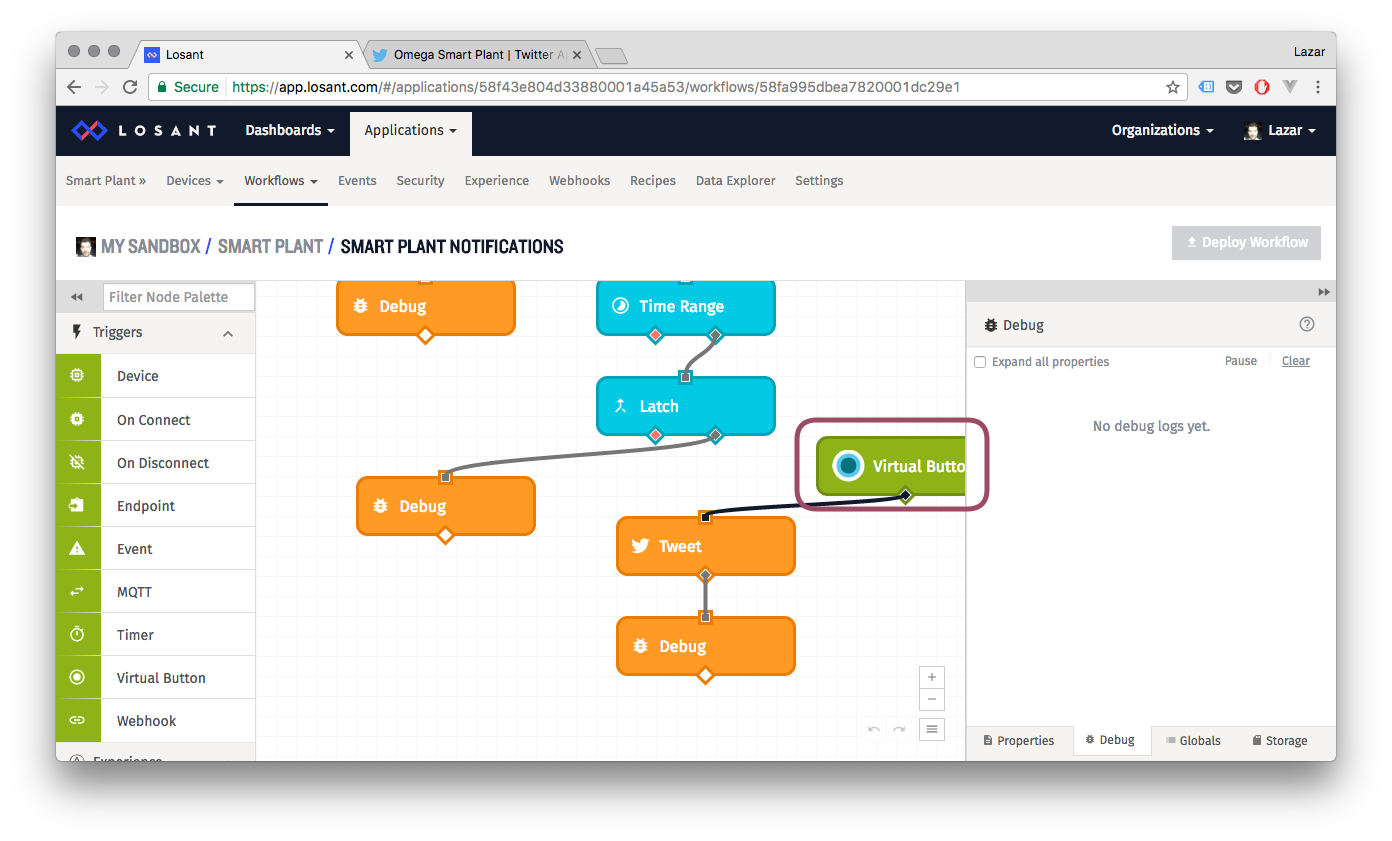
And hit that sucker!
We can see the ‘Tweet Sent!’ Message in the debug log:
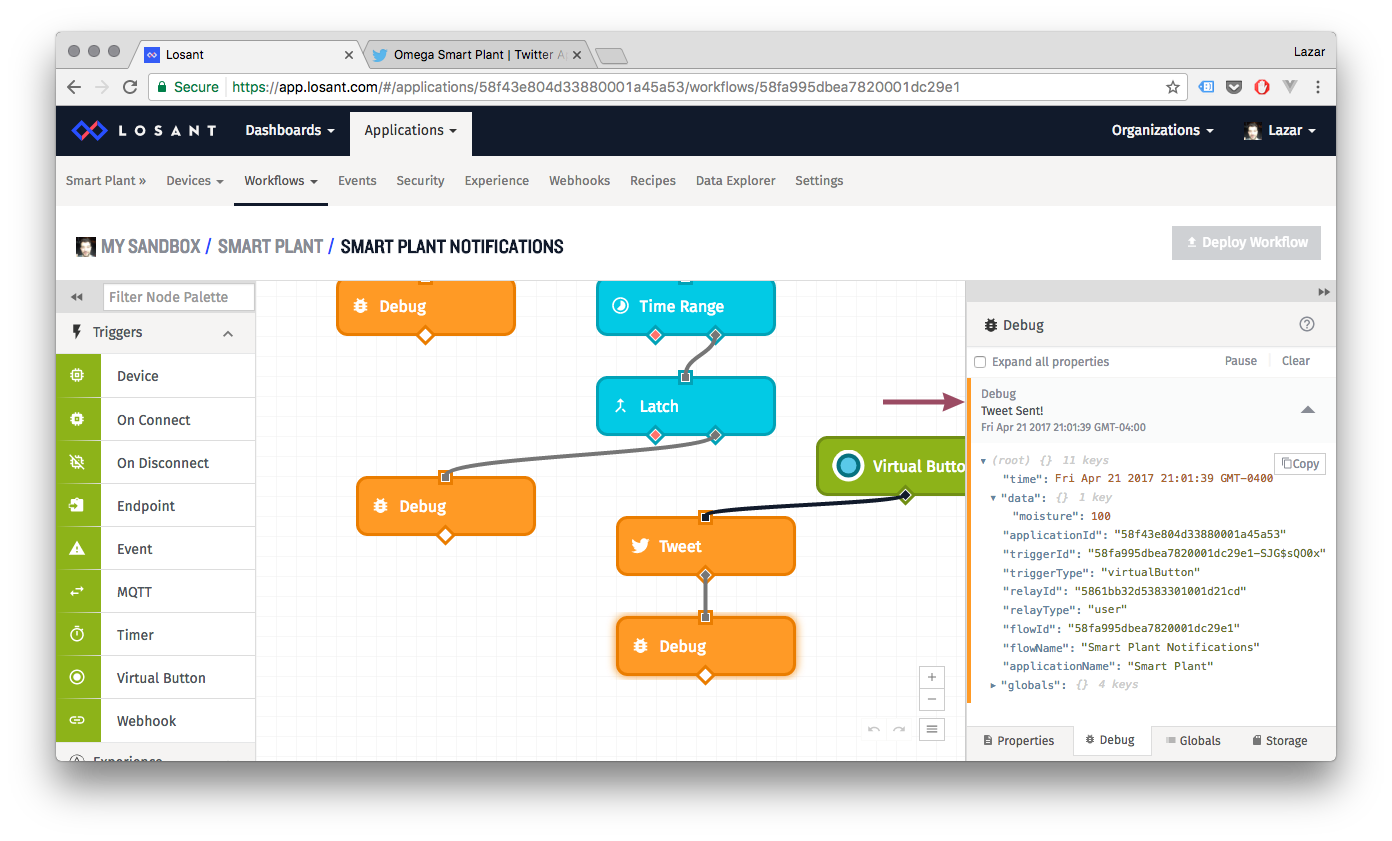
And then check Twitter for the actual tweet:
Looks like the Twitter node is working as expected!
9. Complete the Workflow
Now that we’re done testing the Tweet node, let’s delete the Button block and finish the Workflow. Connect the Twitter Node to the true path of the Latch node:
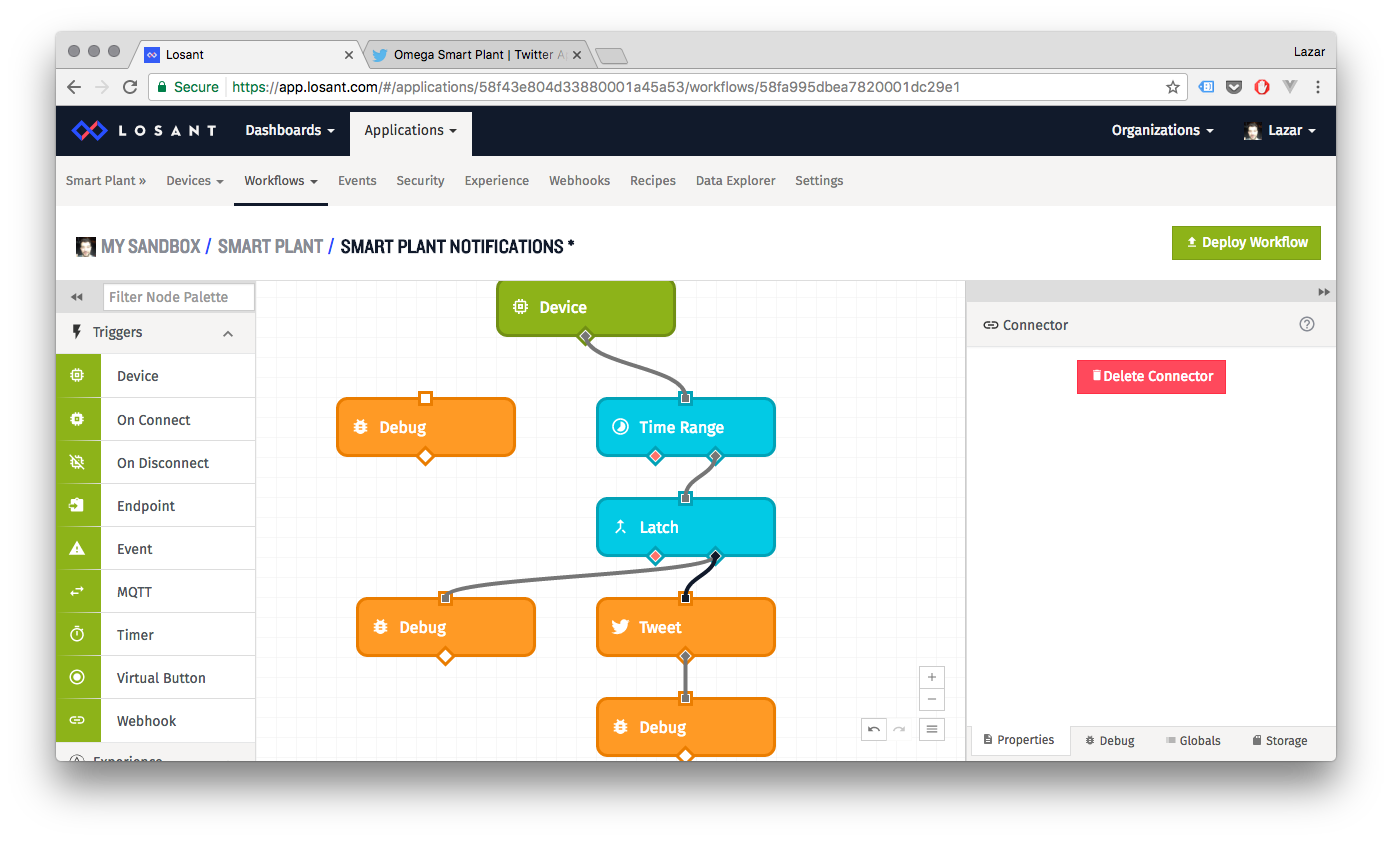
This ensures the Twitter node will be activated (just once) when the Latch condition is true, that is, when the soil moisture level drops below the value we set for the LOW_MOISTURE global variable. Note that because of the Latch, the Twitter node will not be activated again until the plant is watered enough so that the soil moisture level rises above the value set for the OK_MOISTURE global variable.
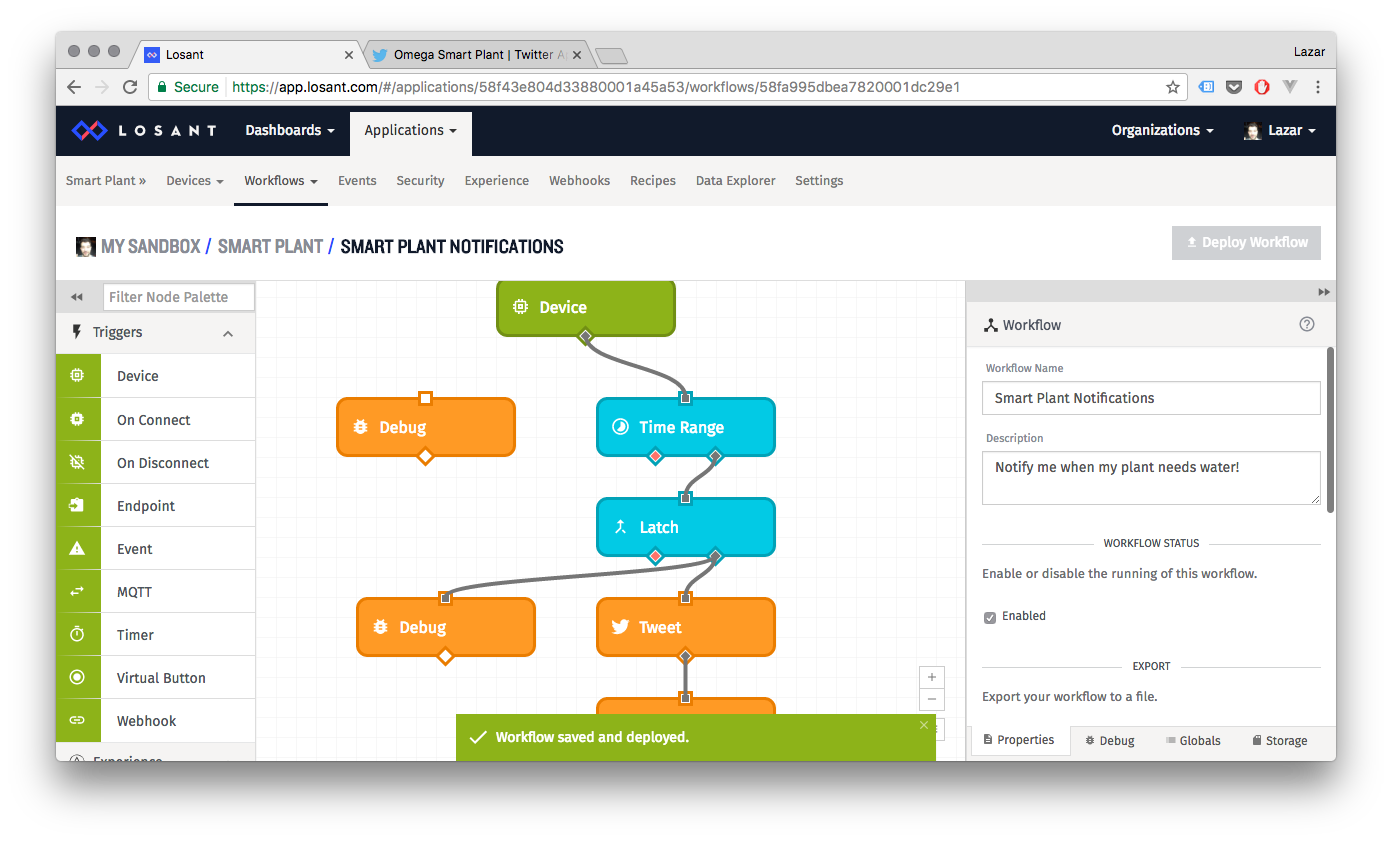
Now Deploy the workflow and we’re done!
Going Further
You can extend the Losant workflow to send more types of notifications, such as an SMS text message, email, or even a command to another device. But wouldn’t it be nice if we could tell the Omega to water the plant for us?