Reading an Analog Temperature Sensor
In this tutorial, we will learn how to read the ambient temperature using a temperature sensor. We’ll then use the serial port to inform the Omega about the current ambient temperature. In addition, we will learn to how to do mathematical calculations in our code and how to convert between types.
Analog Temperature Sensor
An analog temperature will detect the ambient air temperature and output a voltage signal based on the temperature.
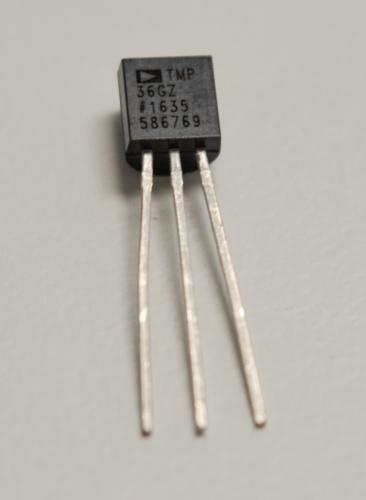
The TMP36 in your Kit is a standard linear sensor. The higher the temperature, the higher the returned signal. It has a few important specs that you should get familiar with:
- Voltage offset
- Operating range
- Scale factor
- Resolution
Typically, temperature sensors include a voltage offset to account for negative temperatures. This means 0°C won’t correspond to 0V, and in the case of the TMP36, 500mV corresponds to 0°C.
The sensor’s operating range is the range in which it’ll record accurate data. The TMP36 will accurately read temperatures between -40°C to 125°C.
Another important parameter of the temperature sensor is its scale factor, the change in voltage signal per degree Celsius. The TMP36’s scale factor is 10 mV/°C.
The resolution of a sensor is the smallest change that it can detect. It’s a combination of the sensor’s innate resolution and the resolution of the reading device. In our case, the ATmega’s analogRead() function has a 10-bit resolution (1024 steps). If we use an input voltage of 5V, the smallest change in temperature that we can detect is 4.88mV (5V/1024 steps). Using the scale factor above, this means we can detect changes of 0.488°C, or about 0.87°F!
Building the Circuit
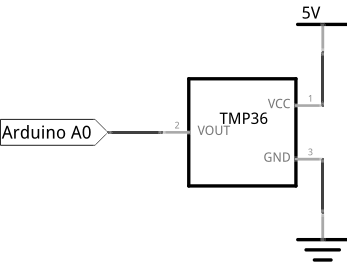
For this experiment, we’ll be using the TMP36 sensor to measure the ambient temperature. We’ll be connecting the temperature sensor to an analog pin of the ATmega, and we’ll reference it to Vcc and GND so we can make sure the data is accurate.
What You’ll Need
Prepare the following components from your kit:
- Omega plugged into Arduino Dock
- USB Micro-B cable for power
- Breadboard
- 5x Jumper wires (M-M)
- 1x TMP36 temperature sensor
Hooking up the Components
Not a lot of components need interaction in this experiment, so the build should be pretty straightforward:
- Plug the TMP36 onto the breadboard.
- When facing the flat side of the device, connect the right pin to ground (
GND), the middle pin to analog pinA0, and the left pin to5V.
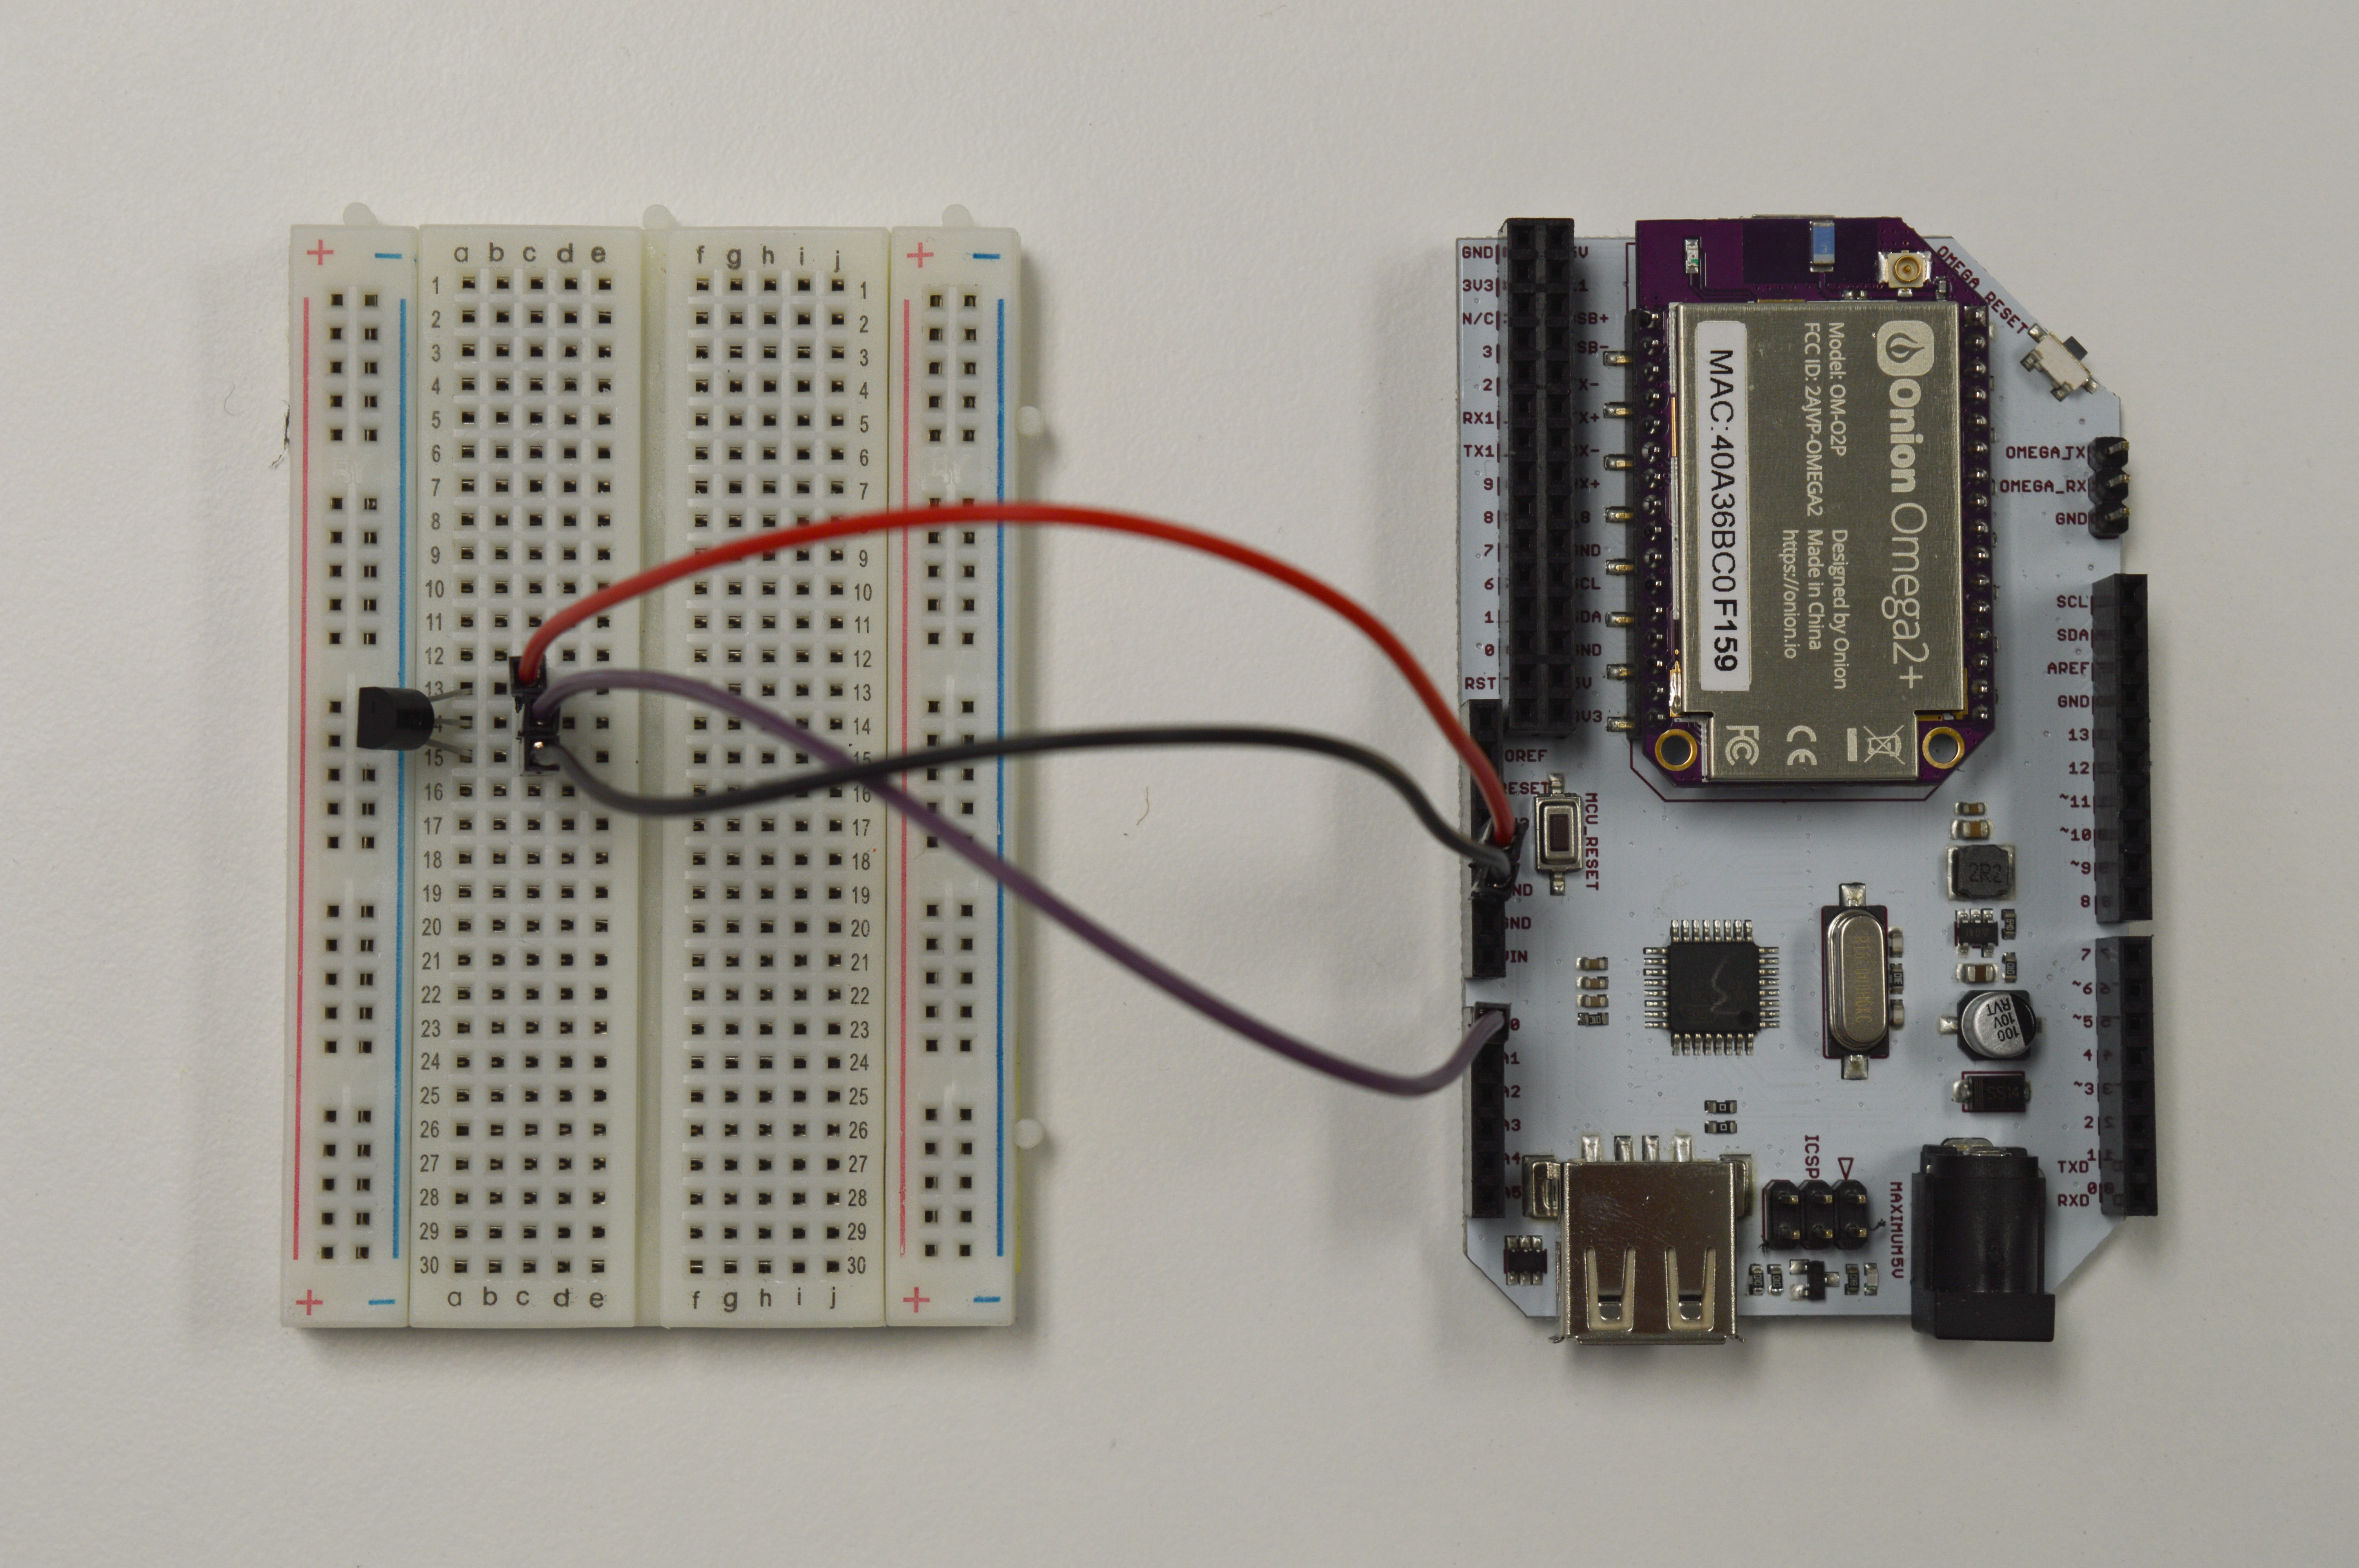
Once that’s all done, it should look like this:
Writing the Code
This program will do three things: 1. Read the sensor’s temperature. 2. Convert the data to Celcius and Fahrenheit. 3. Print it out to the command line so we can check that it’s working!
To get it done, copy the code below to your IDE, and flash to your Arduino Dock.
//the scale factor of TMP36 (temperature sensor) is 10 mV/°C with a 500 mV offset to allow for negative temperatures

// the analog pin number connected to the TMP36
int sensorPin = A0;
// delay between sensor reads
int readDelay = 10000;

void setup()
{
    //initializing serial communication with the Omega2 for sending sensor data
    Serial.begin(9600);
}

void loop()
{
    // getting the voltage reading from the temperature sensor
    int reading = analogRead(sensorPin);

    // convert the analog reading (0 to 1023) to voltage (0 - 5V)
    float voltage = (float)reading * 5.0;
    voltage /= 1024.0;

    // print out the voltage to Omega2
    Serial.print(voltage); Serial.println(" volts");

    // convert voltage to degree Celsius including the 500mV offset adjustment
    float temperatureC = (voltage - 0.5) * 100;
    Serial.print(temperatureC); Serial.println(" degrees C");

    // convert from Celsius to Fahrenheit and print to Omega2
    float temperatureF = (temperatureC * 9.0 / 5.0) + 32.0;
    Serial.print(temperatureF); Serial.println(" degrees F");

    // delay between readings since the change is gradual
    delay(readDelay);
}
Once you flash the code, you’ll be able to see the output through the Omega’s terminal - details on how to do this below!
What to Expect
We can use the following command line on our Omega to read the serial output of the ATmega:
cat /dev/ttyS1The ATmega will read the output of the temperature sensor and convert it to degrees Celsius and Fahrenheit. Then, it will send the voltage output of the temperature sensor and the converted degrees to the Omega through serial communication using UART1 - where we pick it up by calling the command above.
A Closer Look at the Code
A few new things were introduced here. We used math operations to convert a voltage signal from the sensor to a number in degrees. We also used serial communication to send data from the ATmega microcontroller to the Omega.
Number Variable Types
Math can be just as tricky for computers! By nature, computers can only count whole numbers - it’s pretty much all they do, really. However for applications that require precision or decimal points, they’re not so great. In fact doing decimal point (float) operations using counting numbers (integers) will get you serious errors if you need the correct results!
The float type exists to allow accurate decimal math.
The internals of the float and int type aren’t compatible though, so if you try to do something like:
you’ll get 2, 2, 2.4, and 2.4 respectively. As you can imagine, gets very confusing very quickly. What’s going on is the compiler is casting or not casting the numbers according to some hidden rules.
In a nutshell, cast (or typecast) tells the compiler to convert one type into another. Generally, when you want accuracy, you want to operate with the most accurate types you have. So here, we want to cast our ints into floats first. We do this with (float)reading - the (float) in front signifies reading to be cast into a float. It’s not actually needed to explicitly do the cast in code, as the compiler will cast automatically when you work with mixed types. But it’s very good practice because it makes the code clear and readable.
Math Operations
When powered, the temperature sensor will output a varying voltage depending on what the sensor is detecting. Analog read will take that voltage and convert it to a digital value (0 to 1023).
From the TMP36 datasheet, the temperature sensor has a scale factor of 10 mV/°C with a offset of 500mV to account for negative temperatures. To show with some concrete examples: the sensor will output 0.5V at 0°C, 0.51V at 1°C and 0.49V at -1°C. Using the the scale factor and offset, we can convert the voltage input to temperature in degree celsius. This is done by subtracting the voltage by 0.5 and multiplying by 100.
Before we can get our temperature with the calculation above, we need to convert the digital value back to a voltage value between 0V and 5V.
We do this by mulitplying the digital value by 5 and divide by 1023. This is where casting and the float type comes in handy! We cast the reading to float, and then do the divsion so we can get our decimal places without loss of accuracy. The multiplication on the float will get us another float, so we keep the accuracy we wanted. Awesome!
After we have our temperature calculated, we can easily convert it to Fahrenheit by multiplying by (9/5) and adding 32.
Serial Communication
In this one and some of our previous experiments, we’ve called the serial interface between the ATmega and the Omega with cat /dev/ttyS1. If you’ve used the ATmega’s Serial connection before, you probaly see how convenient this setup can be.
Normally, you’d have to send the serial data through USB or some other port to a laptop or computer and read it with a dedicated serial monitor. With the Arduino Dock, you can simply set your Omega + Dock somewhere and read the serial output over ssh - or even through the Onion Cloud!
Serial communication, at the lowest level, is transmitting data using one data line for each party. The simplest example of this is Morse code. The serial connections between our devices in this experiment are doing much more complicated things much faster, so we won’t get into the details. Suffice to say there’s always two parts to good serial communication - one party needs to set up to listen, while the other talks.
Sensor to Arduino Dock
A more immediate example is the communication between the sensor and the Dock. Here, the sensor will always be talking, so we set the Arduino Dock to listen. To listen, we use analogRead() - just like when we read the trimpot.
We’re using a much longer delay here since the output from the temperature sensor changes quite slowly. Thus constantly calling a read isn’t useful and only taxes the CPU needlessly.
ATmega to Omega
Now let’s take a closer look at how the Omega and the ATmega communicate. The Arduino Dock has a serial communication line, and we’ve plugged that directly into the Omega’s UART1 port when the Omega’s seated in the dock.
To set up the ATmega to talk, we initialize the serial pin with Serial.begin(9600). After the initialization, we can use the built-in Arduino functions Serial.print() or Serial.println() to send word from the ATmega. To listen in from the Omega side, the serial is connected to the UART1 port, which is mounted as a file, specifically /dev/ttyS1. Calling the cat command will start outputting the contents of the file to the command line - listening to the Serial talk from the ATmega!
The
9600sent to initializethe serial is the baud rate. The baud rate is the rate (in bits/second) at which the data is being transferred over the serial port. Notice we didn’t include the baud rate when we usecat /dev/ttyS1to read on the Omega side - this is because the default baud rate of cat is 9600.