Connecting to the Omega’s Command Line
Now that your Omega is setup, connected to a WiFi network, and updated, you’ll want to connect to it to start working on experiments from your Kit!
We hear you, follow these instructions on using SSH to connect to your Omega’s command line from your computer. Note that this will only work properly if your computer and Omega are connected to the same WiFi network.
The Command-Line Interface
The command-line is a way of interacting with a computer by sending commands in the form of single lines of text. This is different from “point and click” graphical user interfaces (GUI) found on most PC operating systems.
Command-line interfaces provide a more concise and powerful means to control a program or operating system, especially with regards to scripting (Shell Scripting, Python, etc).
More on the Command Line in the next section.
Connecting with SSH
SSH stands for Secure Shell . It’s a network protocol that creates a secure channel for communication between two devices on the same network. It can be used to secure many different types of communication, but here we’ll be using it to login to the Omega’s command prompt.
The Good & Bad of SSH
When using SSH, the Omega and your computer communicate over the WiFi network to which they are both connected. This means that as long as the Omega is powered on and within range of your WiFi network, you can connect to it! No need to plug it directly into your computer.
The disadvantage of SSH is that if the network connection gets interrupted, the connection will also be severed.
For most use-cases with the Omega, SSH will work really well. This should be your go-to method for accessing the Omega’s command-line.
SSH on a Mac device
Step 1: Open a Terminal
Open your preferred Terminal App.
Step 2: Establishing a SSH connection
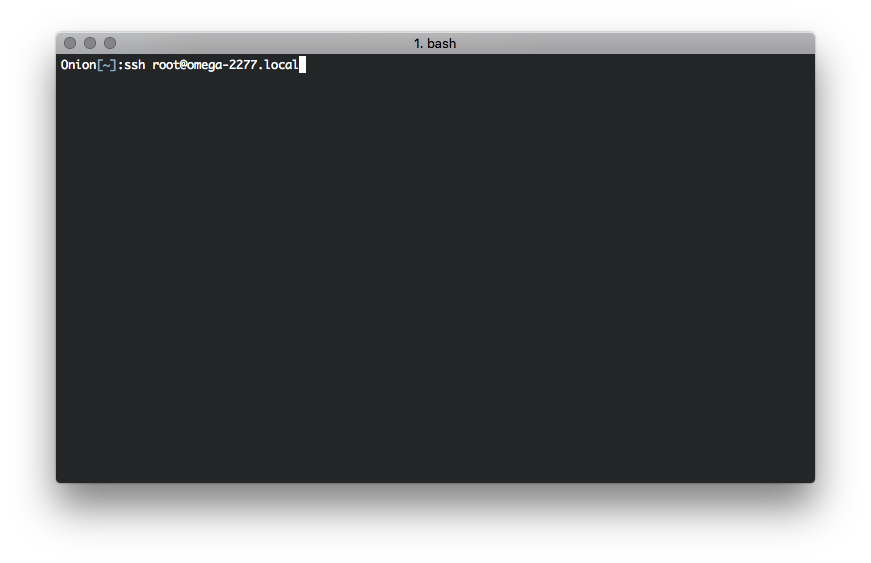
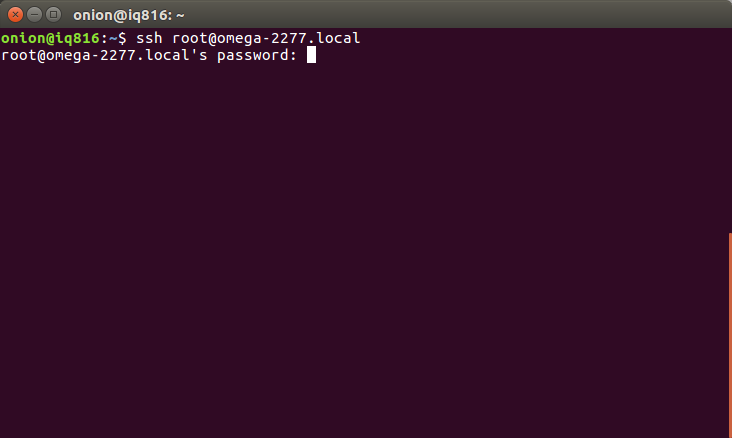
Run the following command:
ssh root@omega-ABCD.localWhere ABCD is the unique id of your Omega.
Step 3: Enter Credentials
When prompted, enter the password
By default, the password is: onioneer
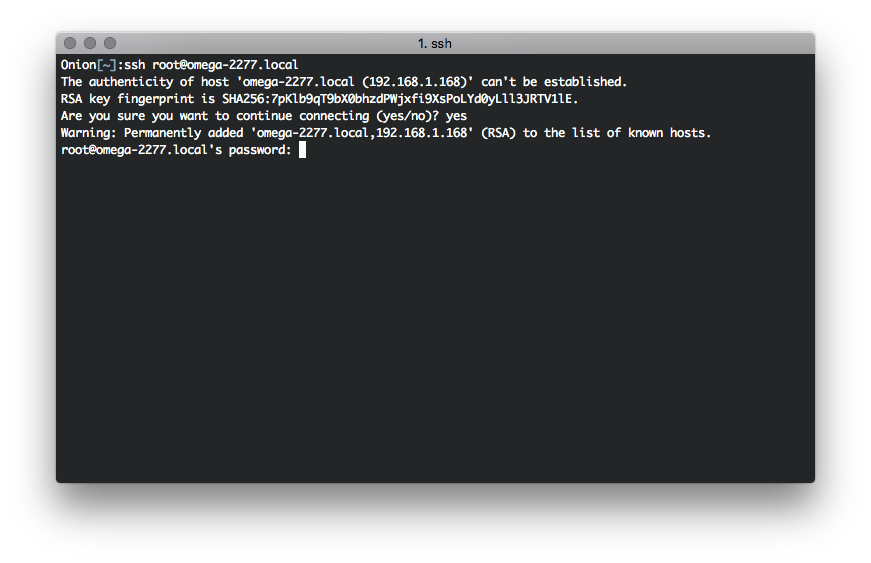
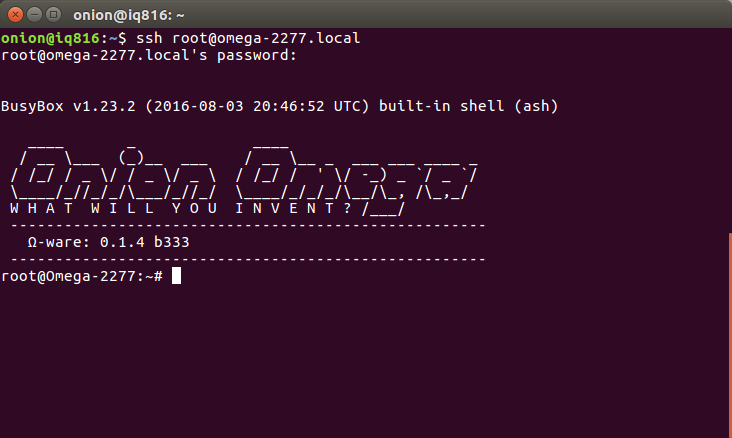
If you’re prompted about adding the address to the list of known hosts, type yes. This is just your computer getting to know the Omega for the first time!
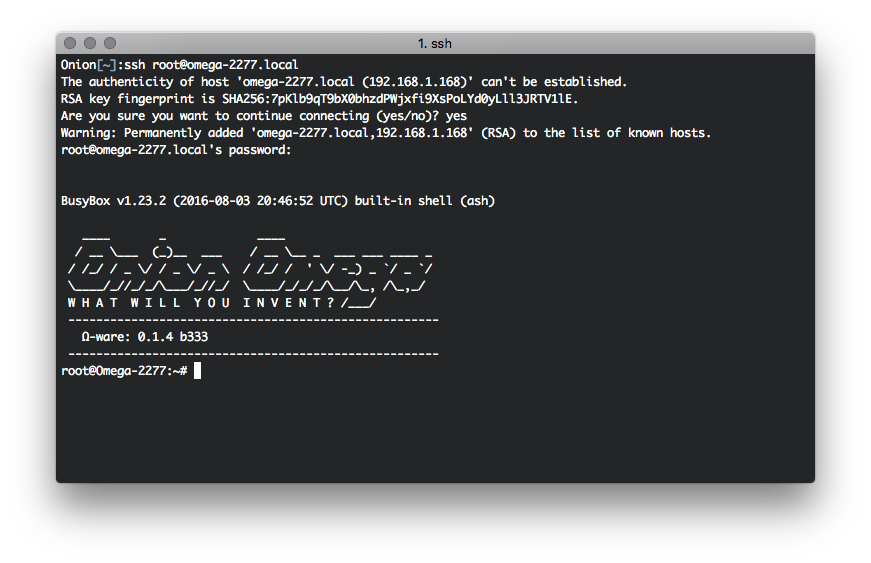
And you’re in!
SSH on a Linux device
Step 1: Open a Terminal
Open your preferred Terminal App.
Step 2: Establishing a SSH connection
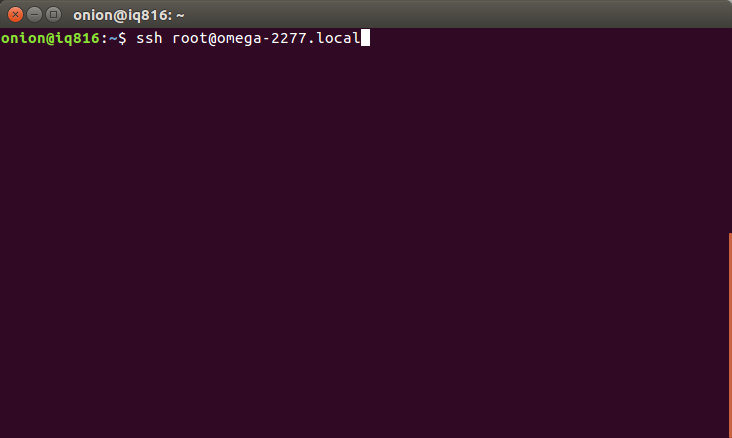
Run the following command:
ssh root@omega-ABCD.localWhere ABCD is the unique id of your Omega.
Step 3: Enter Credentials
When prompted, enter the password
By default, the password is: onioneer
If you’re prompted about adding the address to the list of known hosts, type yes. This is just your computer getting to know the Omega for the first time!
And you’re in!
SSH on a Windows Device
Step 1: Download PuTTy
You can find PuTTy here. Look for the putty.exe installer for Windows on intel x86. Once it’s downloaded you can open and use it.
Step 2: Establish a SSH connection
Configure an SSH connection to omega-ABCD.local on port 22:
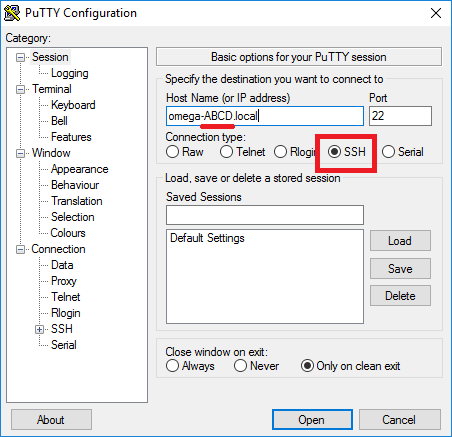
Where ABCD is the unique id of your Omega.
Step 3: Enter Credentials
Click Open and enter the credentials when prompted.
By default, the credentials are:
Username: root
Password: onioneer
And you’re connected!
Using SSH Key Pairs
Over the course of a few months, the number of times you type in the password to connect will add up to a whole bunch of time that could have been spent having fun. Don’t worry, there’s another way to authenticate your SSH connection: SSH Key Pairs.
By using SSH Key Pairs, the Omega and your computer will do a secure handshake so you won’t need to type in that pesky password all the time. Not only that, using a key pair will make your Omega even more secure since passwords can be discovered but secure key pair authentication cannot be broken.
You can skip this step if you want to dive right into using your Omega! You can always come back to it later :)
What are Key Pairs?
Good question! Authentication using a Key Pairs is based on having two randomly generated binary keys, where one is public and one is private.
- The private key is like a handwritten signature, used to prove your identity, so make sure to keep it secret and keep it safe!
- The public key’s only purpose is to verify your identity, and is meant to be shared with other devices.
An SSH connection to your Omega that’s secured by with a key pair will look something like this:
- Your computer will ask to login to the Omega, and the Omega will respond with ‘Ok, but first prove your identity’
- Your computer will then generate a hash using your private key and send it to the Omega
- The Omega will use the stored public key to try to decode the identity hash, if the Public Key matches the Private Key, the decode will be successful, and the Omega will allow the connection to proceed.
Adding your Public Key
The method will be different depending on what Operating System you’re using on the computer used to connect. We’ve included guides for the following:
How to Add your Public Key to the Omega on a MAC
Step 1: Locating Existing Key Pair
Let’s first check to see if your computer already has a key pair. Open the Terminal App on your Mac and run:
ls ~/.ssh/id_rsa.pub
If this file exists, skip ahead to Step 3.
Step 2: Generating a Key Pair
No worries if you don’t have a key yet, follow this quick guide to generate a key pair.
Step 3: Copy Key Pair
Copy the contents of the public key file to the clipboard:
cat ~/.ssh/id_rsa.pubStep 4: Create an Authorized Keys File
Connect to your Omega’s command prompt and create a new file:
vi /etc/dropbear/authorized_keysAnd paste your public key into it.
And you’re done!
From now on, you’ll be able to securely connect to your Omega without having to type out a password every time.
How to Add your Public Key to the Omega on a Linux machine
Step 1: Locating Existing Key Pair
Let’s first check to see if your computer already has a key pair. Open the Terminal App on your Mac and run:
ls ~/.ssh/id_rsa.pubIf this file exists, skip ahead to Step 3.
Step 2: Generating a Key Pair
No worries if you don’t have a key yet, follow this quick guide to generate a key pair.
Step 3: Copy Key Pair
Copy the contents of the public key file to the clipboard:
cat ~/.ssh/id_rsa.pubStep 4: Create an Authorized Keys File
Connect to your Omega’s command prompt and create a new file:
vi /etc/dropbear/authorized_keysAnd paste your public key into it.
And you’re done!
From now on, you’ll be able to securely connect to your Omega without having to type out a password every time!
How to Add your Public Key to the Omega on a Windows machine
Step 1: Locating Existing Key Pair
Let’s first check to see if your computer already has a key pair. Open the Windows Explorer and enter the following as the address:
%HOMEDRIVE%%HOMEPATH%\.ssh\id_rsa.pubIf this file exists, skip ahead to Step 3.
Step 2: Generating a Key Pair
No worries if you don’t have a key yet, follow this quick guide to generate a key pair.
Step 3: Copy Key Pair
Open the public key file with a text editor (Notepad works fine) and copy the contents to the clipboard
Step 4: Create an Authorized Keys File
Connect to your Omega’s command prompt and create a new file:
vi /etc/dropbear/authorized_keysAnd paste your public key into it.
And you’re done!
From now on, you’ll be able to securely connect to your Omega without having to type out a password every time.