Connecting to WiFi
Important Note: As of firmware v0.2.1, the Console was deprecated and replaced by OnionOS, a new web-based, graphical user interface for the Omega2 family. Learn more about OnionOS on the Onion blog. This article will remain in the documentation to serve as reference for the deprecated Console.
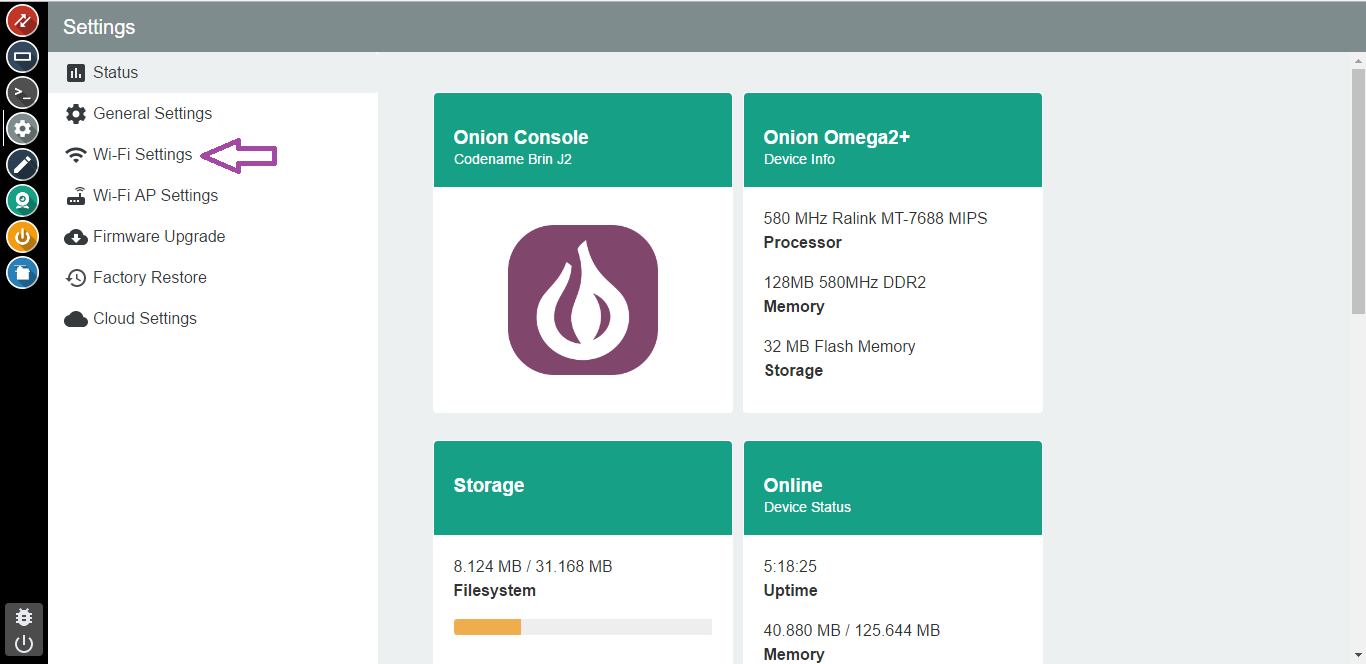
Upon logging into the Console, the first app you’ll see is the Settings App. Through this app you can monitor your Omega’s status, change the Omega’s hostname and password, and even WiFi settings. This guide will show you how you can manage your WiFi networks through the console.
Managing your WiFi Networks
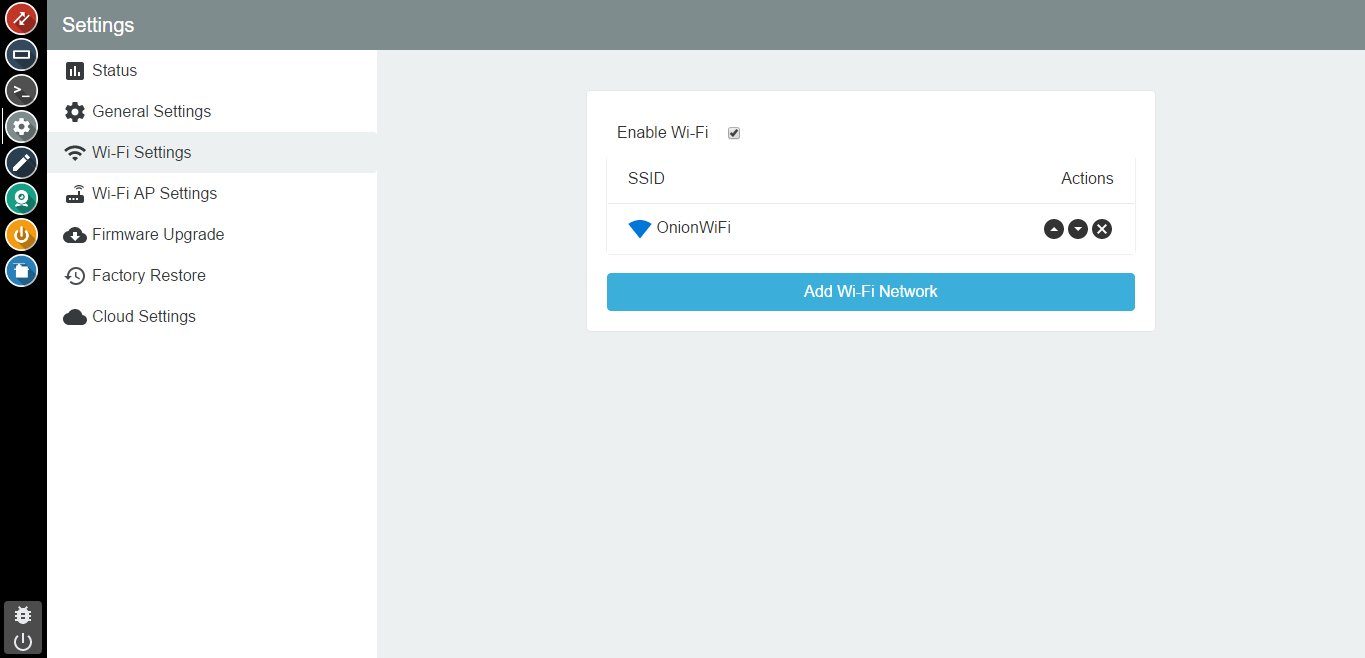
The Omega’s network manager works by checking all configured networks, and connecting to the available network with the highest priority. The WiFi tab in the Settings App gives you a nice visual representation of what your configured networks.
Click on the WiFi settings tab to edit your network connections.
Here, you can enable a network, remove a network, and even add new networks.
Adding a New Network
To add a new wireless network configuration, click on the button labelled Add Wi-Fi Network. A new window will open that will scan for WiFi networks in your area.
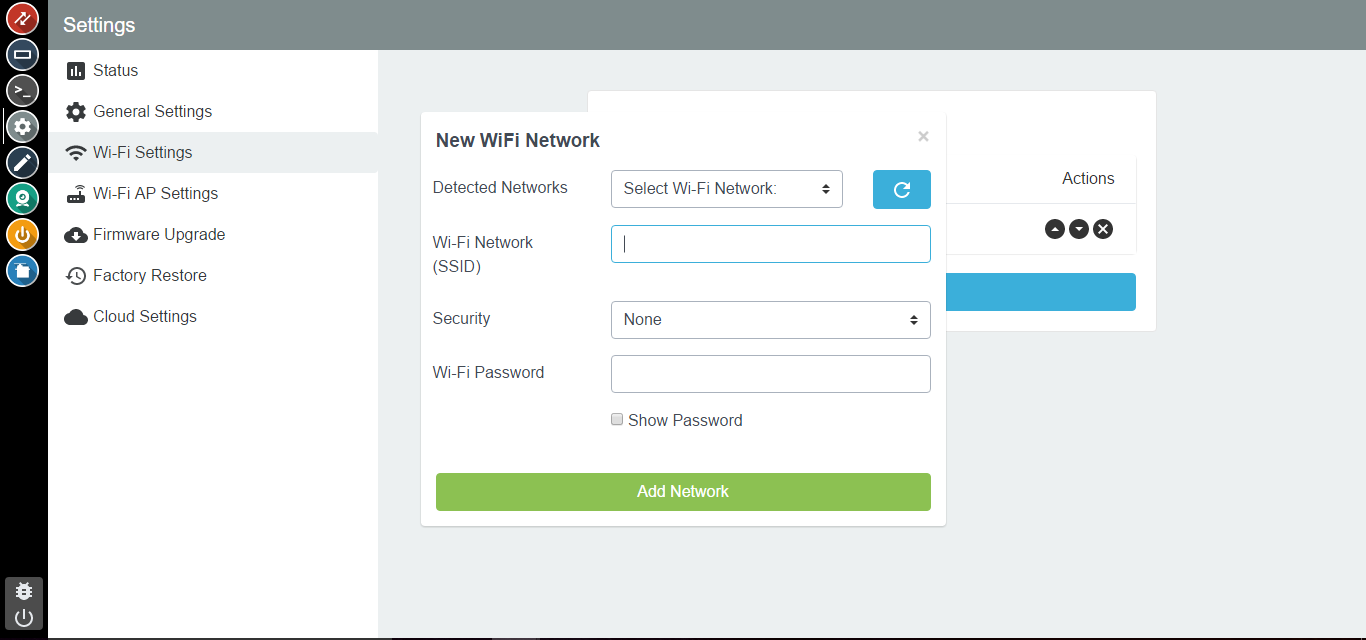
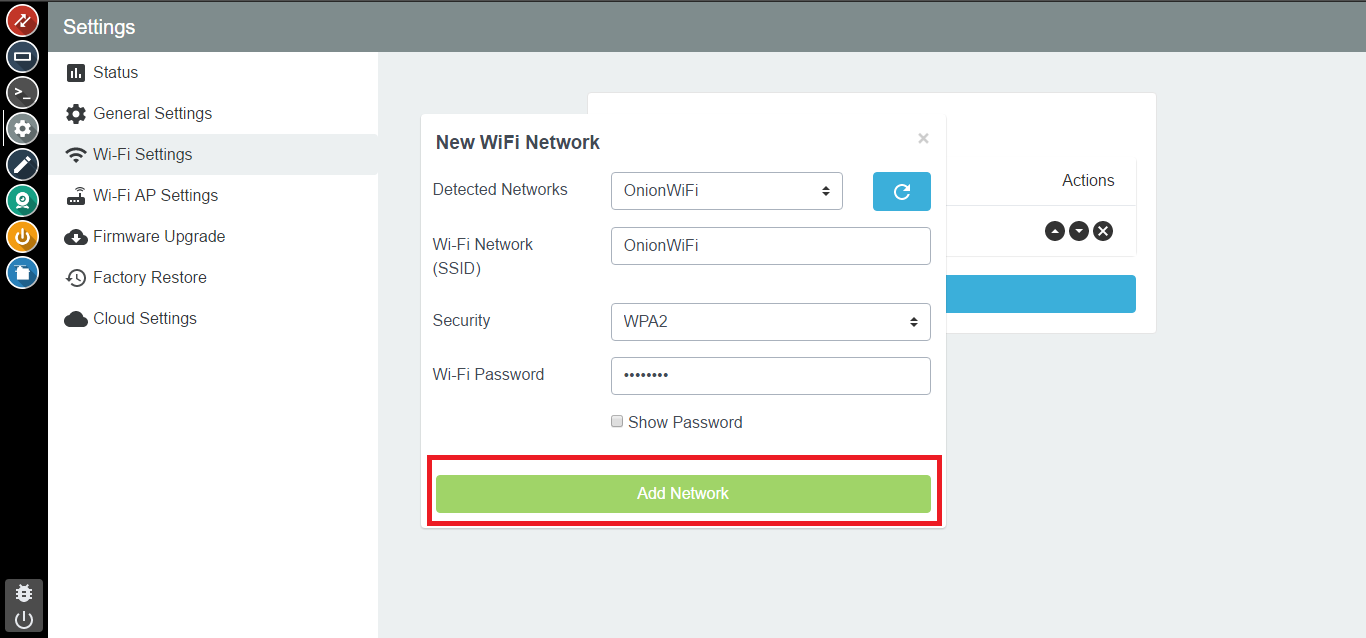
Select a network, or enter the information on your own. Click on Add Network to confirm your settings and add the network configuration.
Changing your Enabled Network Configuration
To change which network is currently enabled, click the Enable button on a network that is not enabled.

Your Omega will then restart the wireless adapter in order to apply the changes and attempt to connect to the selected network.
Removing a Network
To remove a network, click the Remove button. If you delete your enabled network, you will still need to enable another network to connect to it.
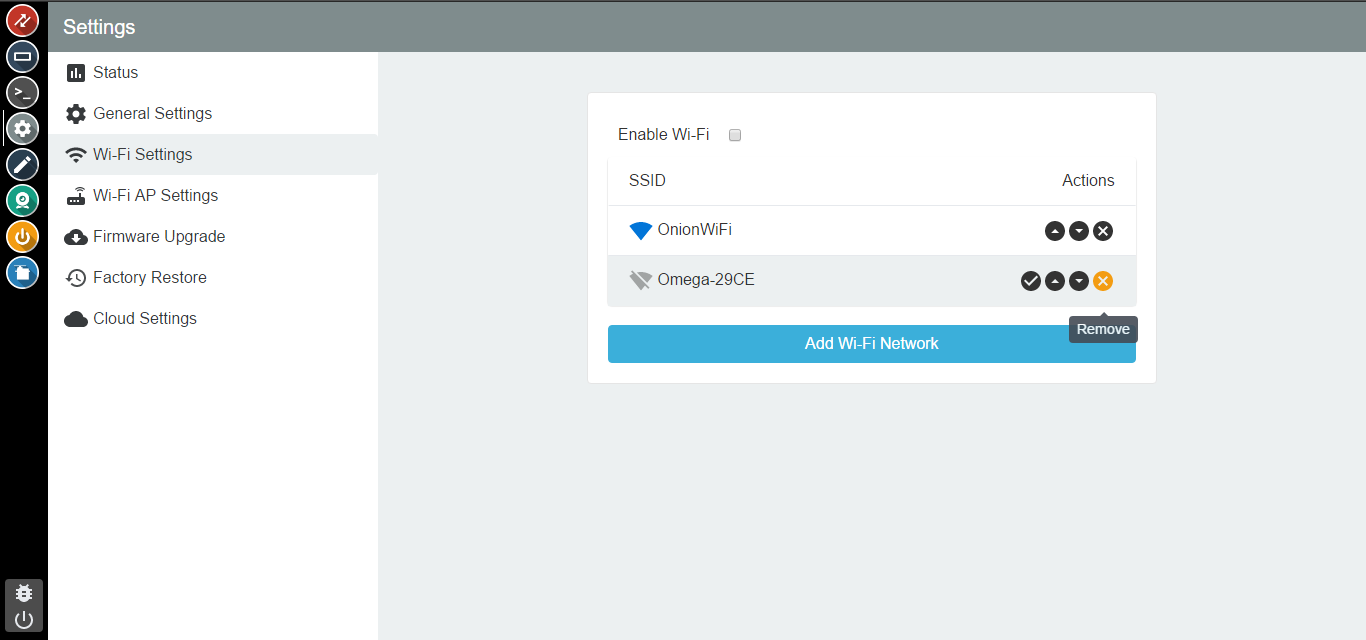
Your Omega will no longer automatically connect to the network that was removed.
Reordering Network Priorities
The network priority determines the order in which the Omega’s network manager will attempt to connect, assuming that the network is within range. A network of higher priority will have a lower number. For example, your highest priority network has priority 1, and your Omega will attempt to connect to that network first if it is available.
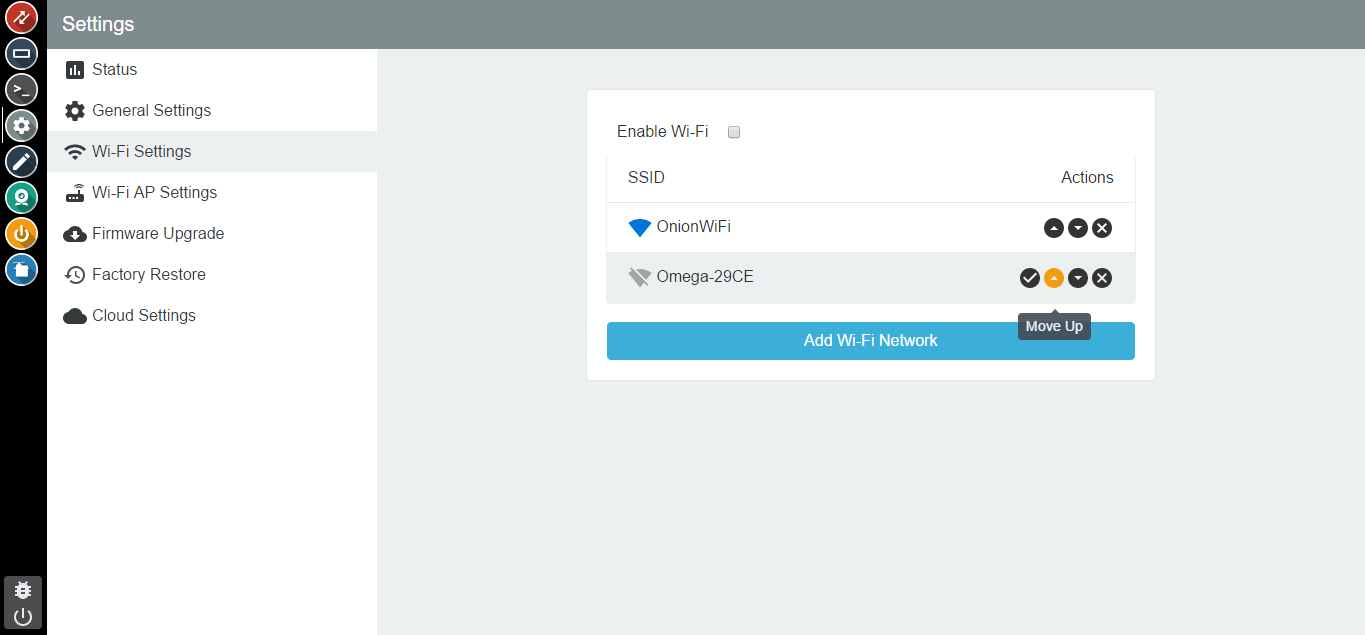
To shift the priority of a network up or down, click the arrow buttons. It is important to order your networks by preference so that the network manager will connect to your preferred network quickly.
The move-up priority button will increase the priority of a network, making it a more preferred network.
The move-down priority button will decrease the priority of a network, making it a less preferred network.
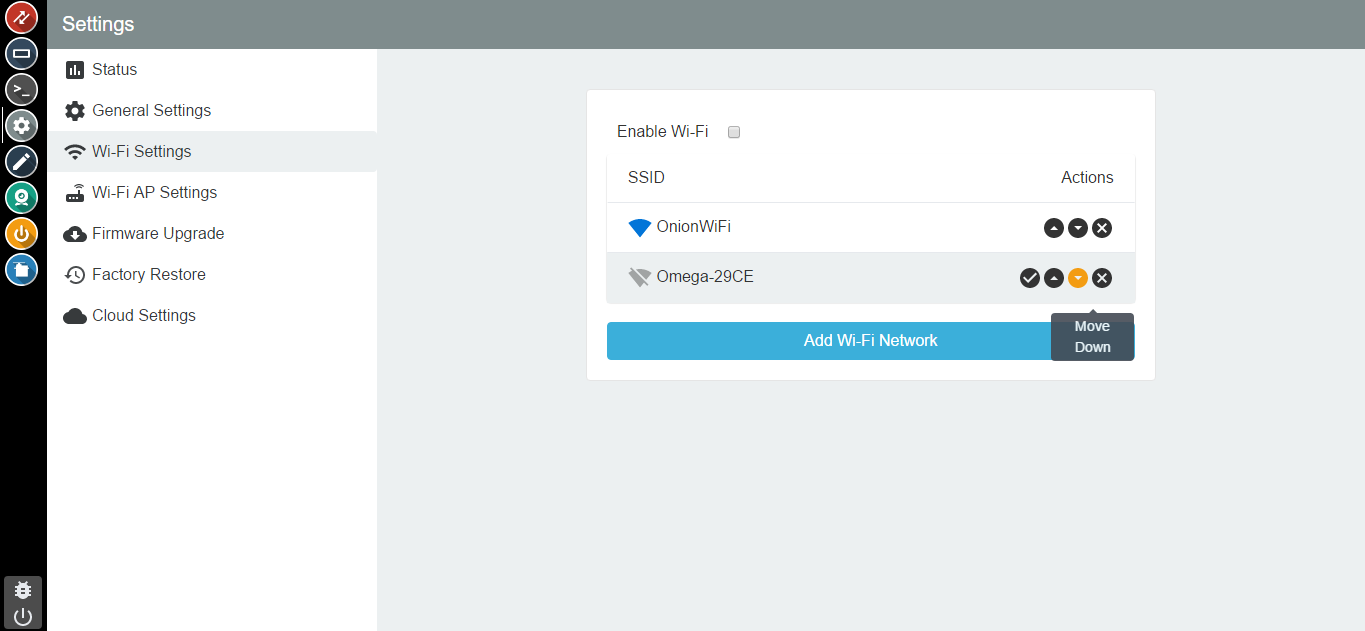
Click on the arrow up or arrow down buttons to reorder the priority of your networks to suit your needs.