PWM Expansion
The PWM Expansion allows you to generate up to 16 different Pulse Width Modulated (PWM) signals to control anything from Servo Motors (servos), DC Motor speed, LED brightness, etc.
This Expansion communicates with the Omega using the I2C protocol, it’s I2C device address is 0x5a. If you’re curious, check out the article on I2C.
The Hardware
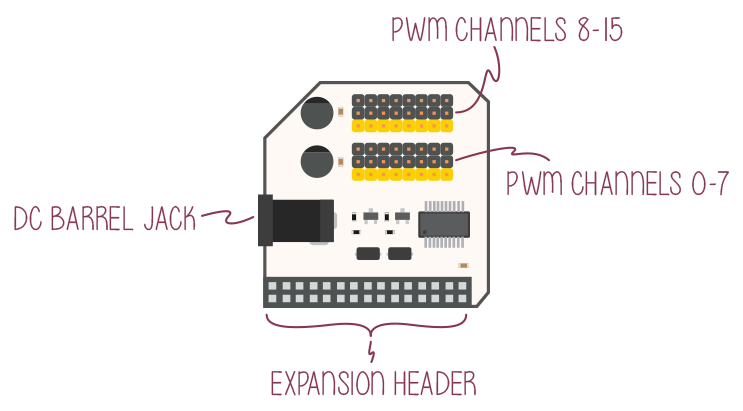
The PWM Expansion has 16 channels that can output individual PWM signals to drive motors and servos. The expansion can either be powered through the dock, or through a DC barrel jack to enable driving of motors up to 6V.
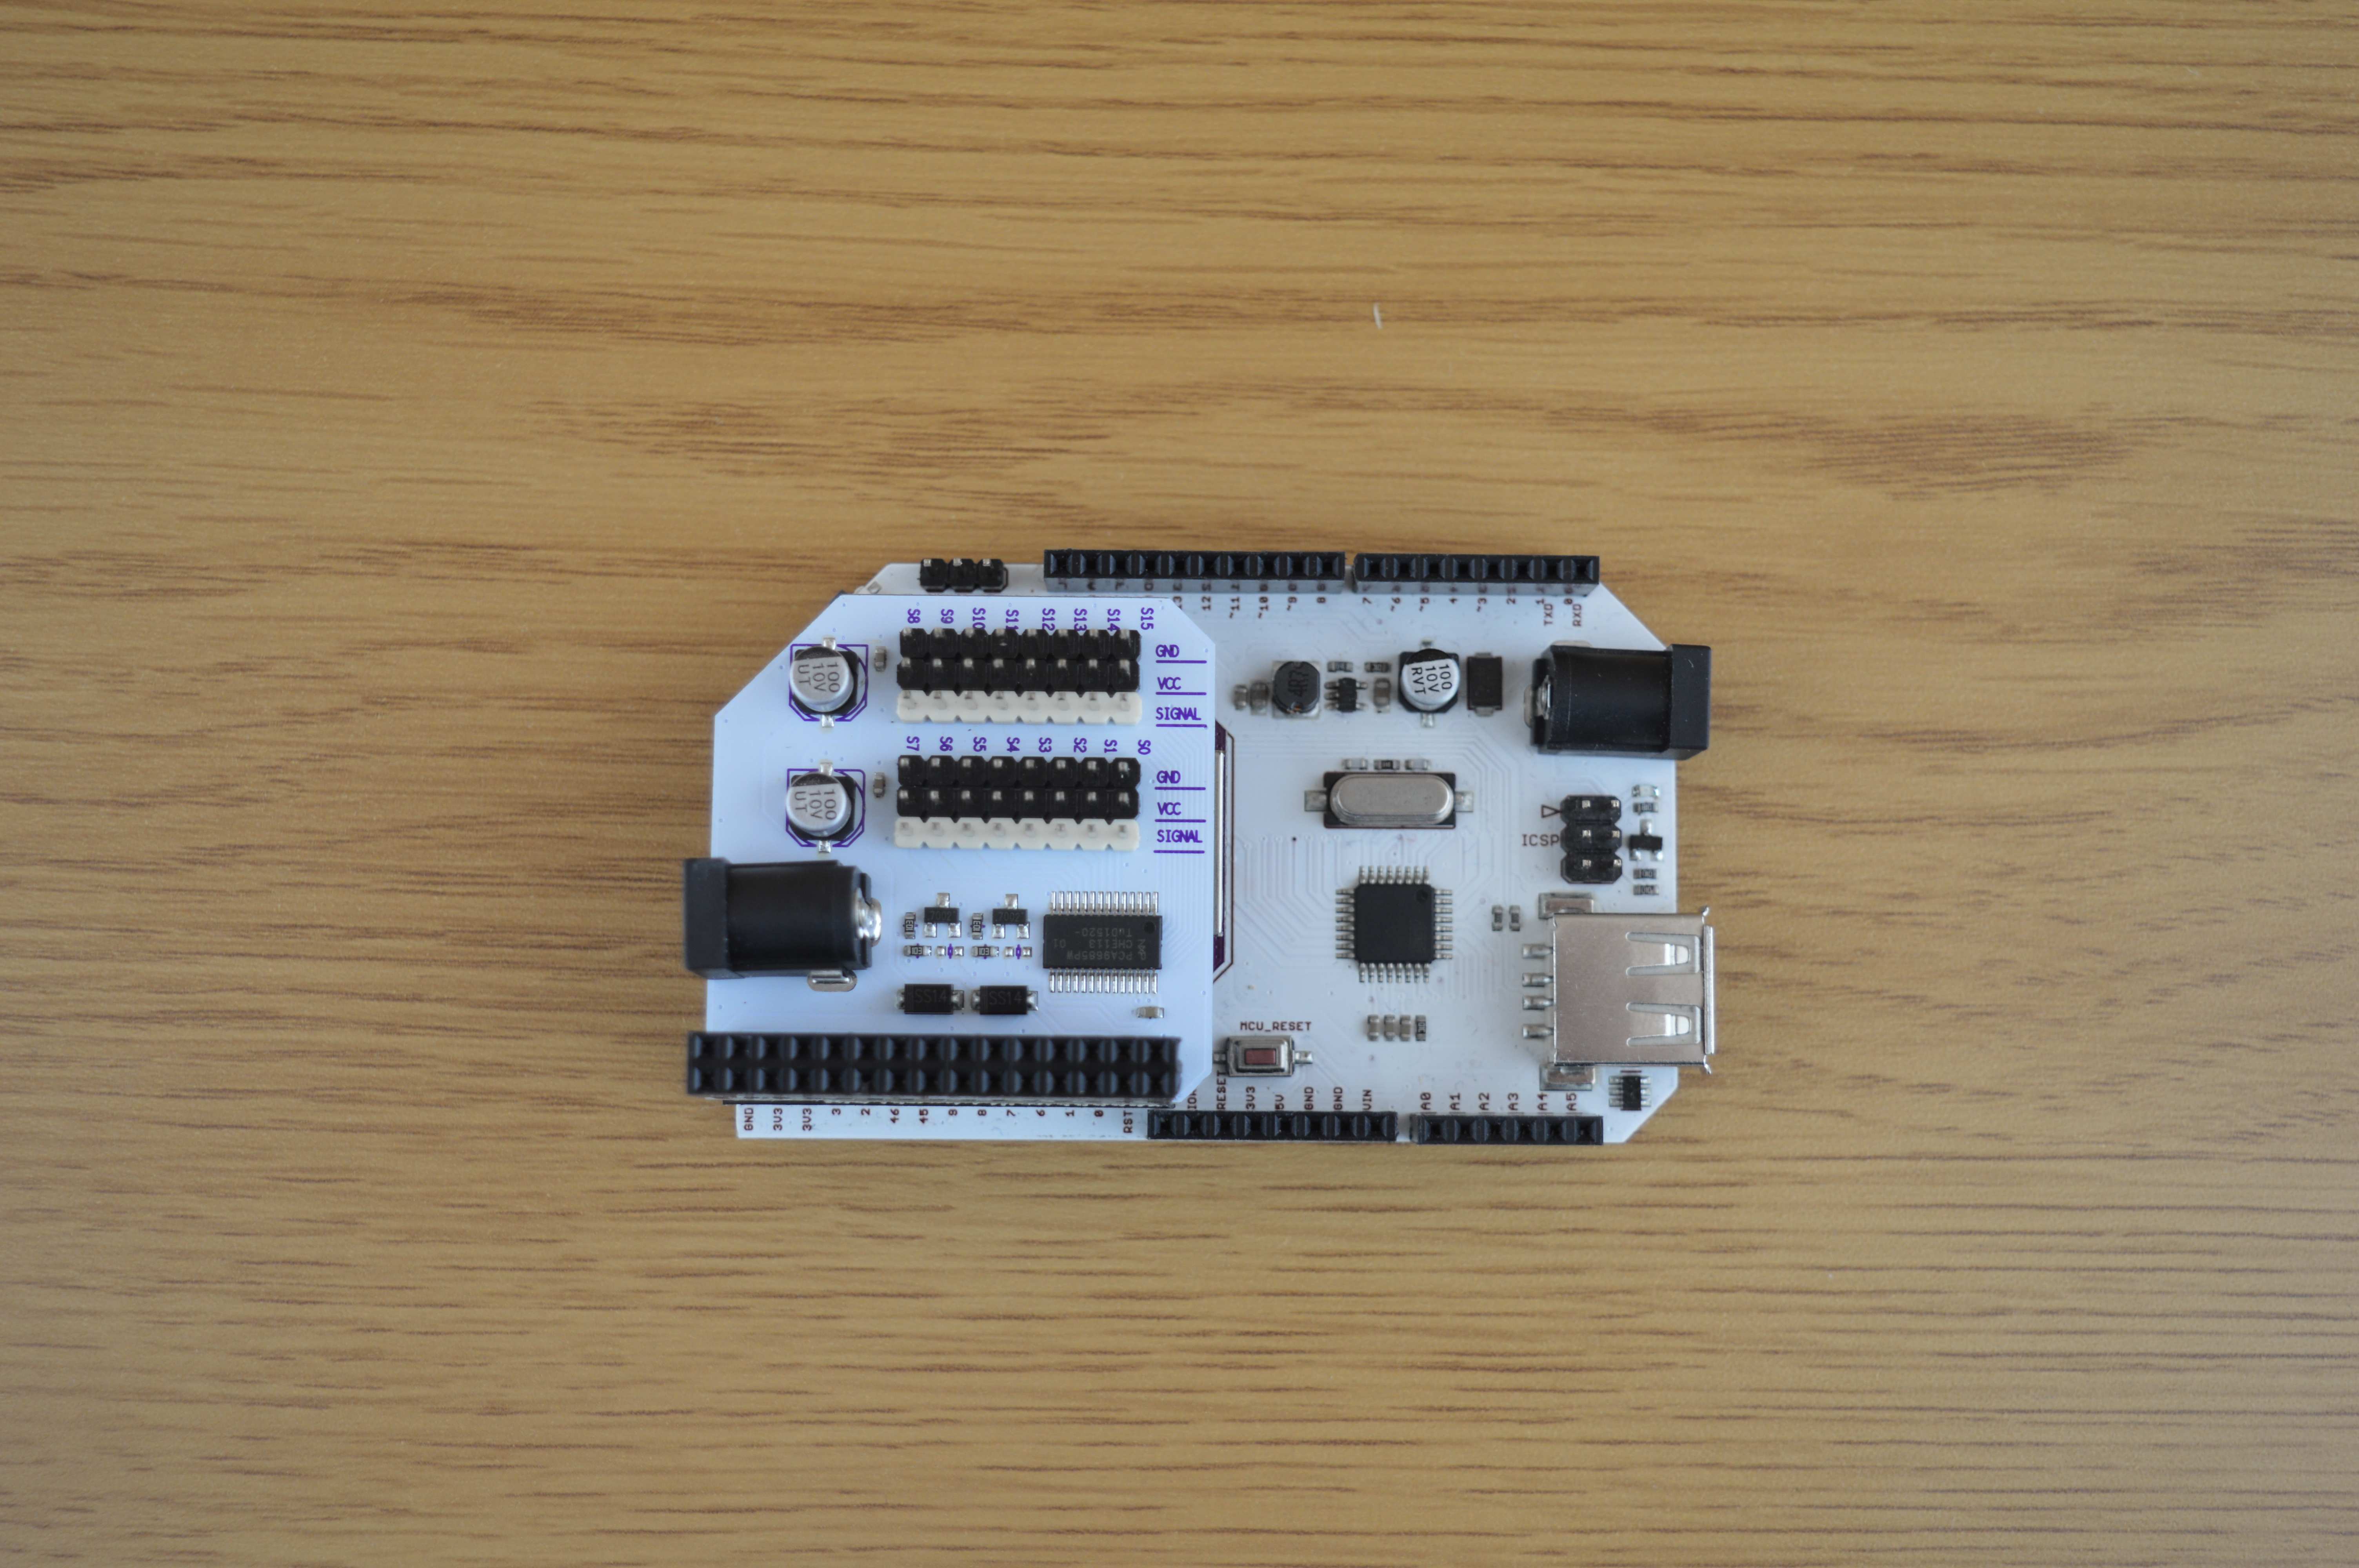
Connecting to a Dock
To use the PWM Expansion, plug it into a Dock that has Expansion header pins (Expansion Dock, Power Dock, Arduino Dock R2).
You can safely stack other Expansions on top of it. However, be mindful of wires that are connected to the header pins underneath.
Note: You may only have one PWM Expansion stacked onto an Omega at a time.
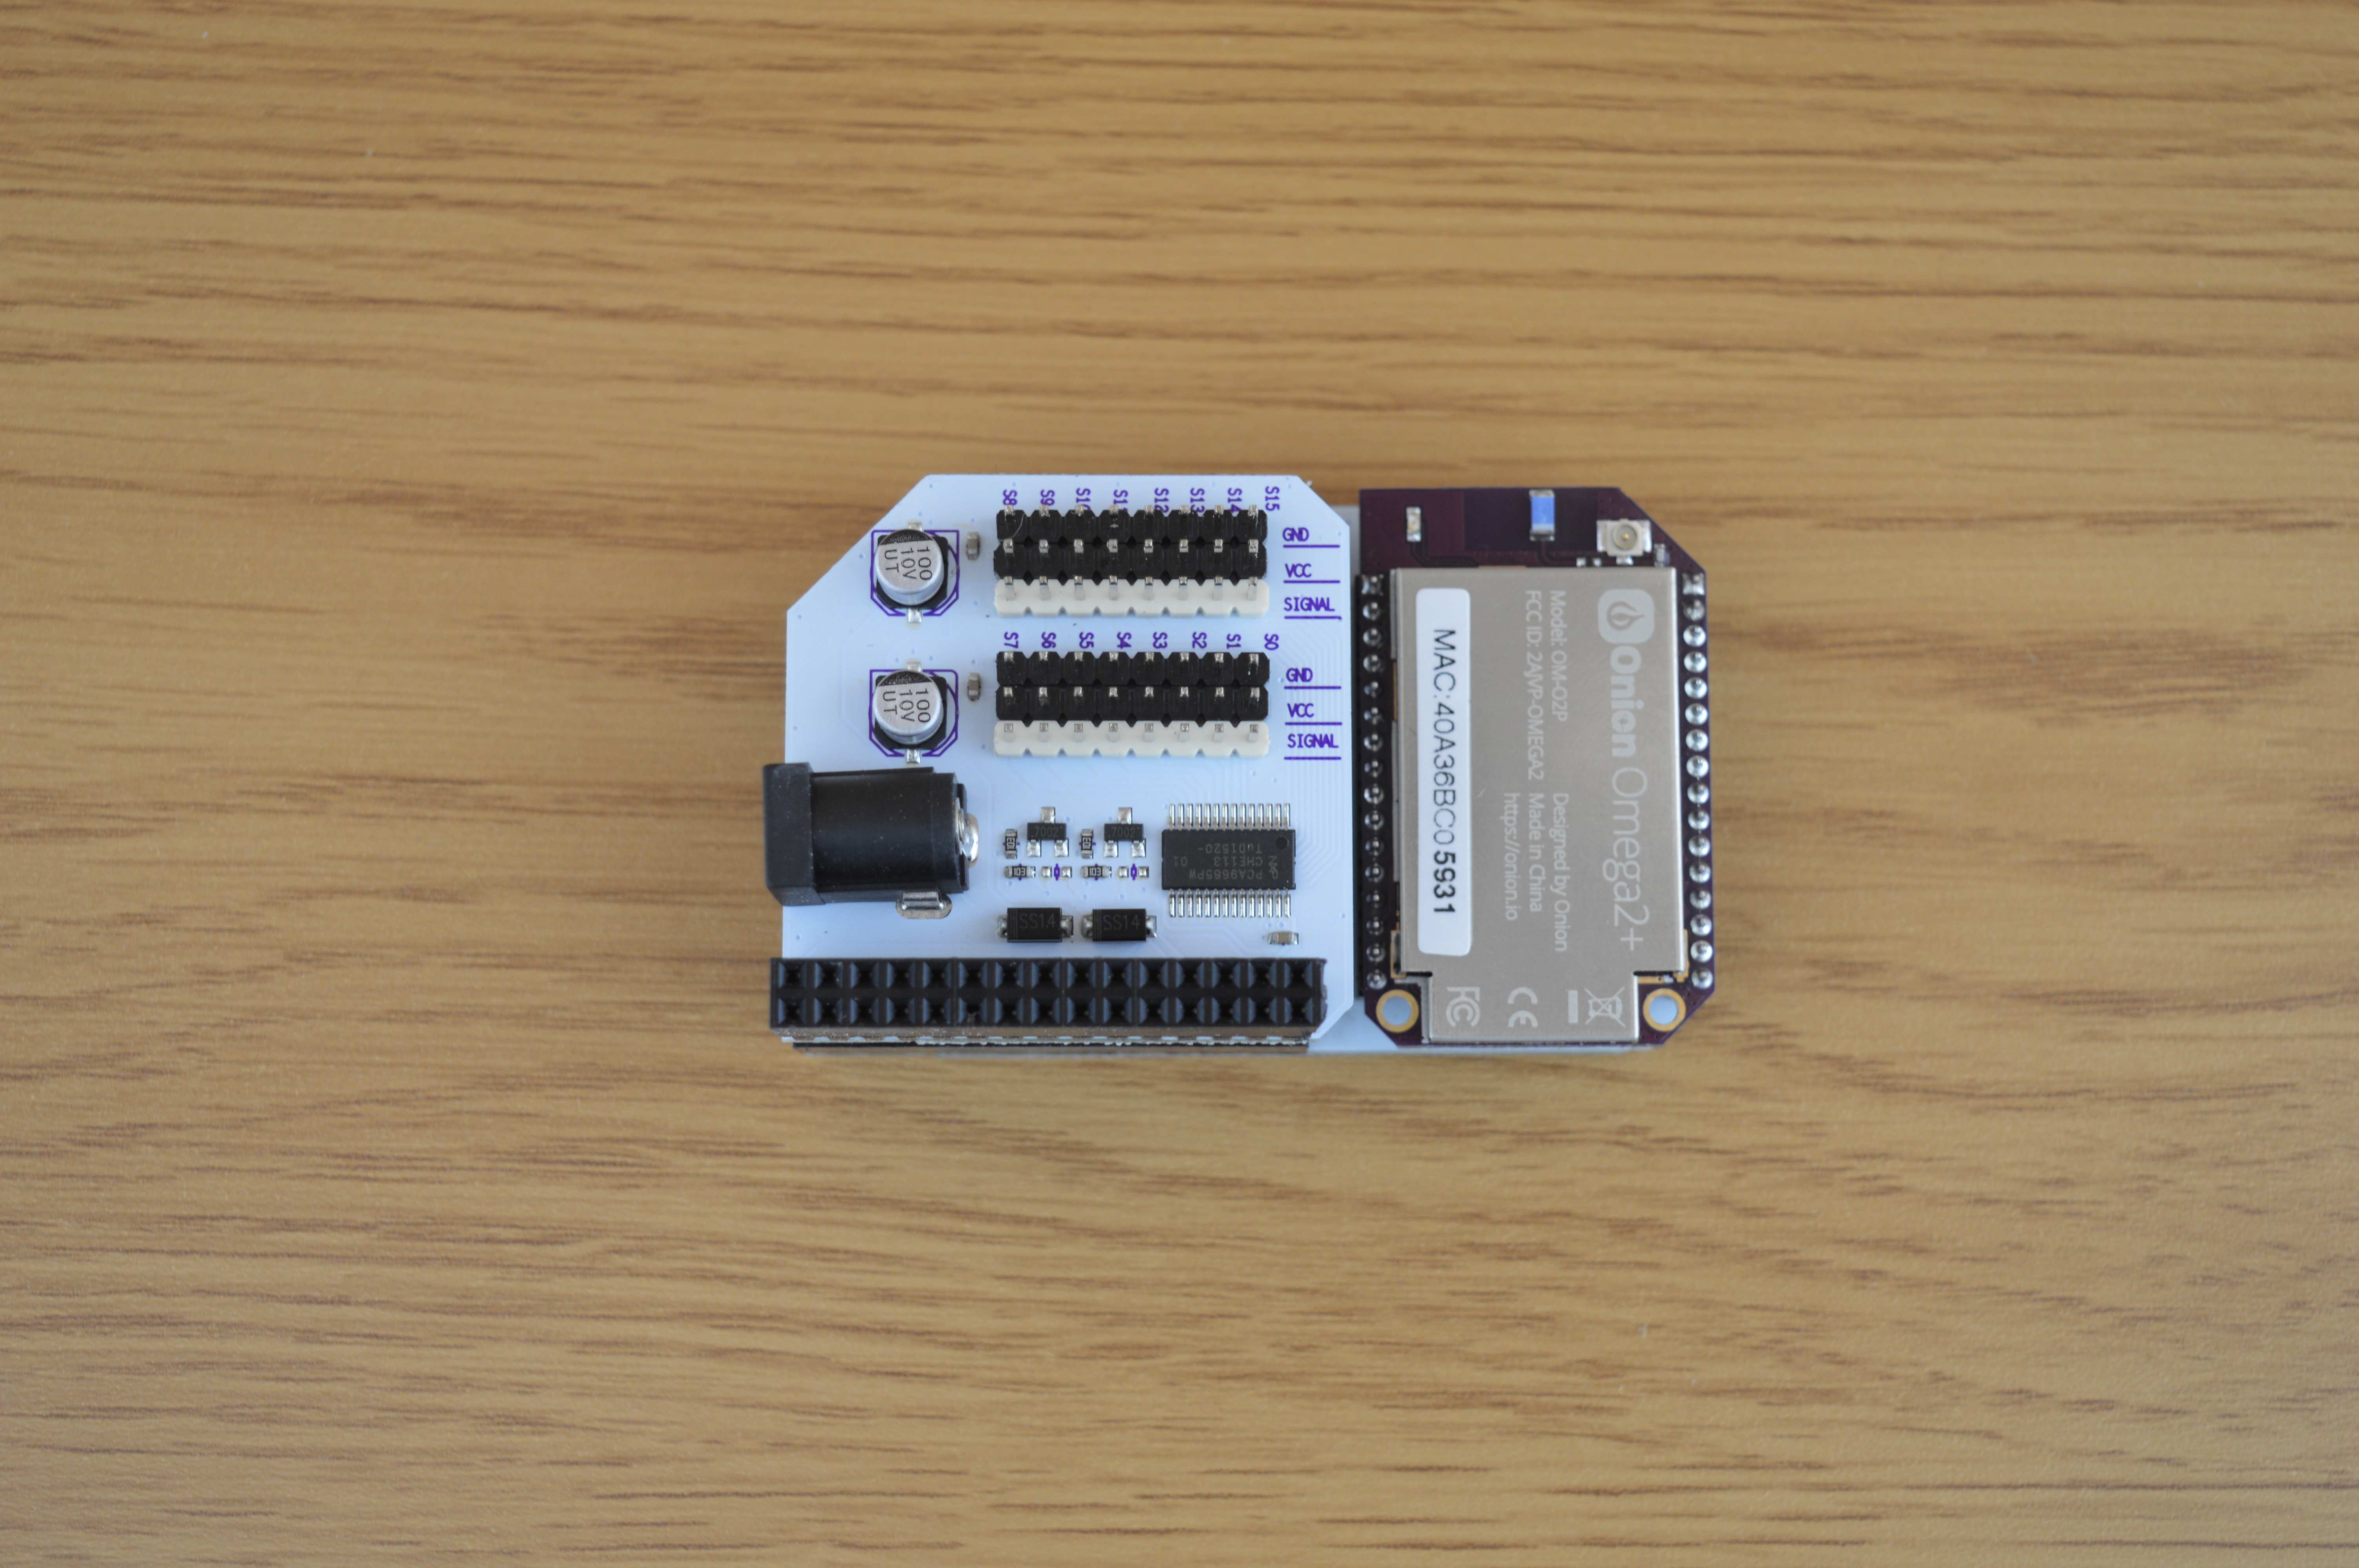
The PWM Channels
The PWM Expansion has 16 channels (outputs) that can be controlled simultaneously. Each channel has the following male header pins from top to bottom:
- GND - ground
- Vcc - 5V output
- SIGNAL - the wire that carries the PWM signal
- This channel is marked with a white header pin.
Connecting Servos
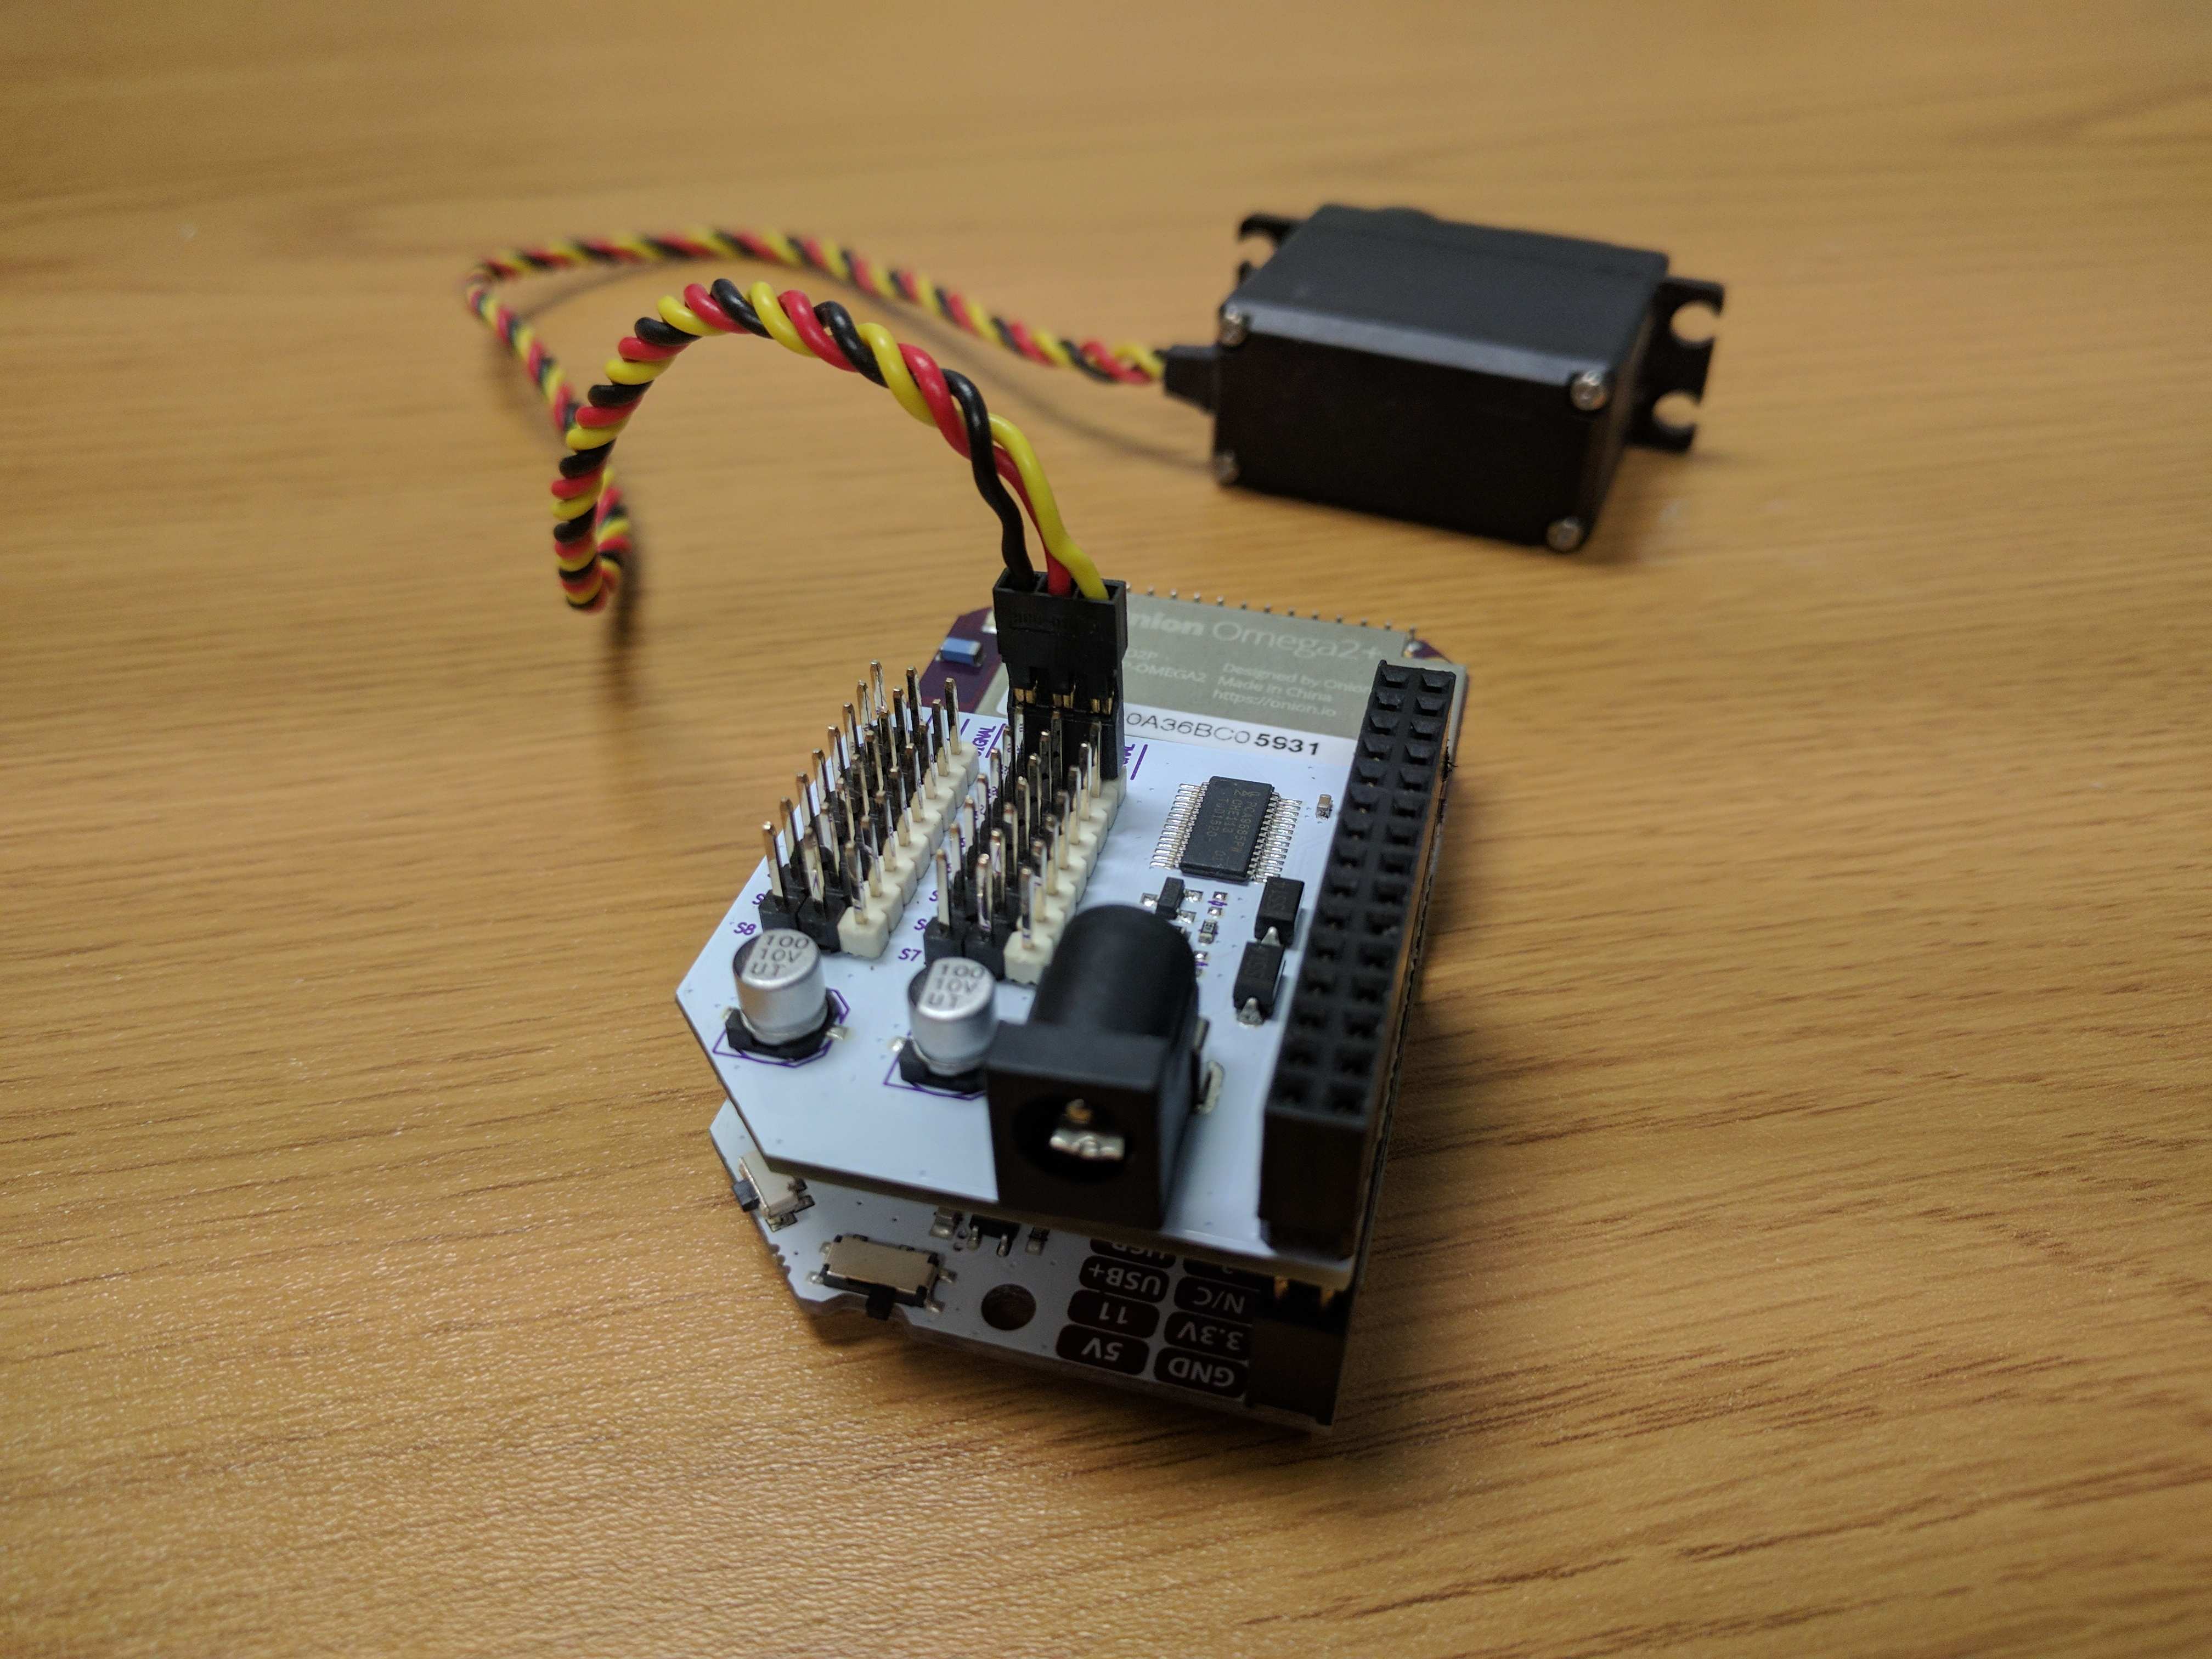
We’ve placed the PWM pins in the same order that most* servo motors have them, so you can plug them right in!
One exception we’ve found is Airtronics servos, which may have the Vcc and SIGNAL pins on the outside.
Take a look at your servo’s connector. Typically the GND wire is black; line it up with the black GND pin on the servo channel’s header. The SIGNAL wire will then plug into the white header pin on the bottom. The photo below shows a Hitec servo properly plugged into channel 1 (SIGNAL is the yellow wire).
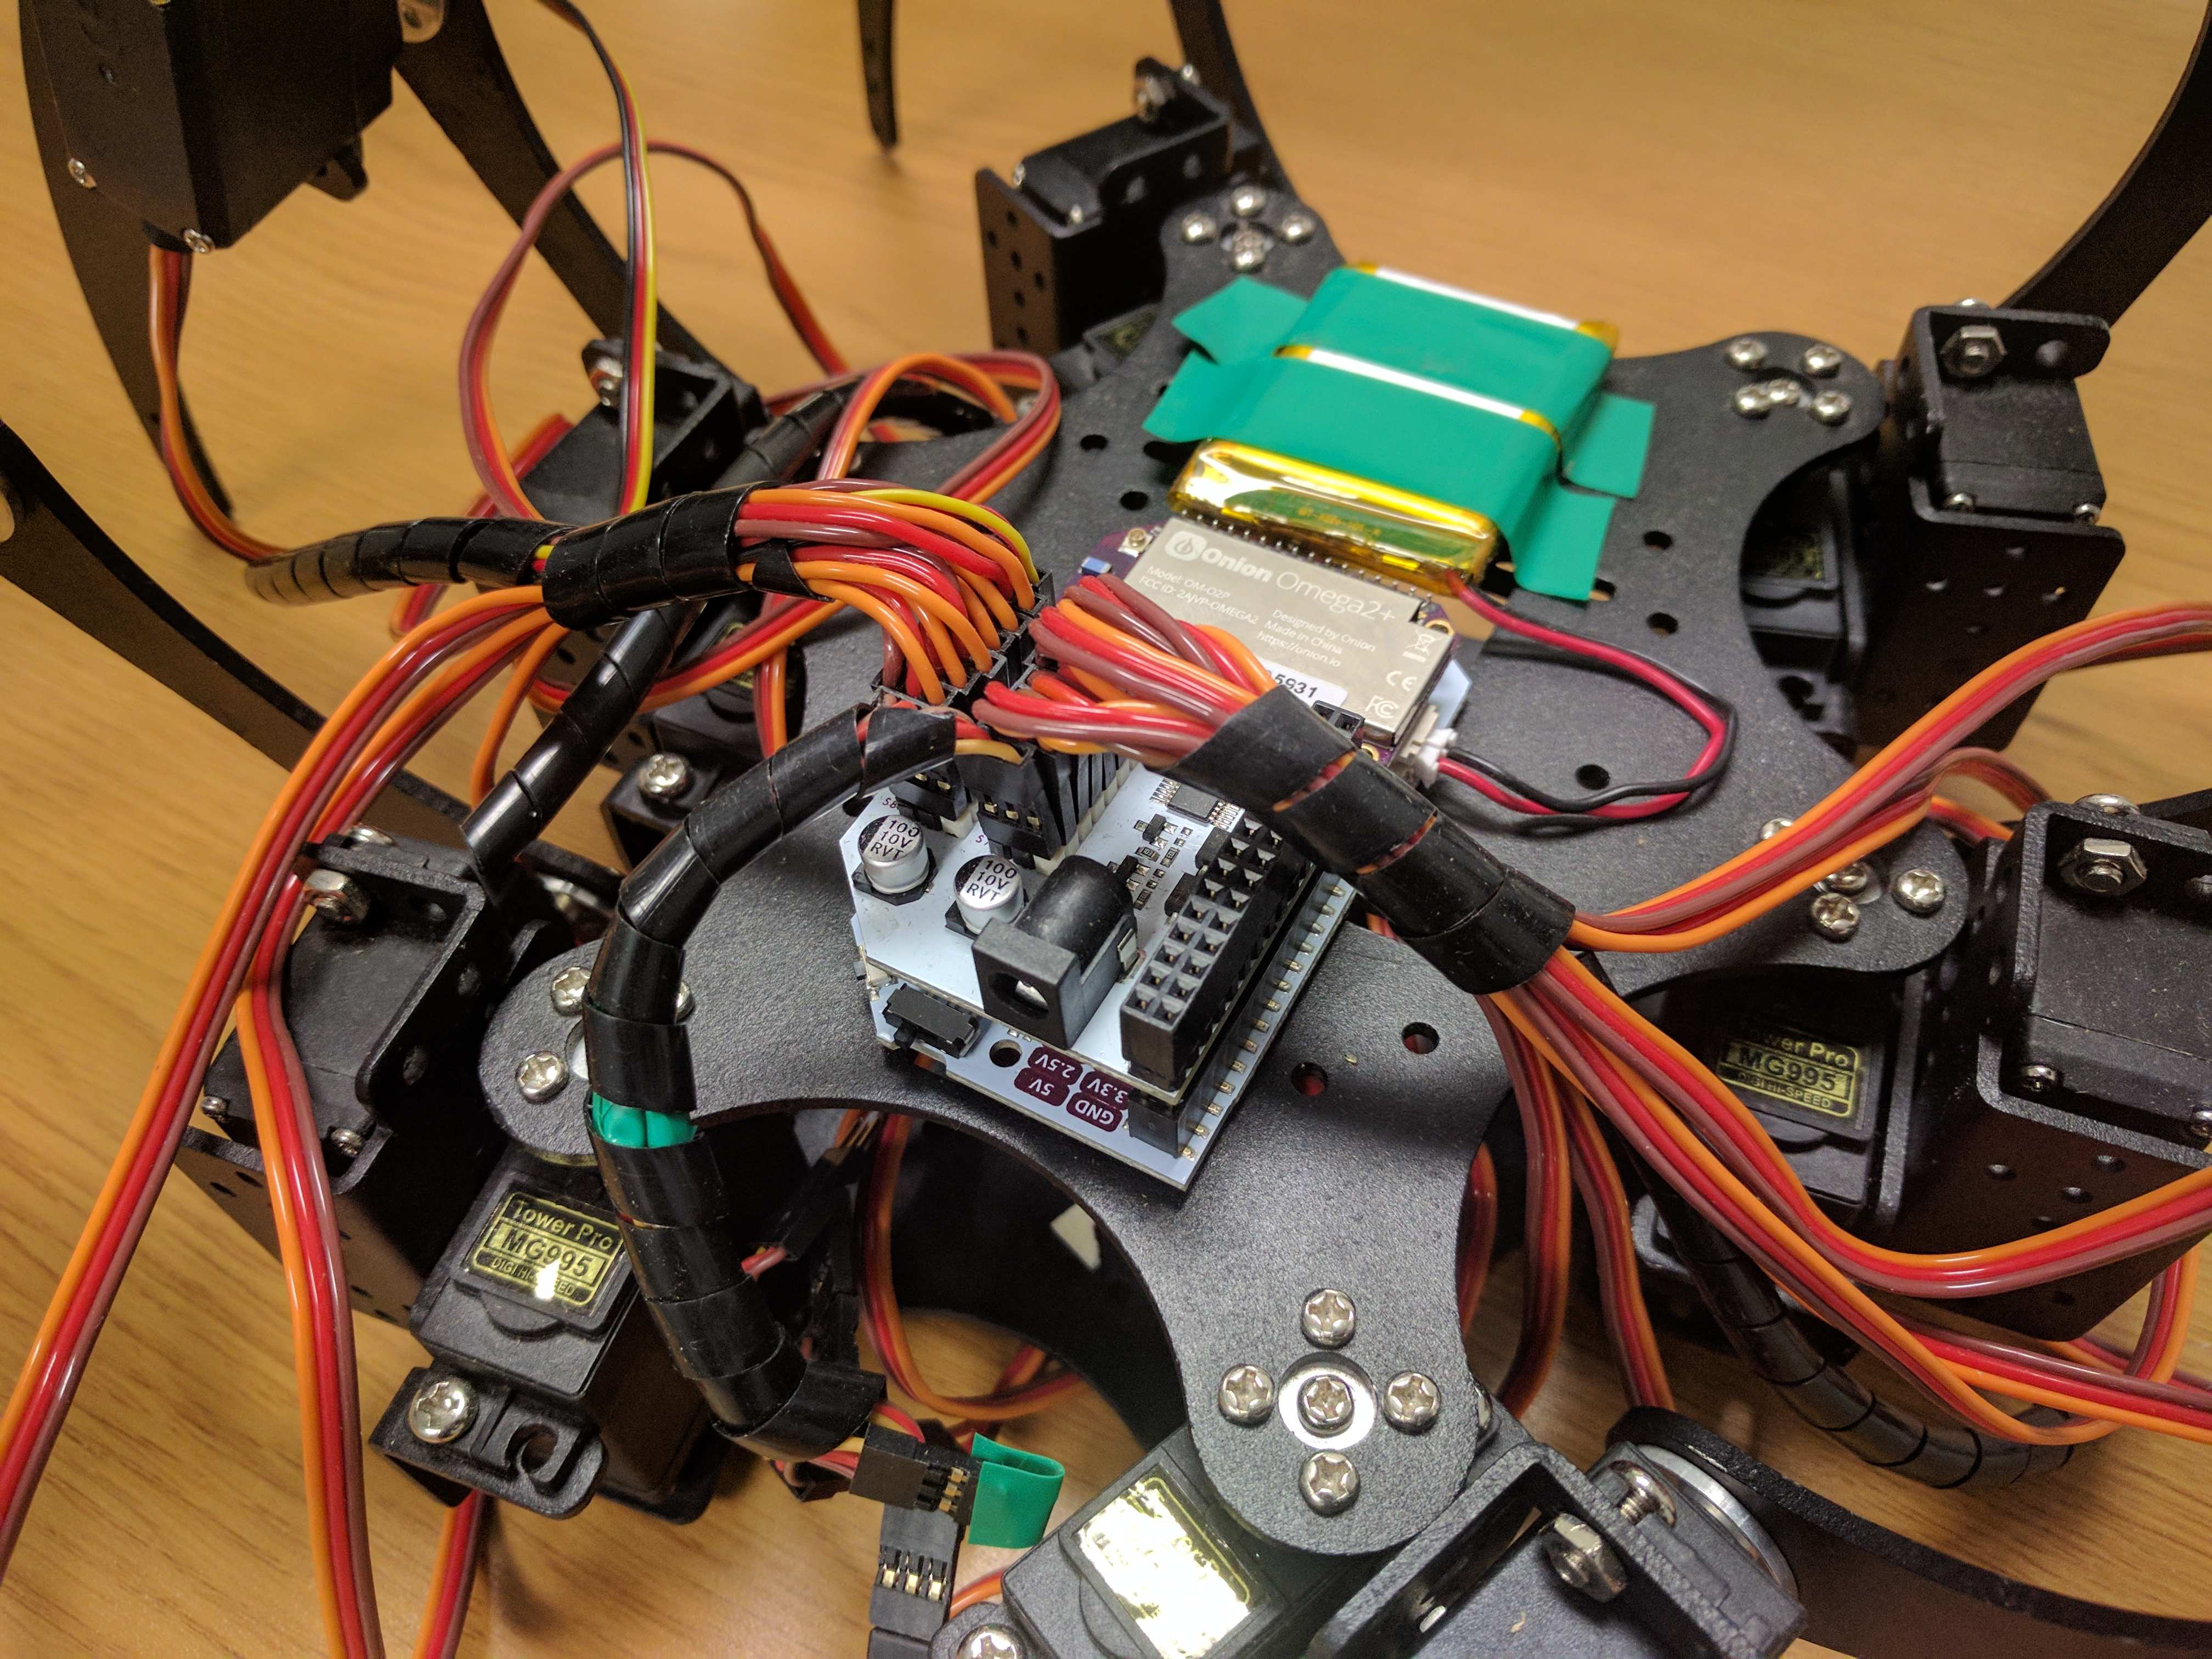
Check out the PWM Expansion hooked up to the servos on our Spiderbot!
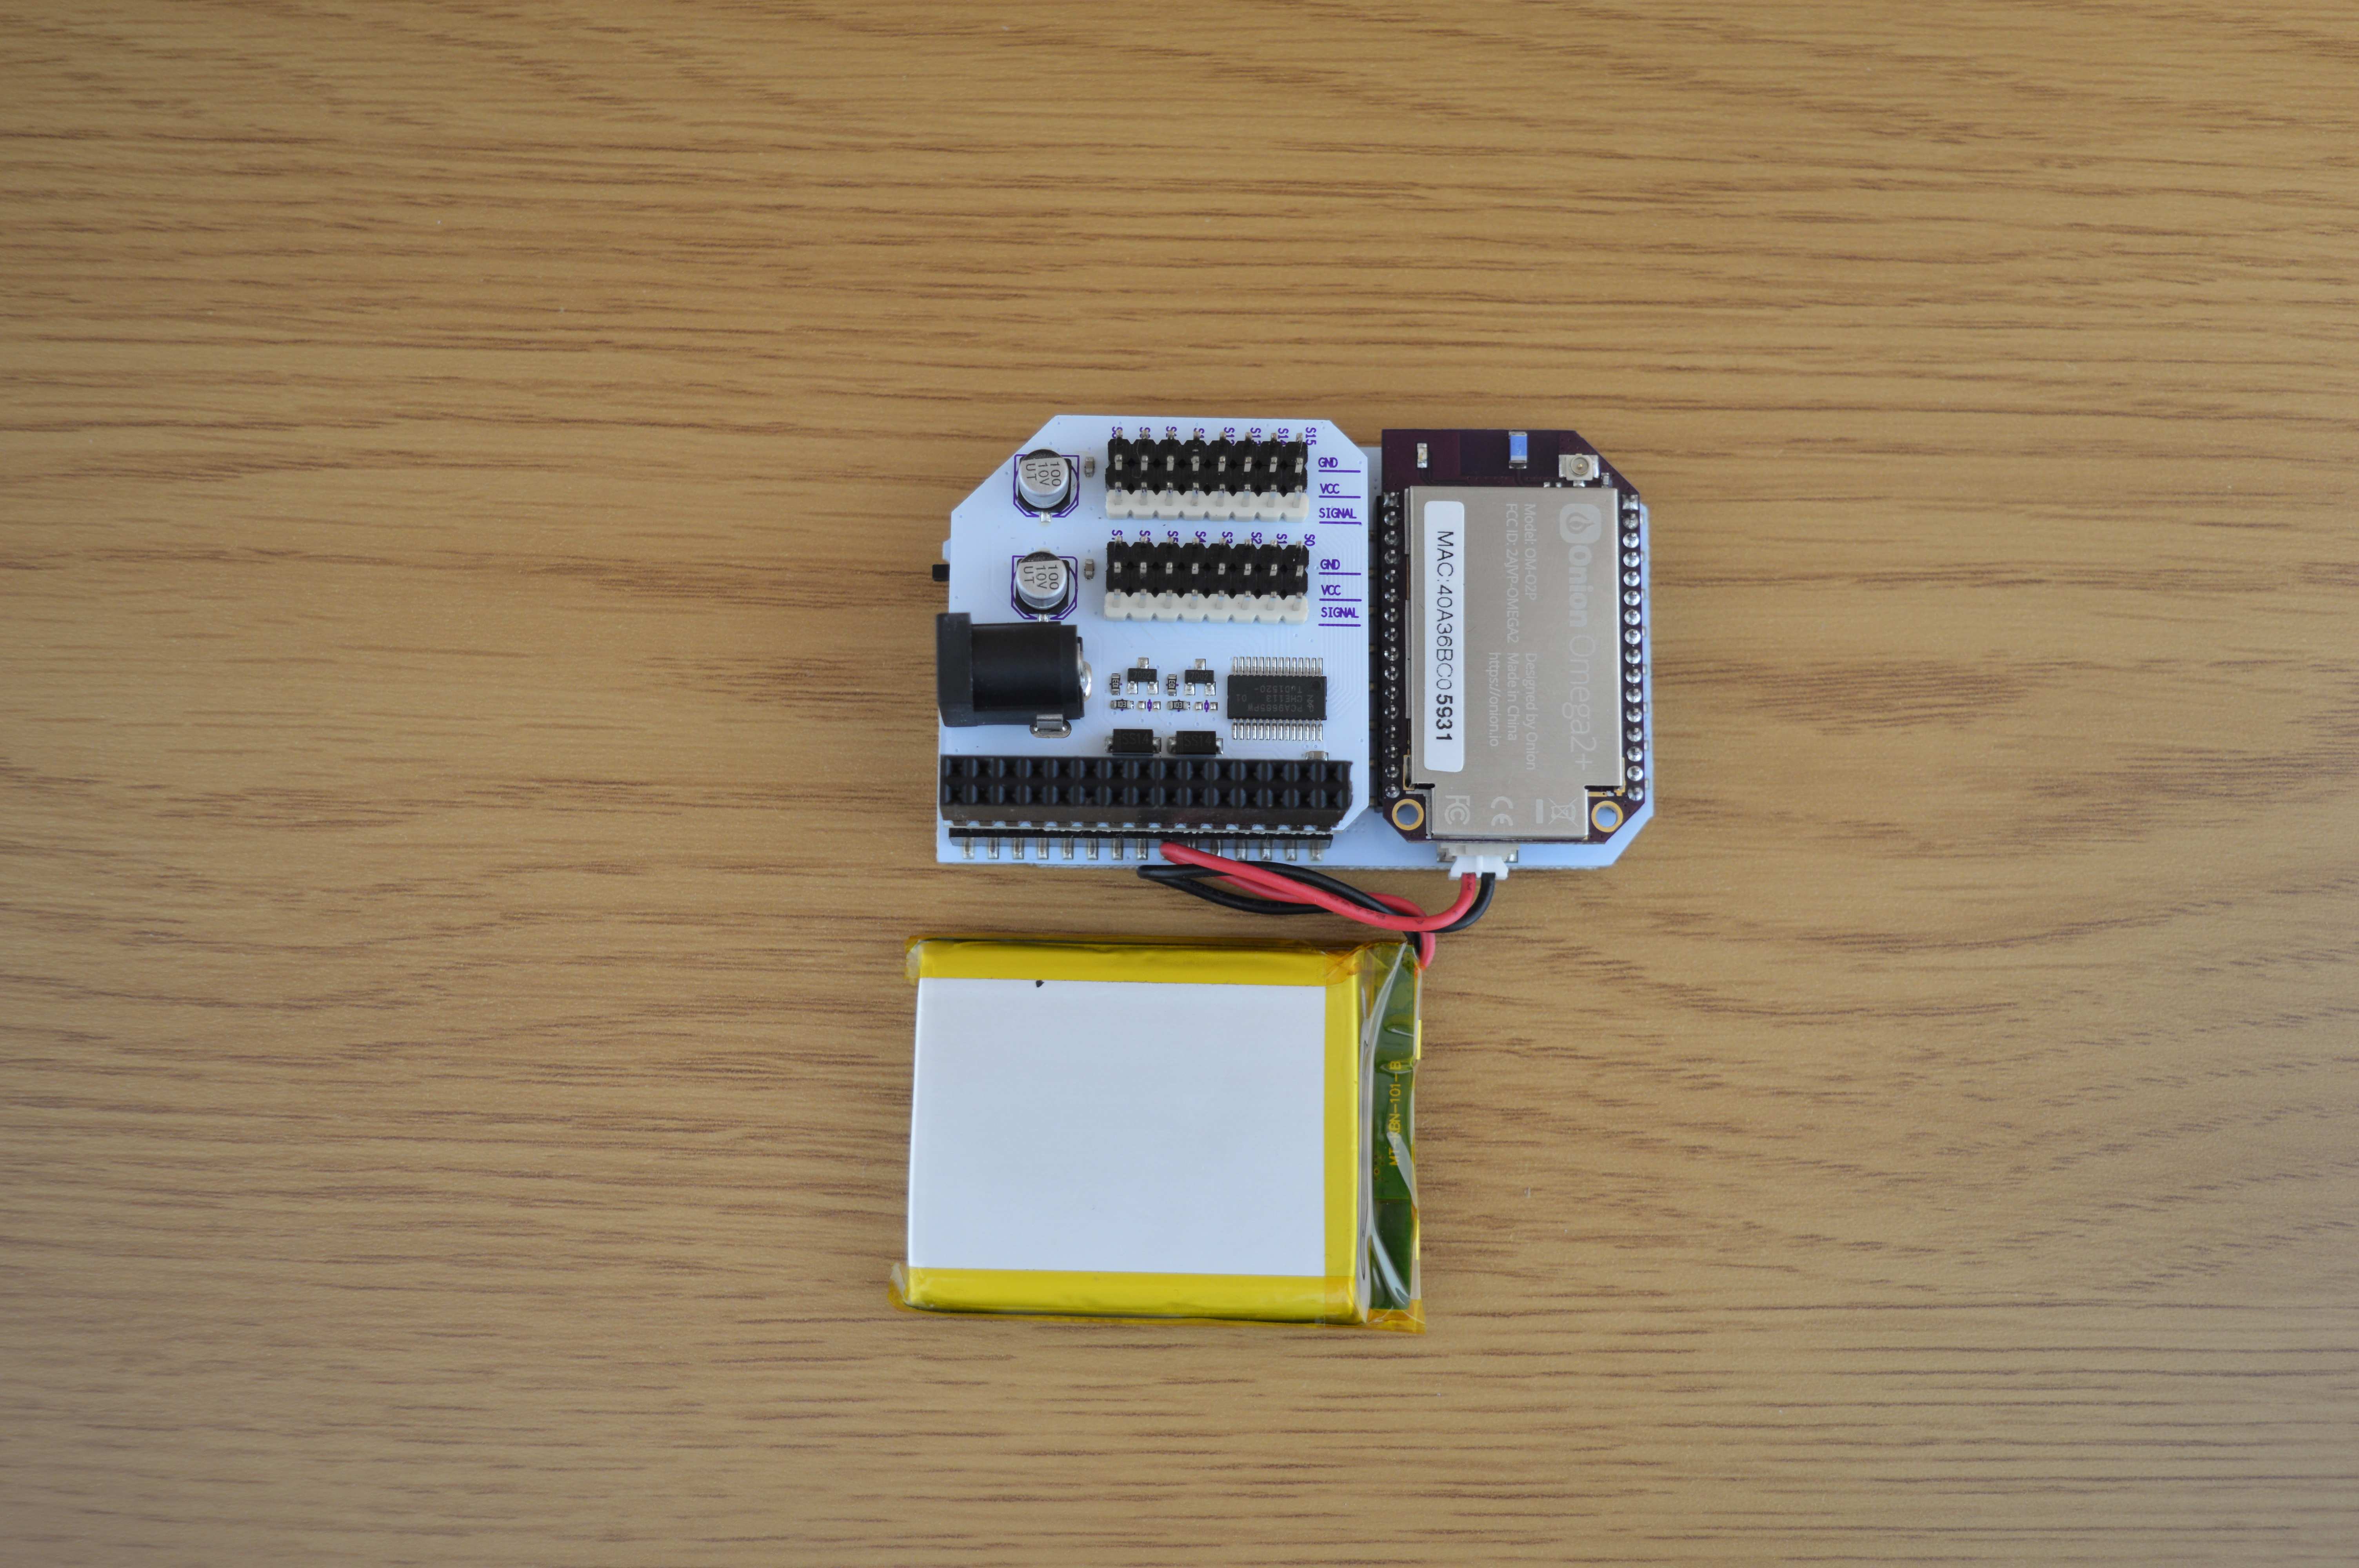
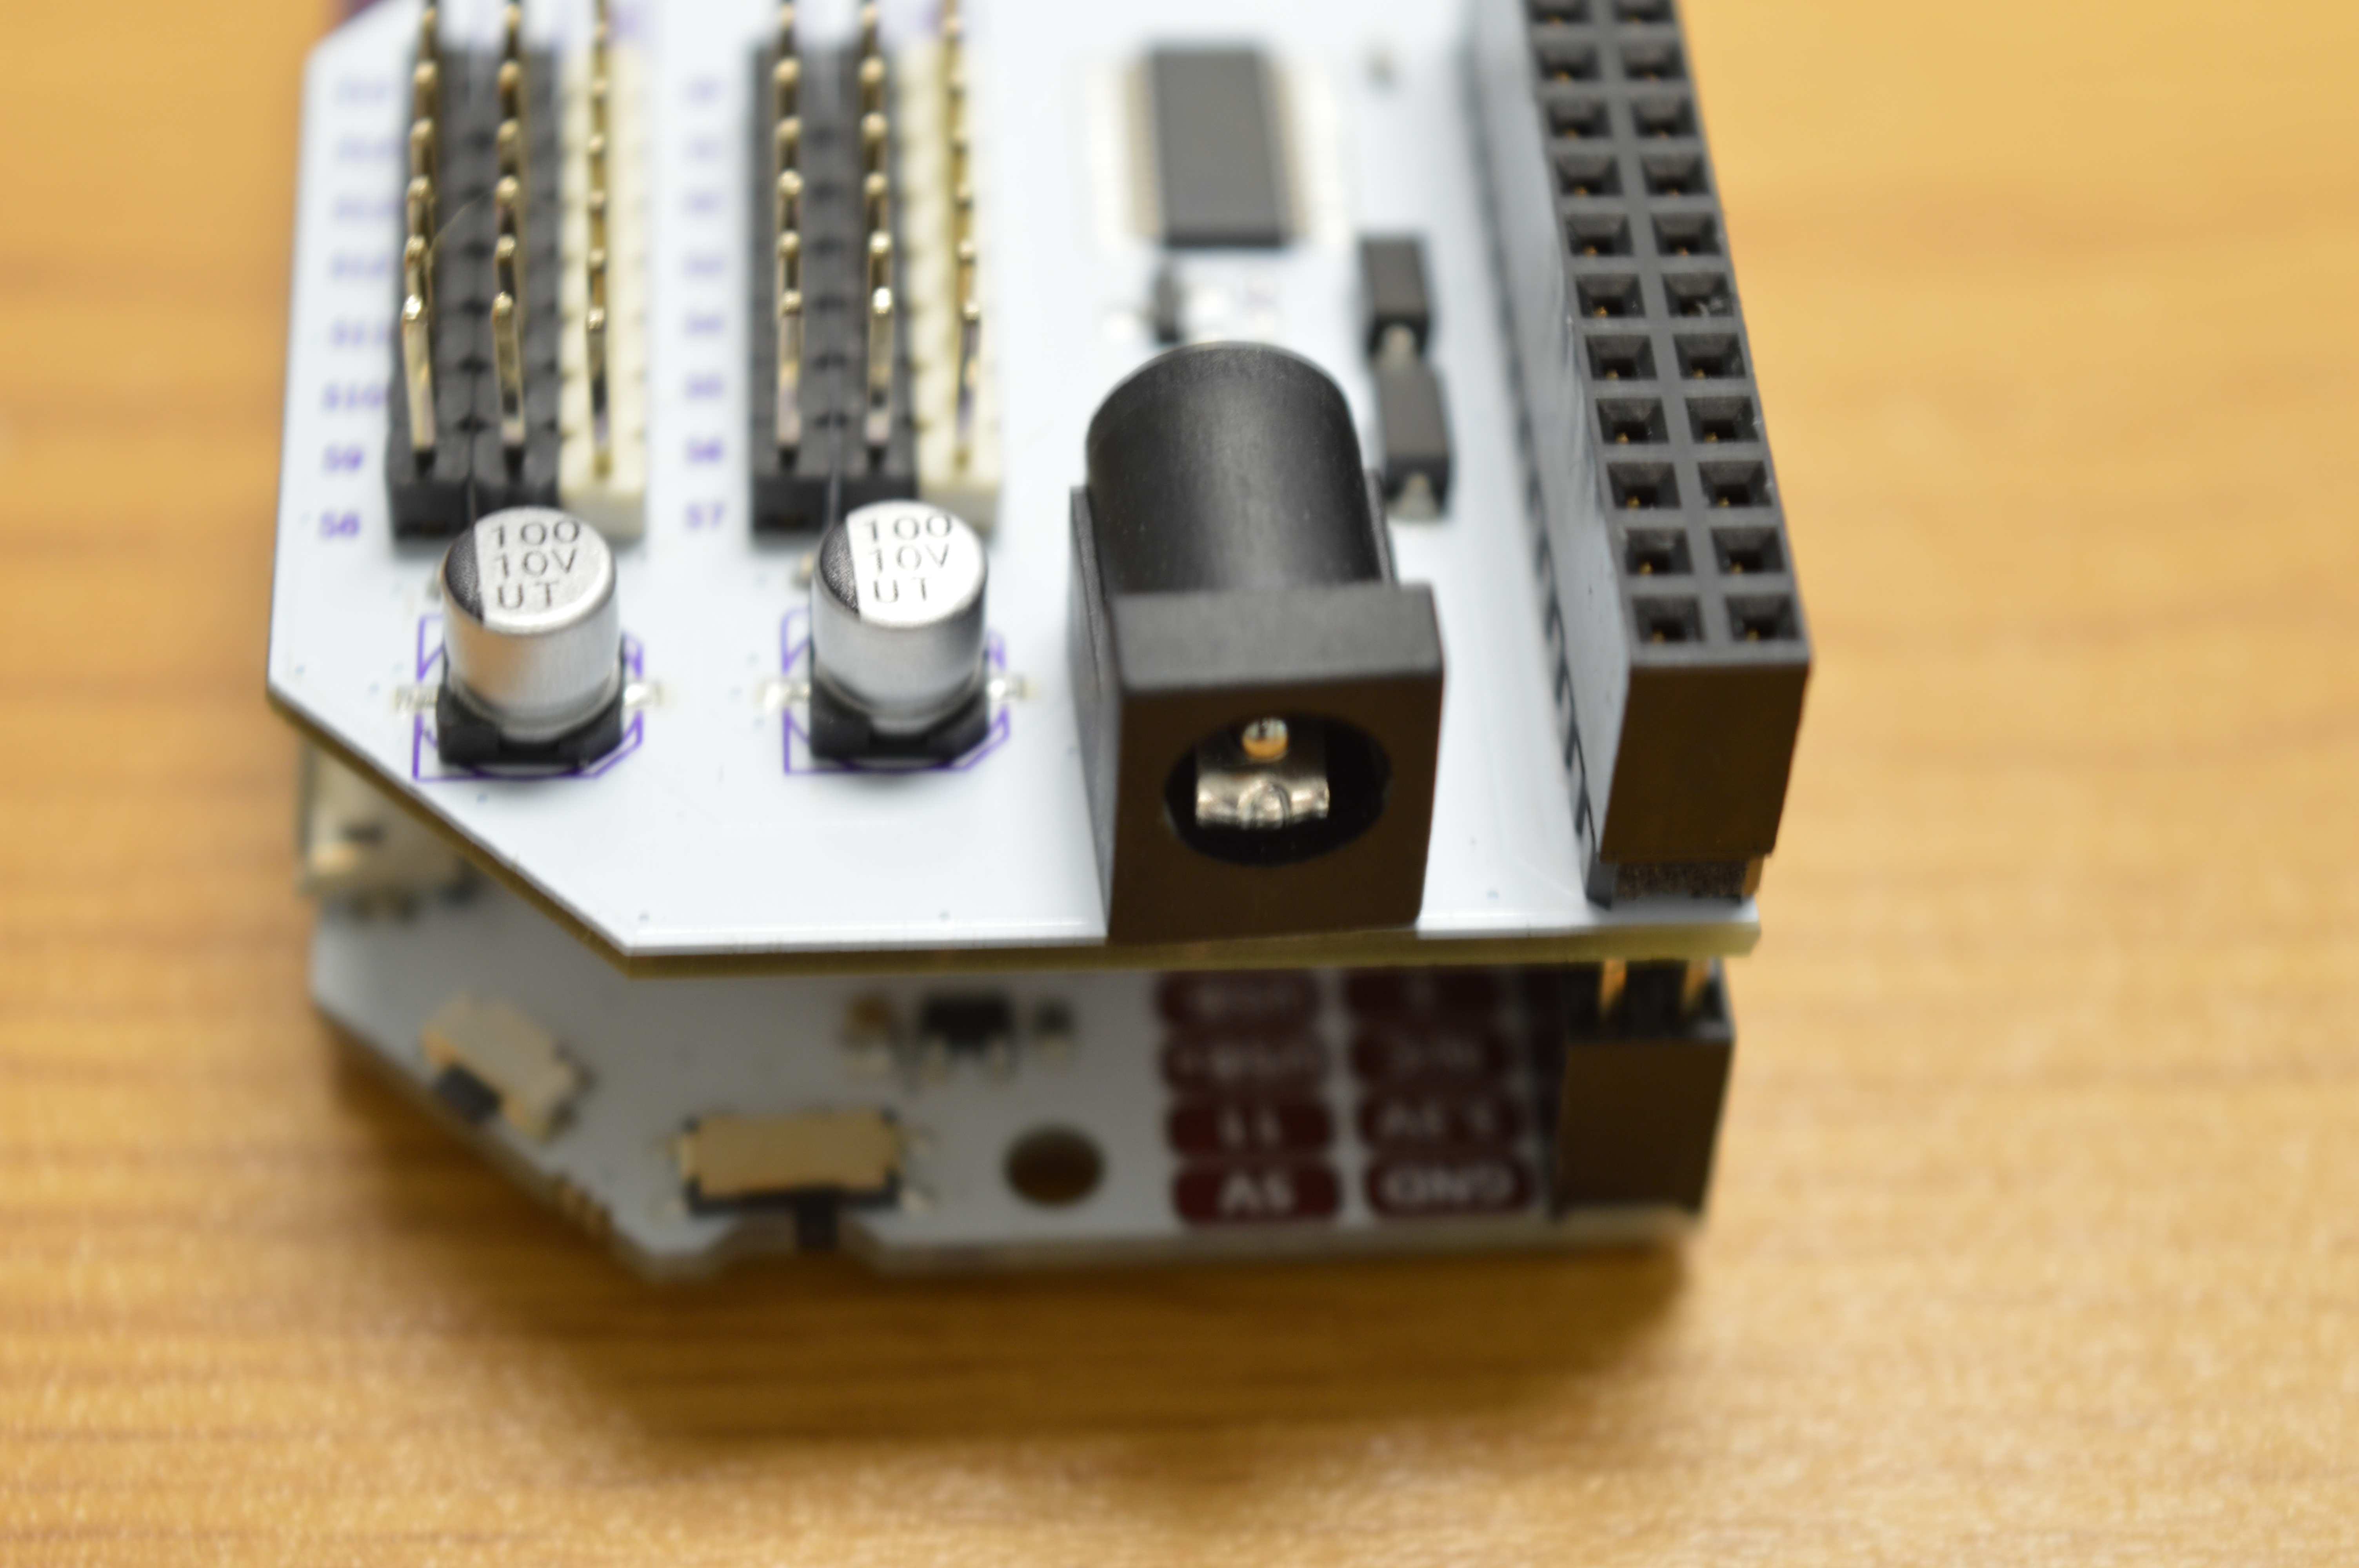
The DC Barrel Jack Adapter
The Omega supplies enough power to move only one or two servos under light load. In order to power projects with a bunch of servos, we’ve included an onboard DC barrel jack connector that can be used to supply power to any connected servos.
It is not recommended to attempt to power more than 2 servos without an external power supply.
The DC voltage supplied through the barrel jack will be provided on the Vcc (and GND) pins. The PWM voltage will also be stepped up to this voltage.
We’ve safely tested up to 6V, so try not to go beyond that or you risk damaging your Expansion. To get more power at this stage, look for power supplies with higher current ratings rather than higher voltages.
Please check the datasheets of your servomotors for guidance on the power ratings of the power supply.
When used with the Arduino Dock
Note that the Omega cannot be powered through this connector and still requires its own power supply since the DC Barrel Jack is isolated from the Dock’s 5V power supply. This was done to allow the servos to be powered by power supplies that provide more than 5V while preventing damage to the Omega and Dock.
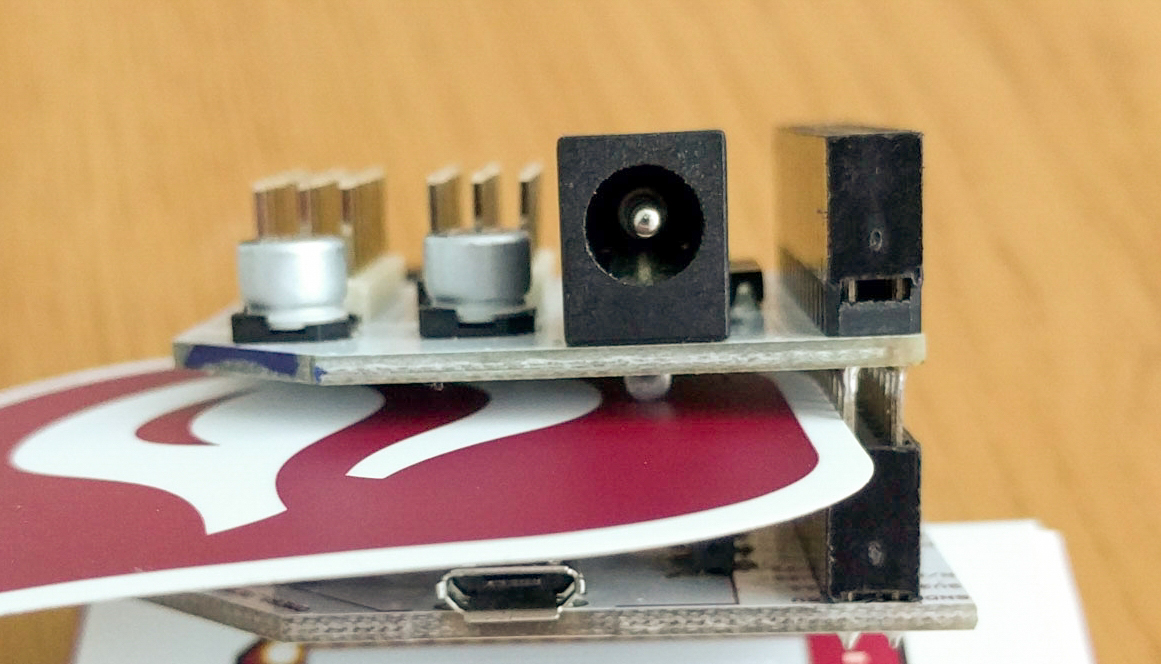
Note: on the Arduino Dock, the barrel jack’s bottom tabs have been found to make contact with the metal case of the Omega2 and Omega2+ creating a short circuit. We recommend inserting a thin plastic layer between the top of the Omega and the bottom of the PWM Expansion to break this short. If the DC connector is shorted, it may cause damage to any components connected to the PWM Expansion.
The Oscillator
The onboard chip has an oscillator that can generate PWM signals with a frequency in the range of 24 Hz to 1526 Hz. The default frequency is 50 Hz which is set to match most servomotors.
All signals generated by the PWM Expansion run at the same frequency set by the one oscillator, so you will not be able to control servos using different frequencies.
Mechanical Drawings
We’ve made available a detailed diagram of the dimensions and geometry of the PWM Expansion.
Using the PWM Expansion
Some of the things you can do with the PWM Expansion are as follows:
- Robotics
- LED light shows
Read our guide to using the PWM Expansion to learn how to control it using software.