Powering the Omega with No Dock
We strongly recommend getting a Dock for your Omega to get the best experience and most performance, functionality, and stability from your new device.
However, if you only have an Omega and no Dock, this article will show you how to safely power your Omega using a regulator on a breadboard.
You can safely skip this section if you have a Dock.
The following is the only procedure recommended by Onion. Onion is not responsible for damage caused to your device when attempting to provide power with any alternative methods or components.
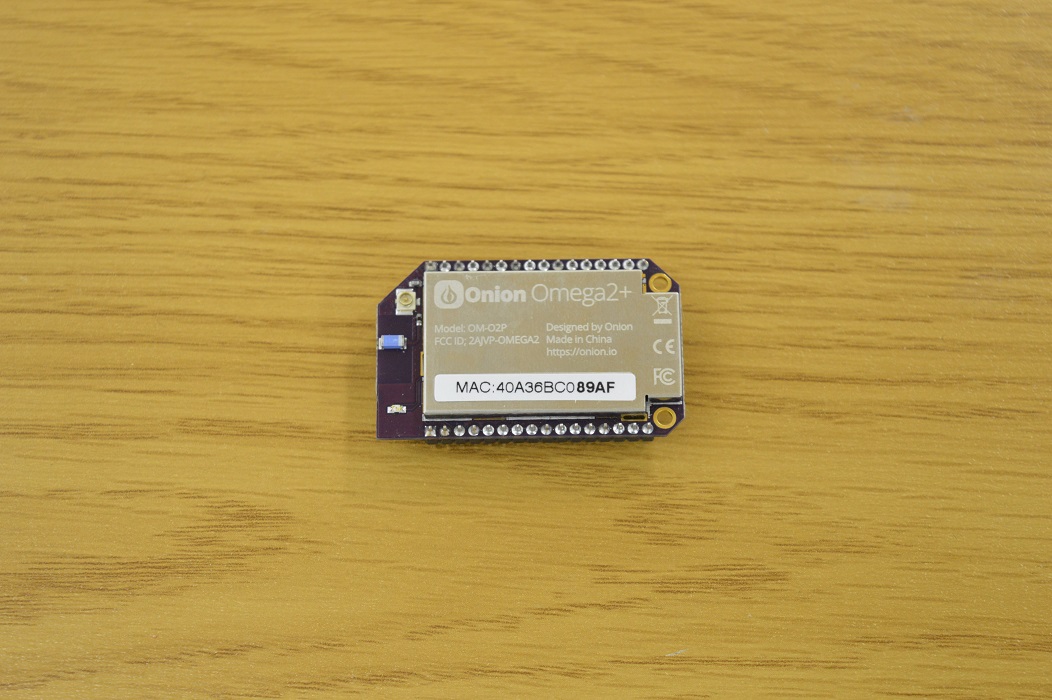
Unpack
Unpack the Omega from its box
Providing Power
The Omega needs to be powered by 3.3V DC and requires 500mA to be safe. Without a Dock, we can’t use a MicroUSB to provide the power. So we’ll need to build a regulator circuit that can be supplied with a wide range of input, but still provide the Omega with the precise 3.3V that is needs.
We’ll need the following
- A breadboard
- 2 male-to-male jumper wires
- 2 male-to-female jumper wires
- LD1117 3.3V Regulator
- DC Barrel Jack (breadboard friendly)
- DC Power Supply
Building the Circuit
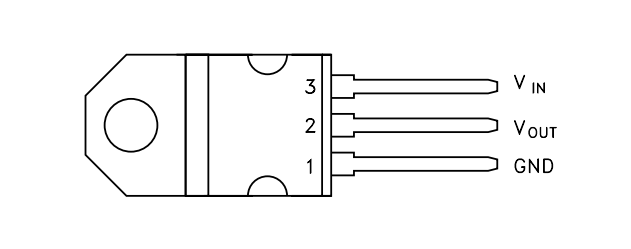
Voltage regulators normally have at least three legs: Input, Output, and Ground. The LD1117 regulator we’re using has its legs arranged in the order shown in the image below. Consult your regulator’s datasheet for specifics.
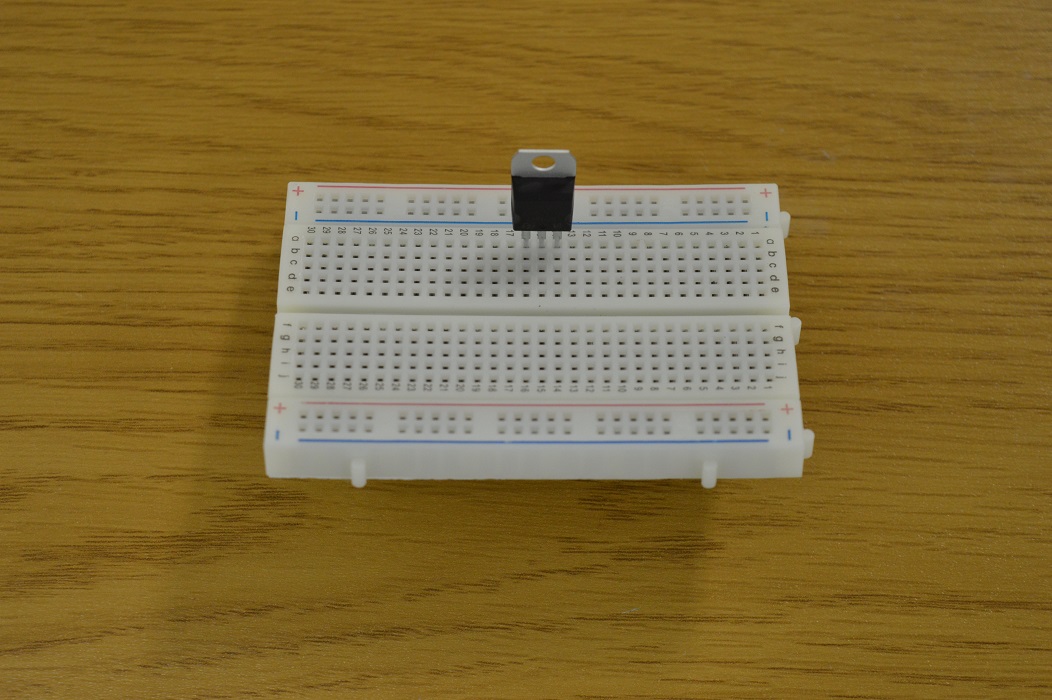
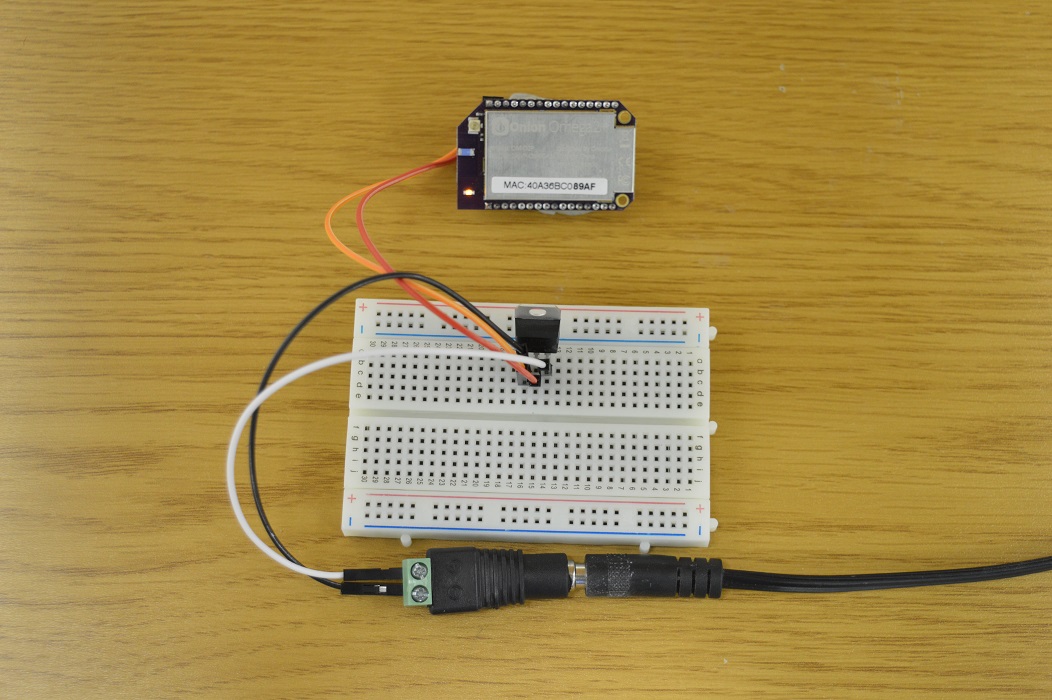
Take your voltage regulator and plug it into your breadboard so that each leg is in a different row.
You’ll then want to connect your barrel jack ground to the regulator’s ground, and the barrel jack’s output to the regulators input.
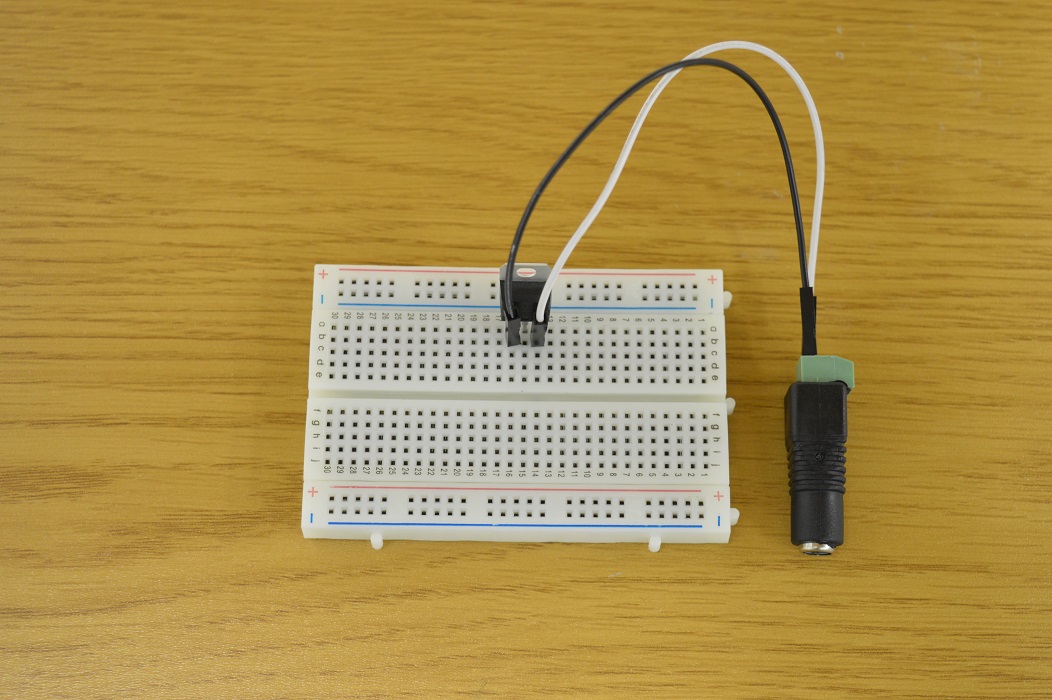
Now you’re ready to power the Omega.
Provide Power to the Omega
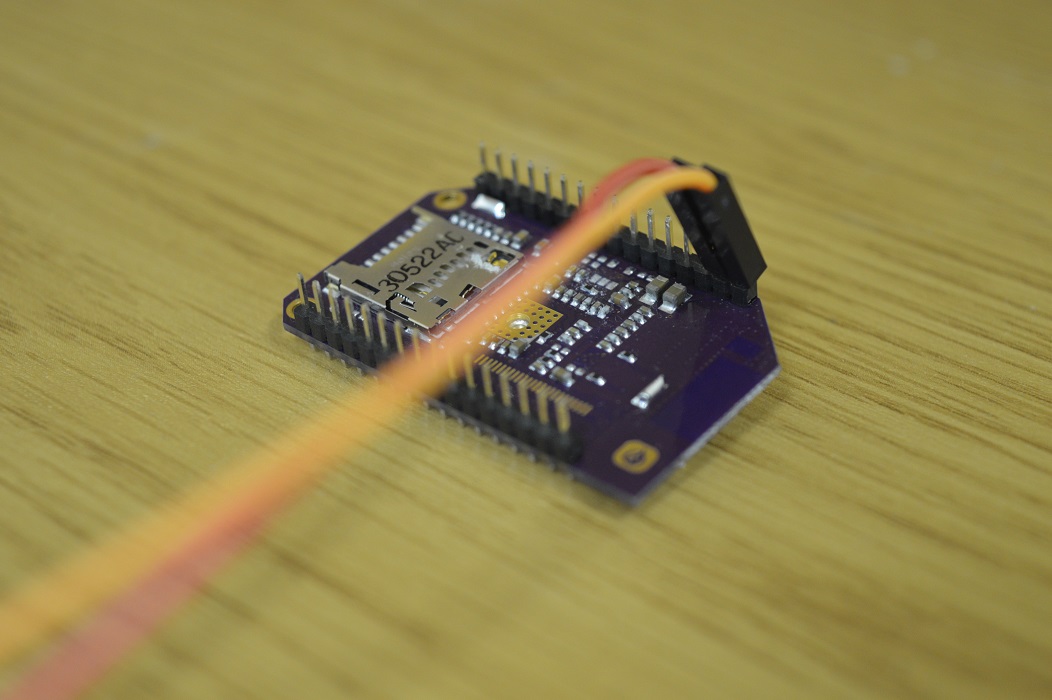
With your regulator circuit built you can provide a steady 3.3V to the Omega. Take one male-to-female jumper cable and insert the male end into the row with the ground leg of the regulator. Then take another male-to-female jumper cable and connect it to the output leg of the regulator. This leg is outputting 3.3V.
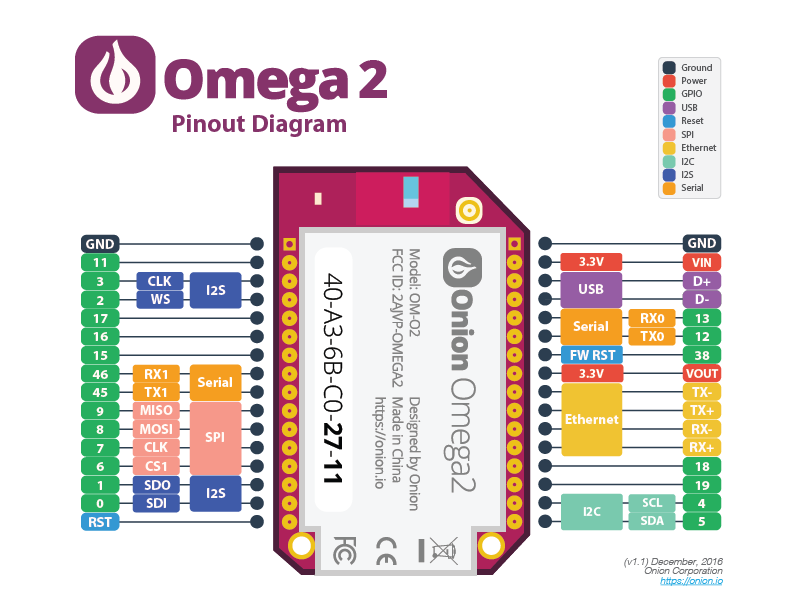
Now take a look at the Omega’s pinout diagram, we’ll connect the ground cable to the ground pin, and the 3.3V cable to the 3.3V VIN (input) pin.
They are right next to each other on the right side of the Omega:
Connect your DC power supply to the barrel jack and your Omega will begin booting.
Wait till it boots
The amber LED on your Omega should turn on and then start blinking after about 10 seconds. In about a minute, the LED will stop blinking and remain solid, this means that the Omega has completed its boot sequence!
It’s possible that your Omega will behave a little differently: if the amber LED on your Omega turns on and remains on, wait for about a minute, and your Omega will have booted.
Your Omega’s AP will then become available, allowing connections from other devices.
Continue the Setup Process
If this is your first time powering on the Omega, you can now follow the rest of the setup steps as if you had the Omega connected to a Dock. See our guide on using the browser-based Setup Wizard or the Command Line setup guide for info on how to complete your Omega’s setup.
If you opt for the command line setup, you will only be able to connect to the Omega via SSH. Connecting via serial is possible only if you have a USB-to-UART serial converter.