First Time Setup using the Command Line
Follow along with this guide to set up your Omega2 for the first time using the command line.
Follow this guide only if the Setup Wizard was not able to get your Omega2 up and running. If the Setup Wizard succeeded, you don’t have to go through these steps!
We’ll be doing the following:
- Connecting your Omega to a Dock and powering it on.
- Connecting to its command line terminal.
- Configuring it to join your WiFi network and then do some updates.
If you experience issues at any point in the process, try checking our Troublshooting guide.
Unboxing and Getting the Hardware Ready
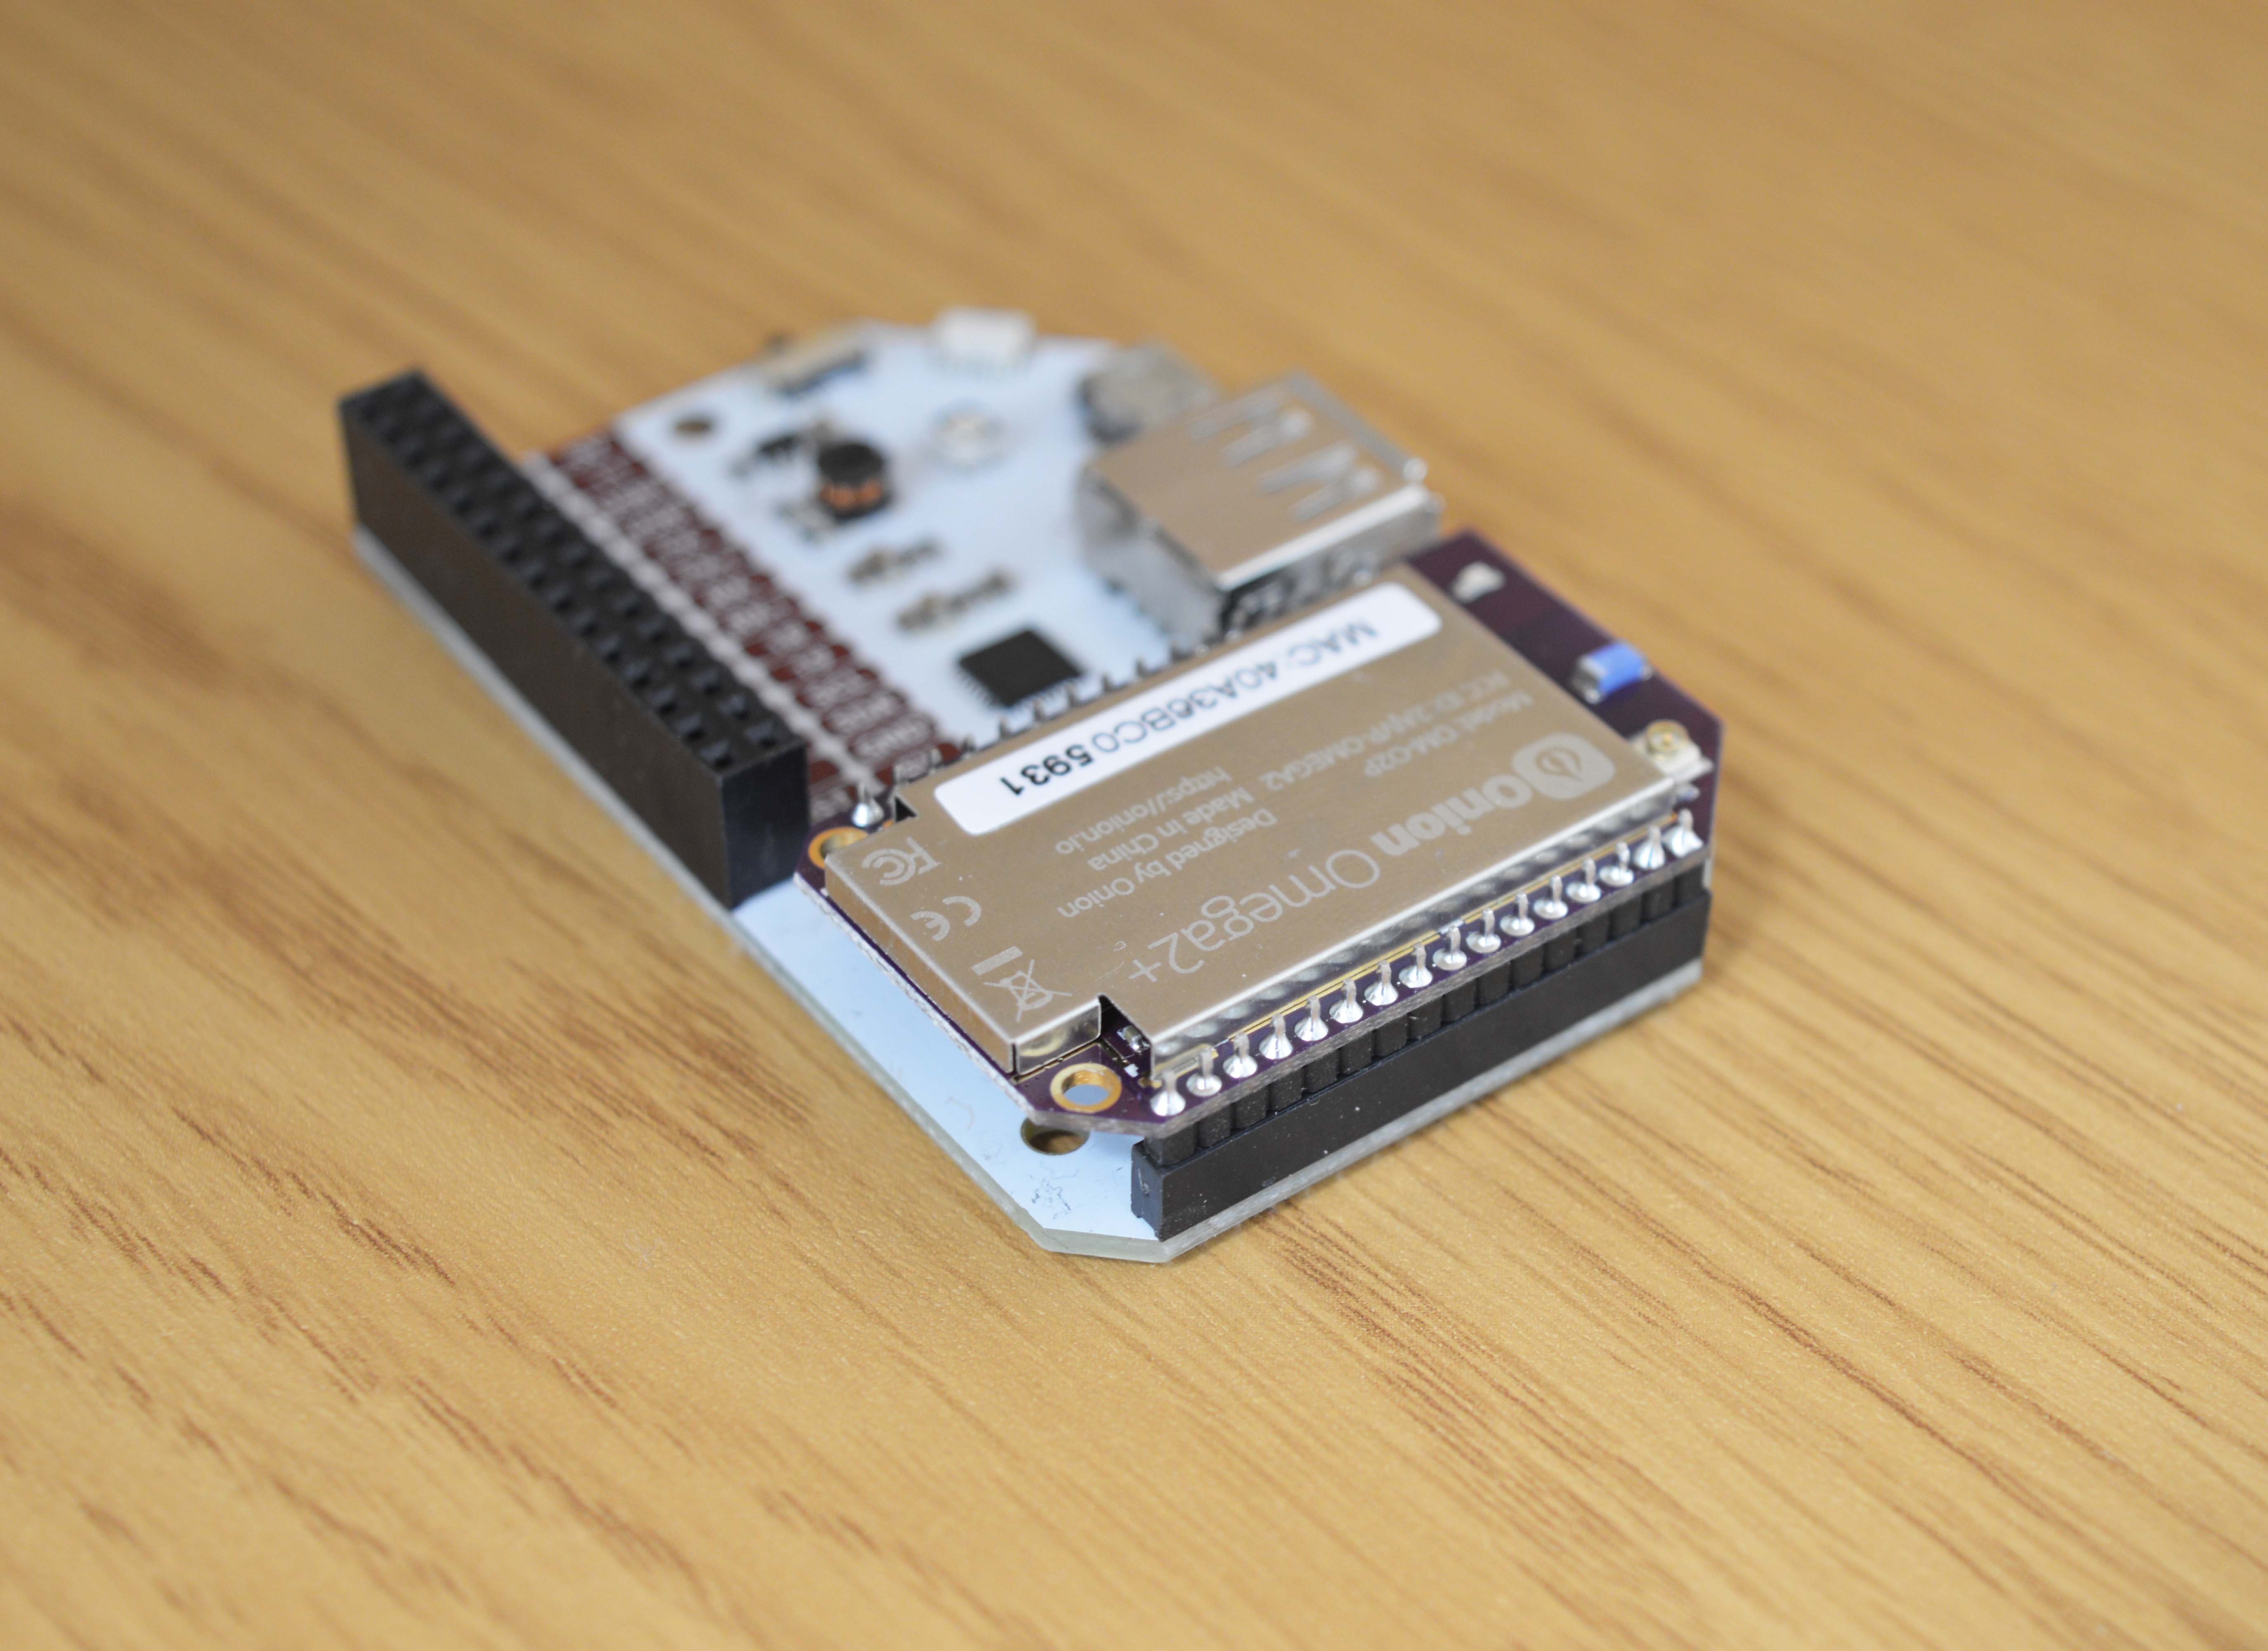
This guide assumes you have an Omega and a Dock. If you didn’t purchase a Dock, follow our guide on powering the Omega with no Dock.
Unpack
Unpack the Omega and Dock from their boxes

Connect
Plug the Omega into the socket on the Dock

Make sure your Omega’s pins are fully plugged into the socket
Provide Power
The Omega itself is powered by a 3.3V source. But all Omega Docks have voltage regulators so you can use any microUSB to power the Dock and Omega.
You can power it with your computer

Or you can power it with any wall adapter
Power On!
Turn on the Omega using the switch.

Wait till it boots
The amber LED on your Omega should turn on and then start blinking after about 10 seconds. In about a minute, the LED will stop blinking and remain solid, this means that the Omega has completed its boot sequence!
It’s possible that your Omega will behave a little differently: if the amber LED on your Omega turns on and remains on, wait for about a minute, and your Omega will have booted.

Preparing to Connect
Some Computer Configuration
Your computer may need some additional programs to access the Omega through a browser:
- If you are using Windows, install Apple’s Bonjour Service
- If you are using OS X, you’re all set to go
- If you are using Linux, the Zeroconf services should already be installed and you will be good to go
The Omega’s Name
Let’s find your Omega’s name before going any further.
There’s a sticker on the Omega’s shielding:
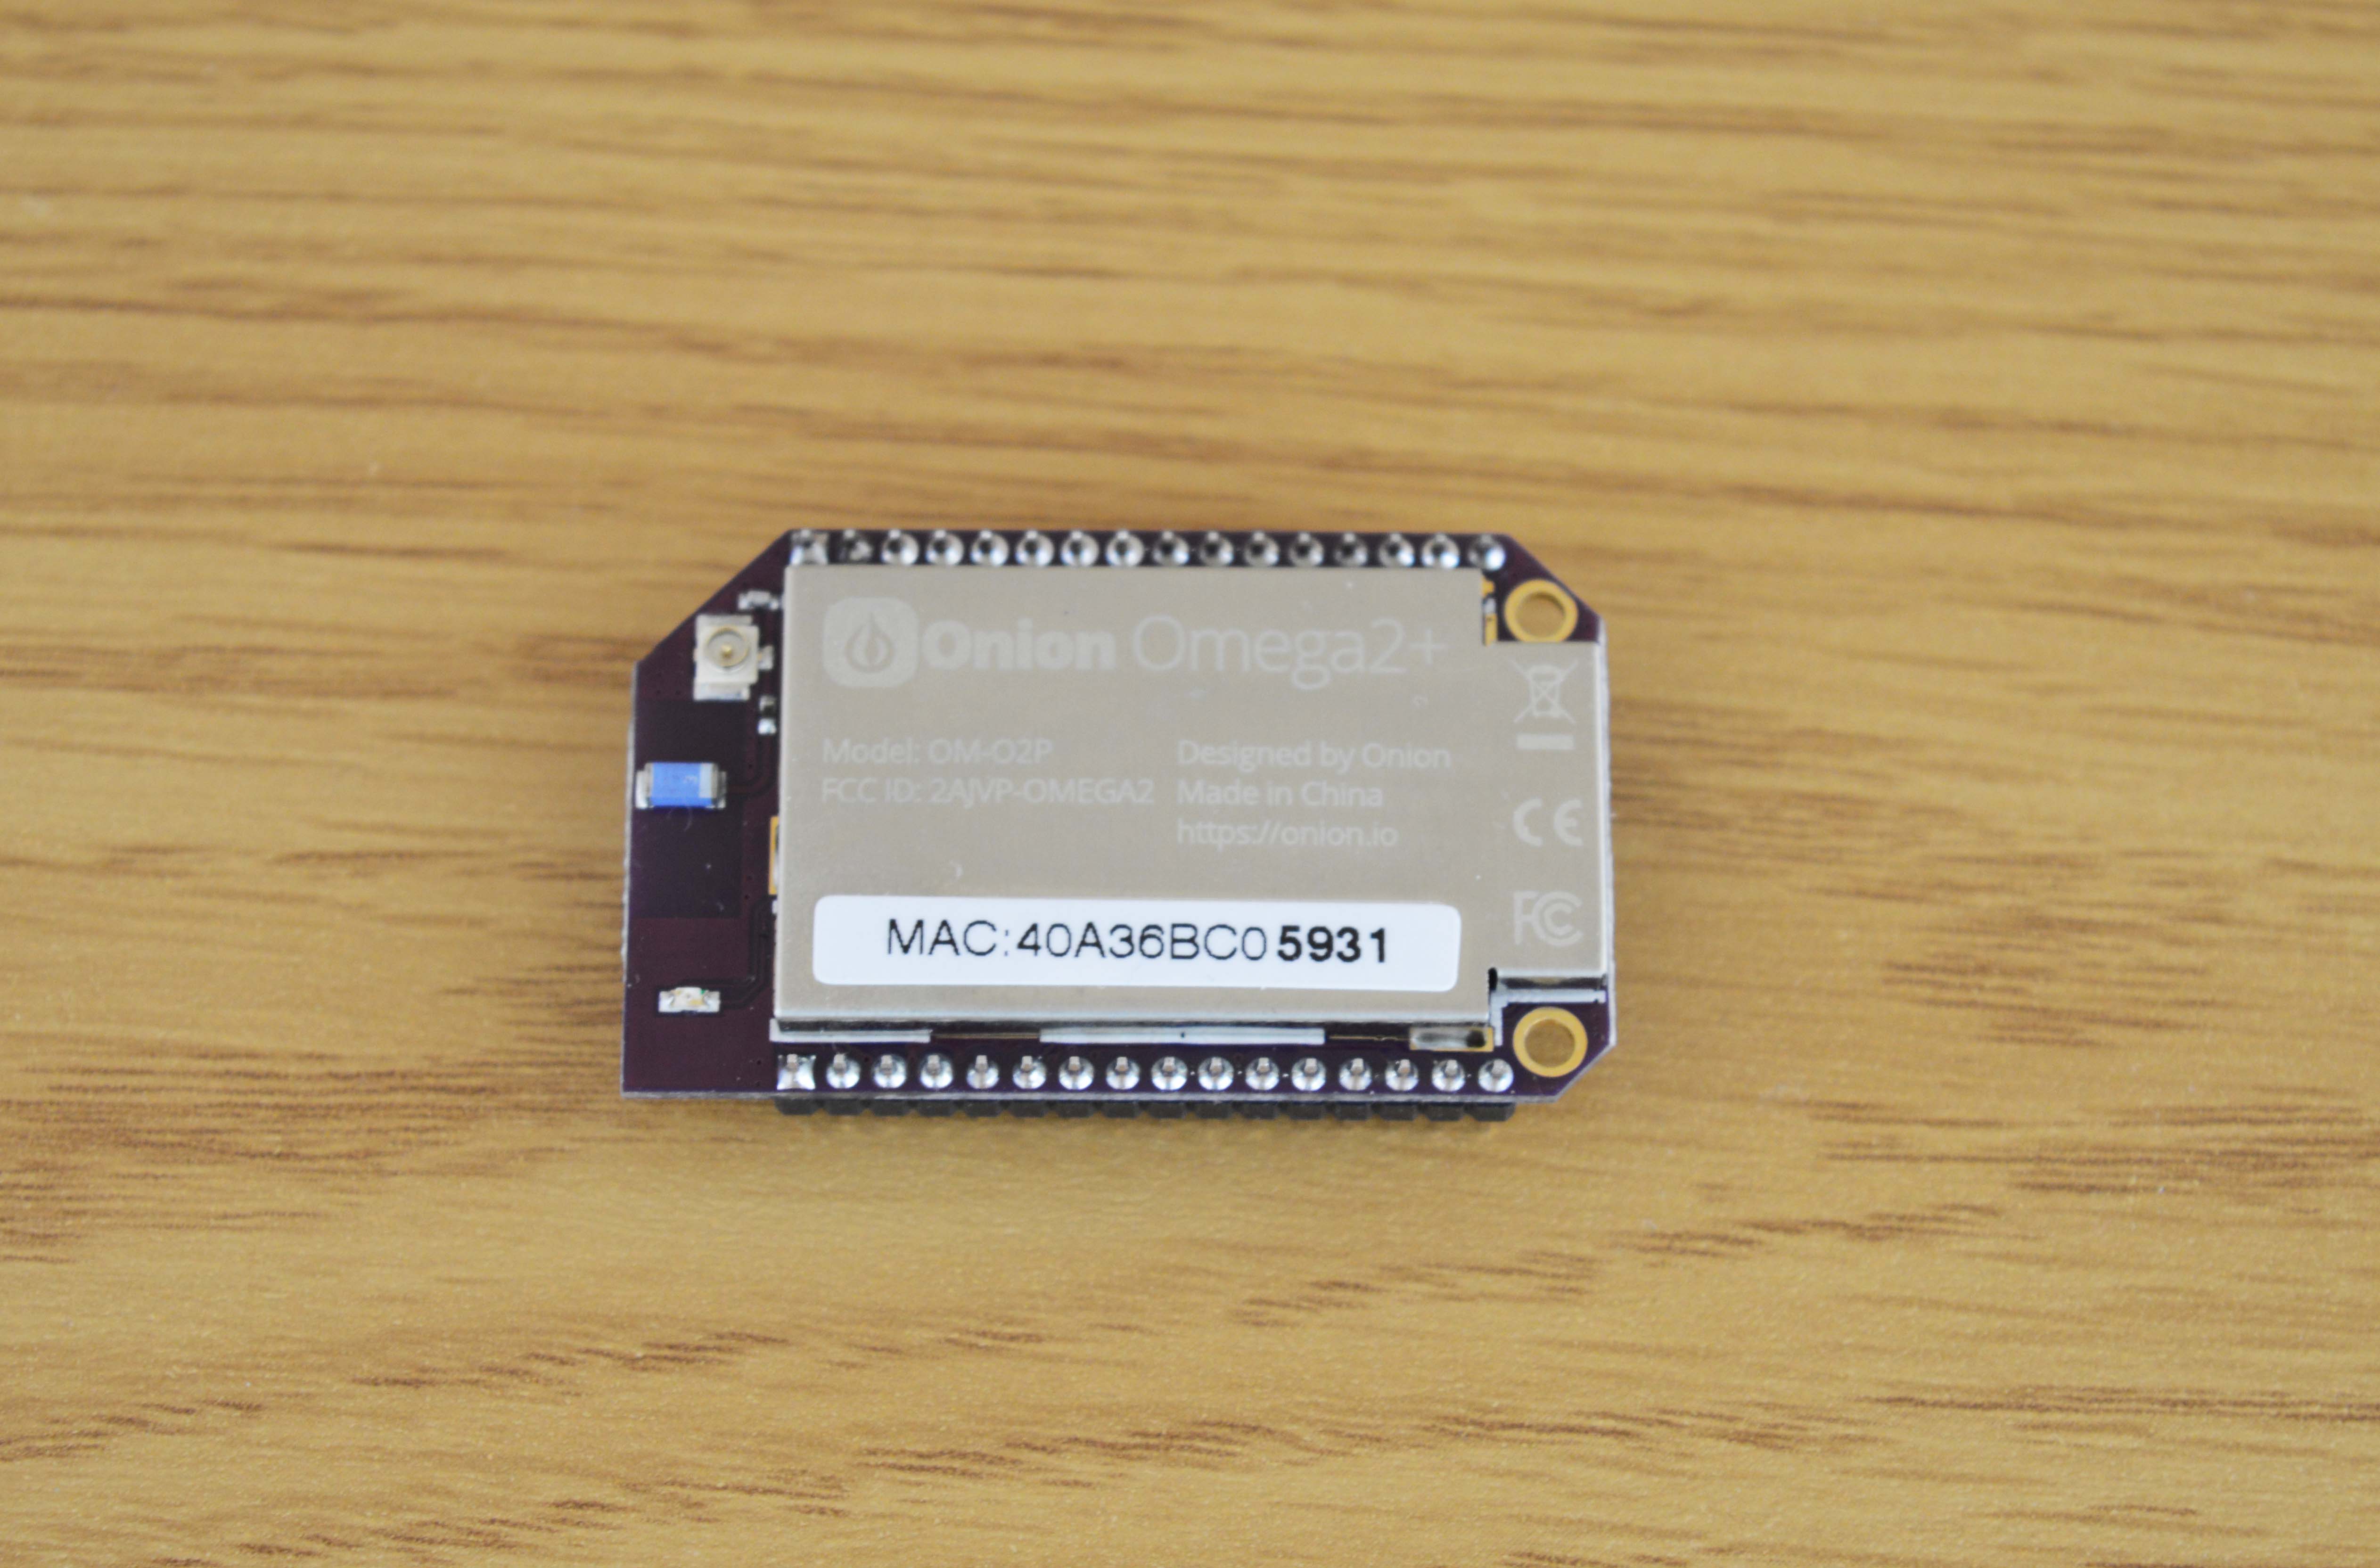
The text printed here is the Omega’s unique MAC address, we’re interested in the last four digits that are in bold. Your Omega’s name is Omega-ABCD where ABCD are the last four digits from the sticker.
So the Omega from the picture above is named Omega-5931
Connect to the Omega’s WiFi Network
The Omega hosts it’s own WiFi network access point. Lets connect your computer to it. The WiFi network is named the same as your Omega and the default password is 12345678

Connect to the Omega’s Command Line
We’ll use SSH to connect to the Omega’s command line.
To learn how to connect to the Omega’s terminal you can read our guide to connecting to the Omega with SSH.
It’s also possible to access the Omega’s command line via serial. Learn more by reading this guide. Note that you may need to install some drivers for your computer to detect USB-to-Serial devices.
Provision the Omega’s WiFi
Now let’s connect the Omega to your WiFi network to give it Internet access. We’ll use the wifisetup command to help us.
Enter wifisetup in a terminal and you’ll see the following output:
root@Omega-2757:/# wifisetup
Onion Omega Wifi Setup

Select from the following:
1) Scan for Wifi networks
2) Type network info
q) Exit

Selection:
You can enter 1, and your Omega will scan for available networks:
Selection: 1
Scanning for wifi networks...

Select Wifi network:
1) BYB
2) studio sixteen
3) EG Energy
4) mayaaa
5) Authentic
6) OnionWiFi
7) Orpheus
8) Omega-18C2

Selection:
Enter your selection and you will be prompted for a password if required. Your network authentication type will be automatically detected in the scan:
Selection: 6
Network: OnionWiFi
Authentication type: WPA2PSK
Enter password:
Enter your password, and hit enter. Your Omega’s network adapter will restart and attempt to connect to the new network.
Since the network adapter is restarting, the Omega’s AP will go down and be inaccessible during this period, but it will come back up in roughly 30 seconds.
For more on the Omega’s wireless capabilities, see our guide to the Omega and Wireless.
To learn more about configuring the Omega’s WiFi connection, see our guide to using the command line to connect to WiFi.
Update the Omega’s Firmware
Now that we’ve just connected your Omega to the internet, let’s update the Omega’s firmware to the latest version released by Onion.
Enter the oupgrade command in the terminal to download and install the latest version of the Omega’s Operating System. The update will take up to five minutes, sometimes more depending on your Internet connection.
Warning: Do not disconnect the Omega from WiFi or power during this process or the firmware may become corrupted!
At the end of the installation process, the Omega will automatically reboot. It will be ready for use when the Omega’s LED stops flashing and remains solid.
Some Omega2+ models may not reboot automatically. If your Omega2+’s LED turns off and remains off for longer than about 15 seconds, you will need to manually reboot your Omega.
Either toggle the power switch on your Dock or disconnect the power briefly and reconnect it, and your Omega2+ will reboot and complete the upgrade. It will be ready for use when the LED stops flashing and remains solid. After upgrading firmware, you will need to reconnect your Omega to WiFi by runningwifisetupagain.
Now you’re all done!
Start using your fresh Omega and check out the Using the Omega section for ideas on what the Omega can do!
Installing the Console
Now that your Omega is all setup and ready to go, you’ll want to install the Console so you can get the most from your Omega. Run the following commands:
uci set onion.console.setup=1
uci set onion.console.install=2
uci commit onion
On the Omega’s next reboot, the Console will be installed automatically. Check out our series on Using the Console for more on how to use the Console.
This Didn’t Work!
Try checking our Troubleshooting guide or posting on the Onion Community.